Hello Crafty Meraki friends! I’m Christine Okken of @christinecreationsart and I’m delighted to be the Crafty Meraki Guest Blogger on Tuesdays this month! What a joy to be creative with all the lovely things Crafty Meraki has to offer.
Today I’ve got two designs to show you, both using vellum in fun ways more layered, and more clean and simple.
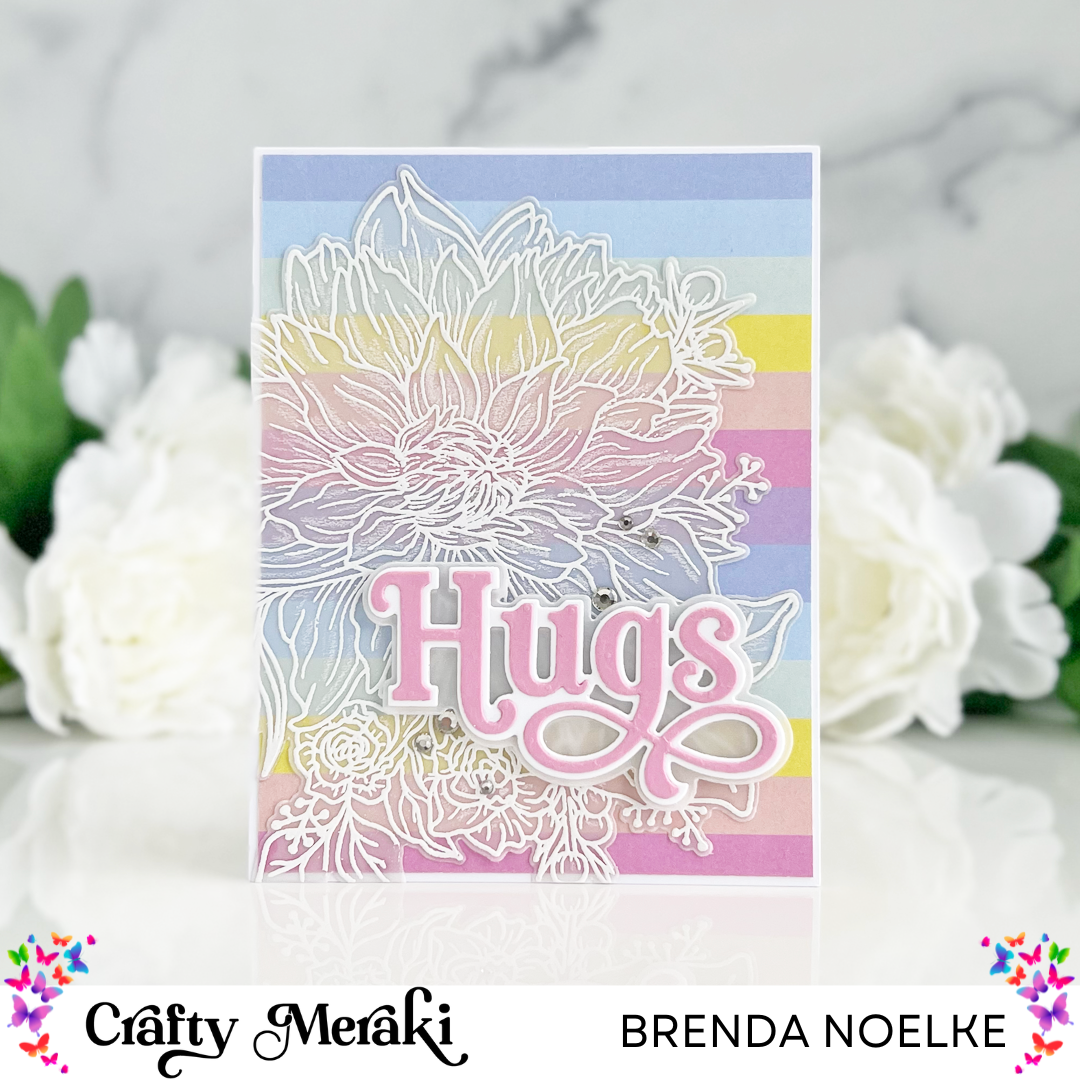
First off, I have some pretty Peonies to show you using the beautiful Peony Crafty Meraki Peony Artisan Flora Para-Dies. Creating this card was a really fun way to showcase the transluscence of vellum.
To create the beautifully soft petals, I used the die with vellum cardstock, running it through my die cutting machine. Once all the pieces were cut out, I used ink and my blending brushes to give some soft pink colour to the petals, and green to the leaves and stems. Because vellum is very non-porous, you have to leave extra time for ink on the layers to dry.

Next I added some extra depth and colour using coloured pencils so there would be more definition in some layers, and then I carefully assembled the petals with small dabs of white craft glue onto the peonies and greenery. Because of vellums transparence you need to be strategic on where you place the glue so it doesn’t show between your layers.
Once I found an arrangement I liked, I placed the peonies on a bright pink and white cardstock background that I had run through my die cutting machine with the gorgeous Parisienne Mini Slimline Die,
I used the die on both the pink panels and the white panel. The pretty texture is just the right backdrop for the ethereal petals.
I used the die on both the pink panels and the white panel. The pretty texture is just the right backdrop for the ethereal petals.
I dug deep in my ribbon stash and found a pretty folded satin ribbon that added a nice vertical and textural element to the card and attached it with ScorTape to the card base.
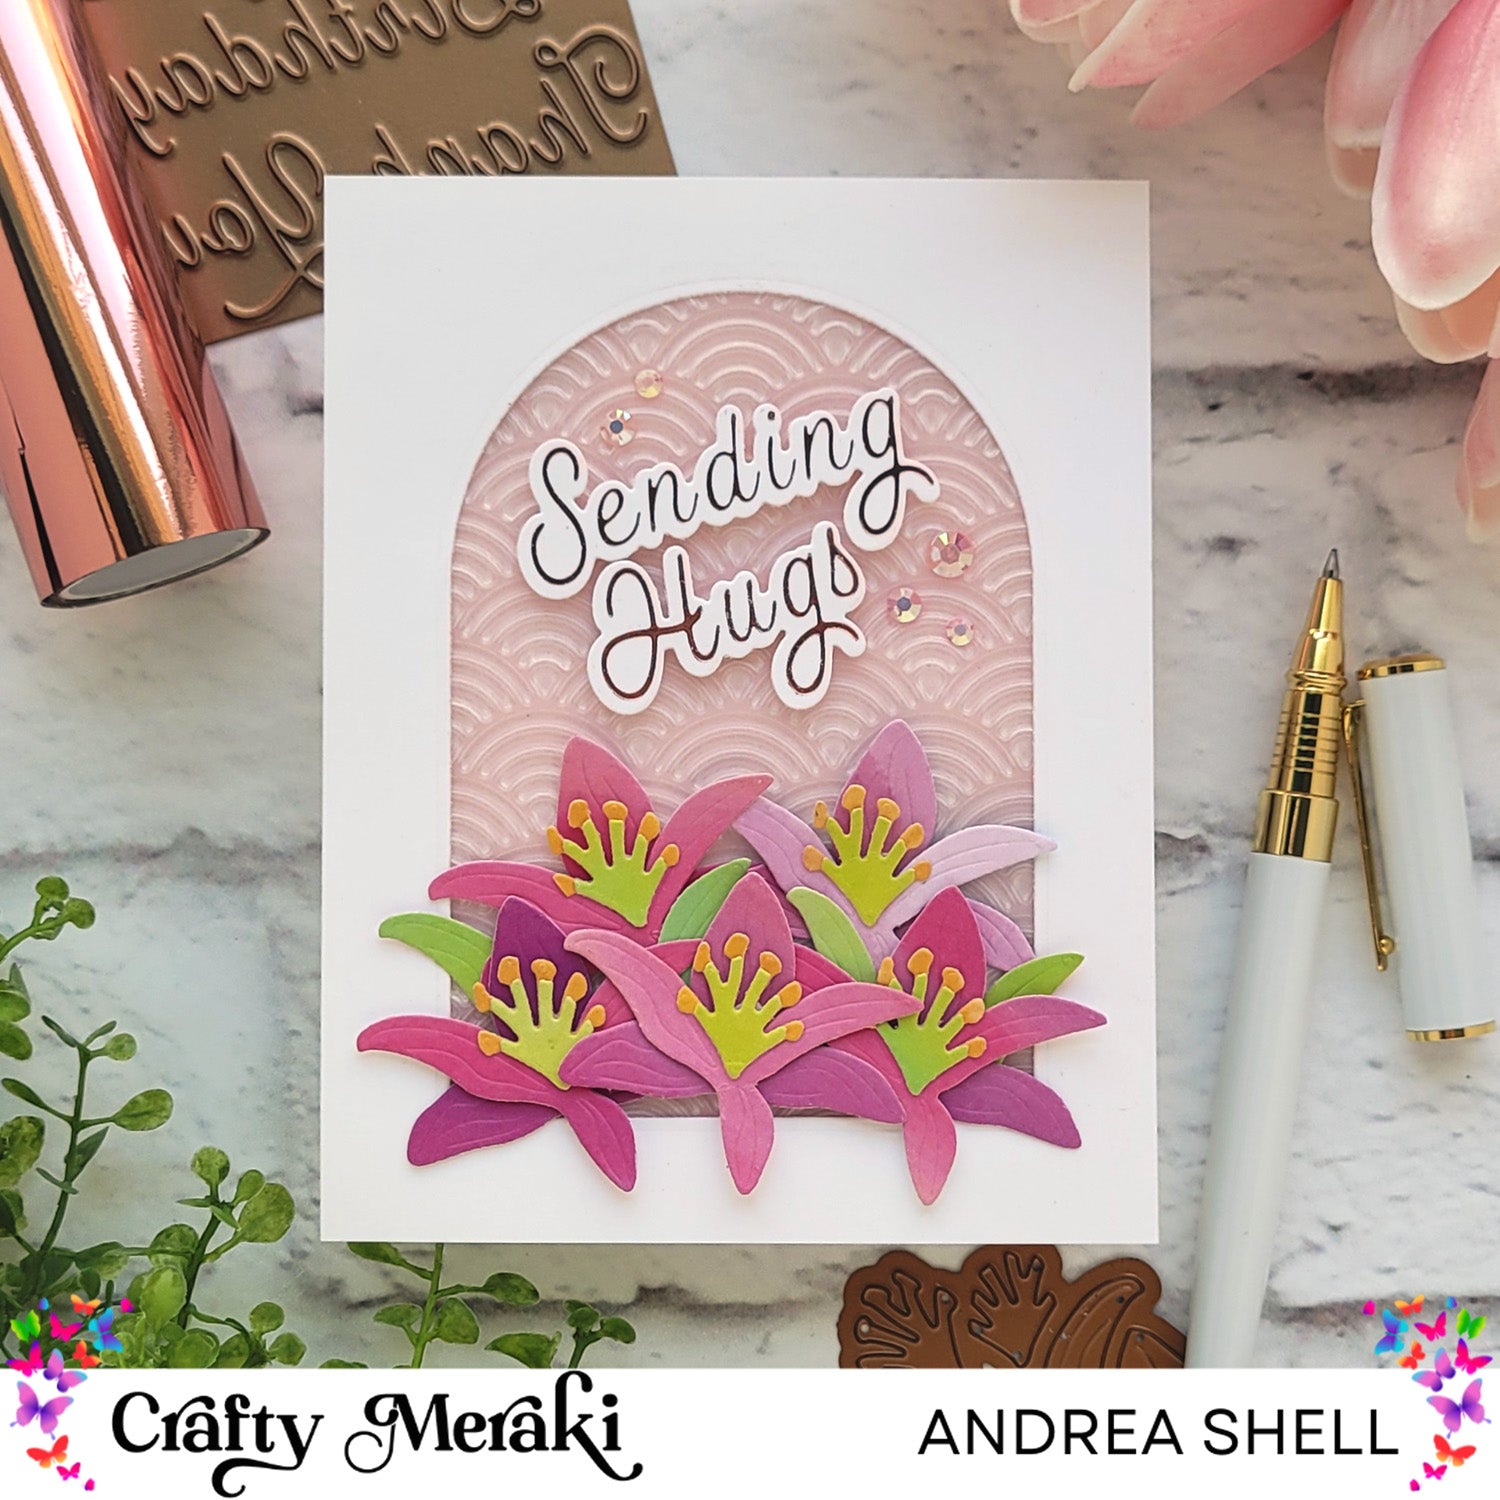
After everything was pulled together, I splattered pink ink onto the card. I finished the design with some pretty mirrorless sequins and a foiled sentiment using Crafty Meraki’s Handmade Love hot foil plate.
Here I added pink foil to a softer pink cardstock and cut it out with the coordinating Handmade Love dies. Very pretty in pink!

Next up, a very clean and simple design!

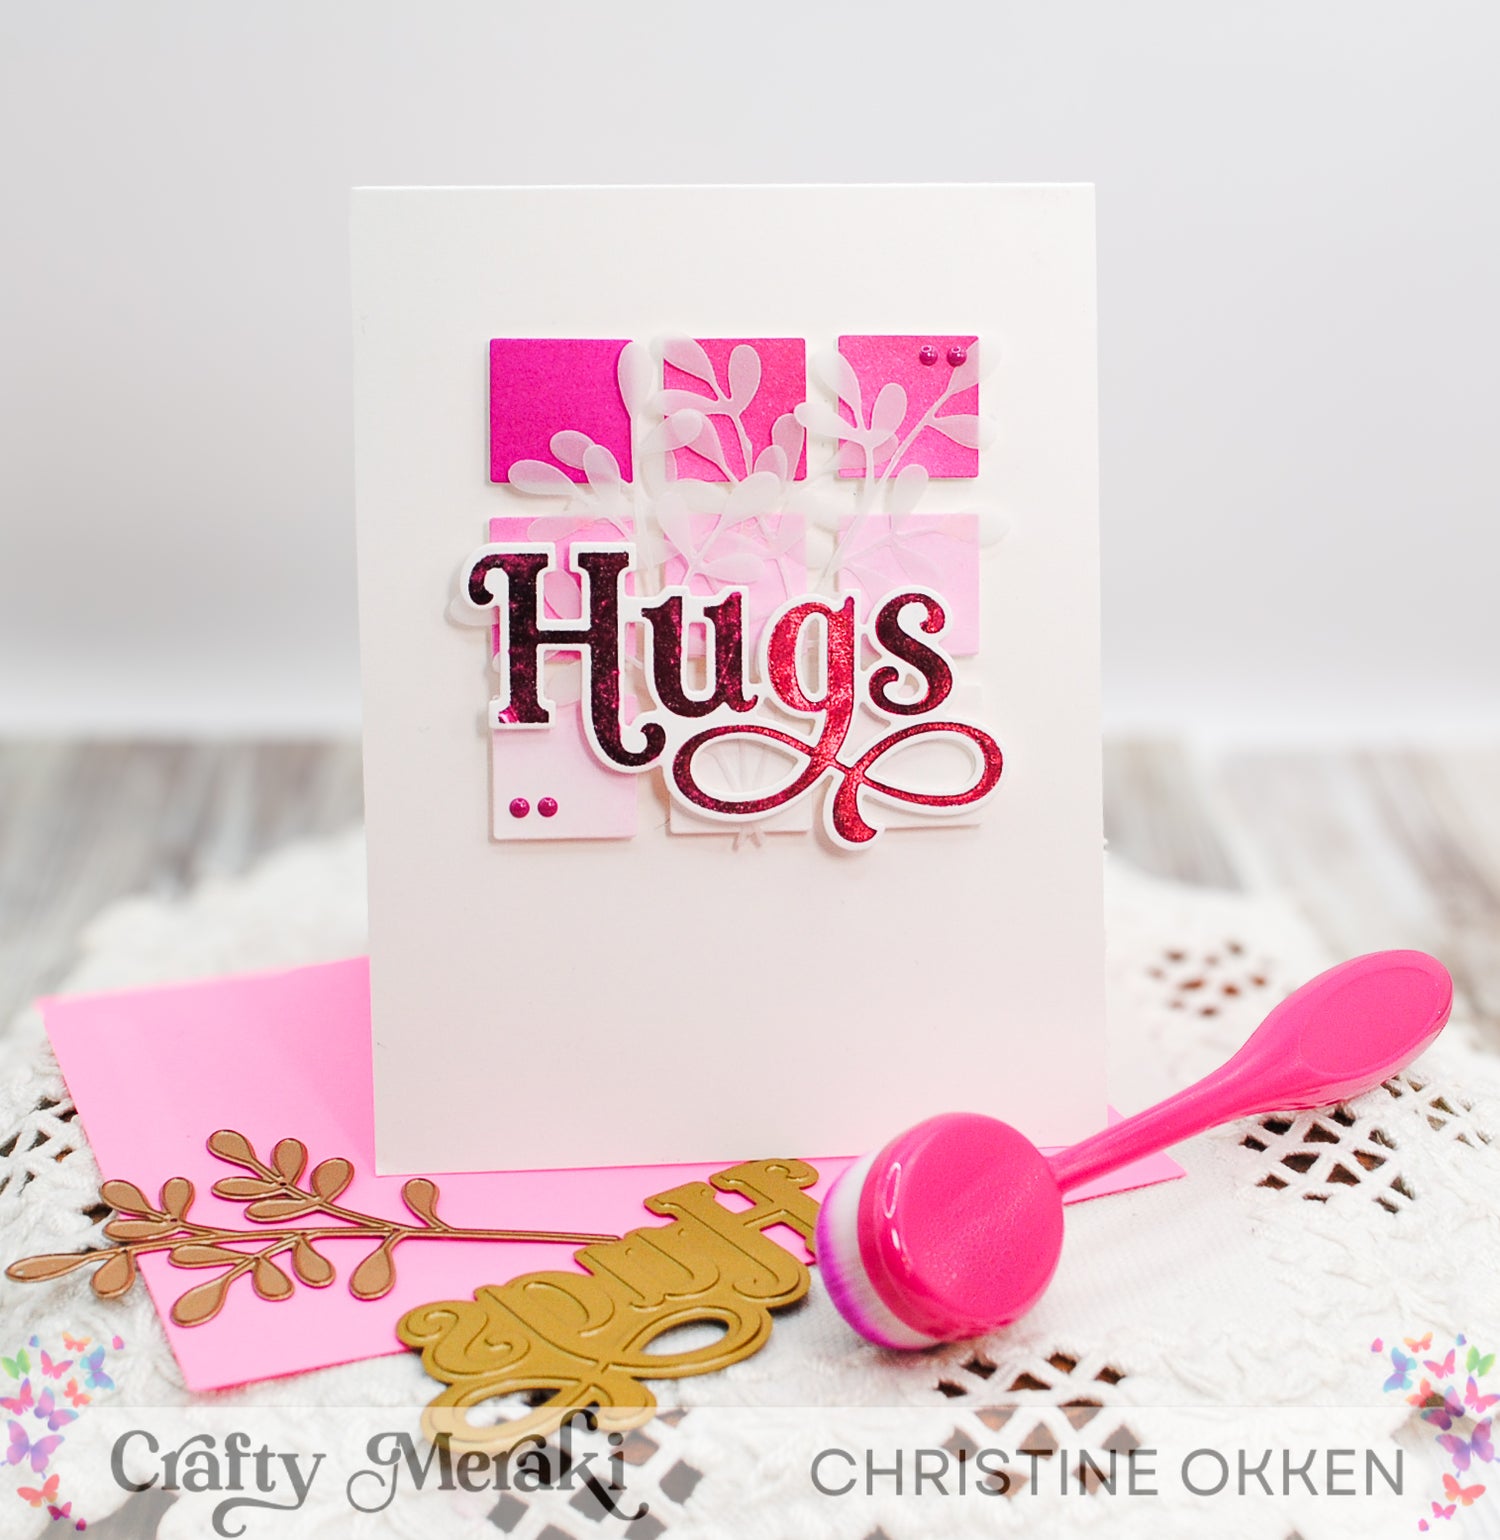
Vellum is a great type of paper for accents! For this card I started with a white cardstock base, and then cut out matching tiny squares.
Then, I ink blended the squares in pink using an ombre style of saturation moving from almost white at the bottom right to fully saturated pink in the top left square.
I added these to the card base lining them up with a T square to ensure they were symetrical and the popped them up with foam squares.

Next, I pulled out the delicate Olive Leaf Meraki Para-Dies and ran vellum and the die through my die cutting machine. I used a paper shim to make sure all those intricate cuts came through. I placed the vellum leaves in a stacked arrangment on the popped up squares so the pretty colour of the ink shows through the leaves.

Finally, I ran the Meraki Moments Hugs Hot Foil plate and die combo through my Glimmer Machine using pink foil and cut the foiled image with the coordinating die. This layer is also popped up with foam dots, and I finished acceting with some simple and tiny enamel dots. I don’t often do Clean and Simple cards, but vellum has such delicate nature it works perfectly for this style of card.
Thanks so much for joining me this week!


Leave a comment
This site is protected by hCaptcha and the hCaptcha Privacy Policy and Terms of Service apply.