
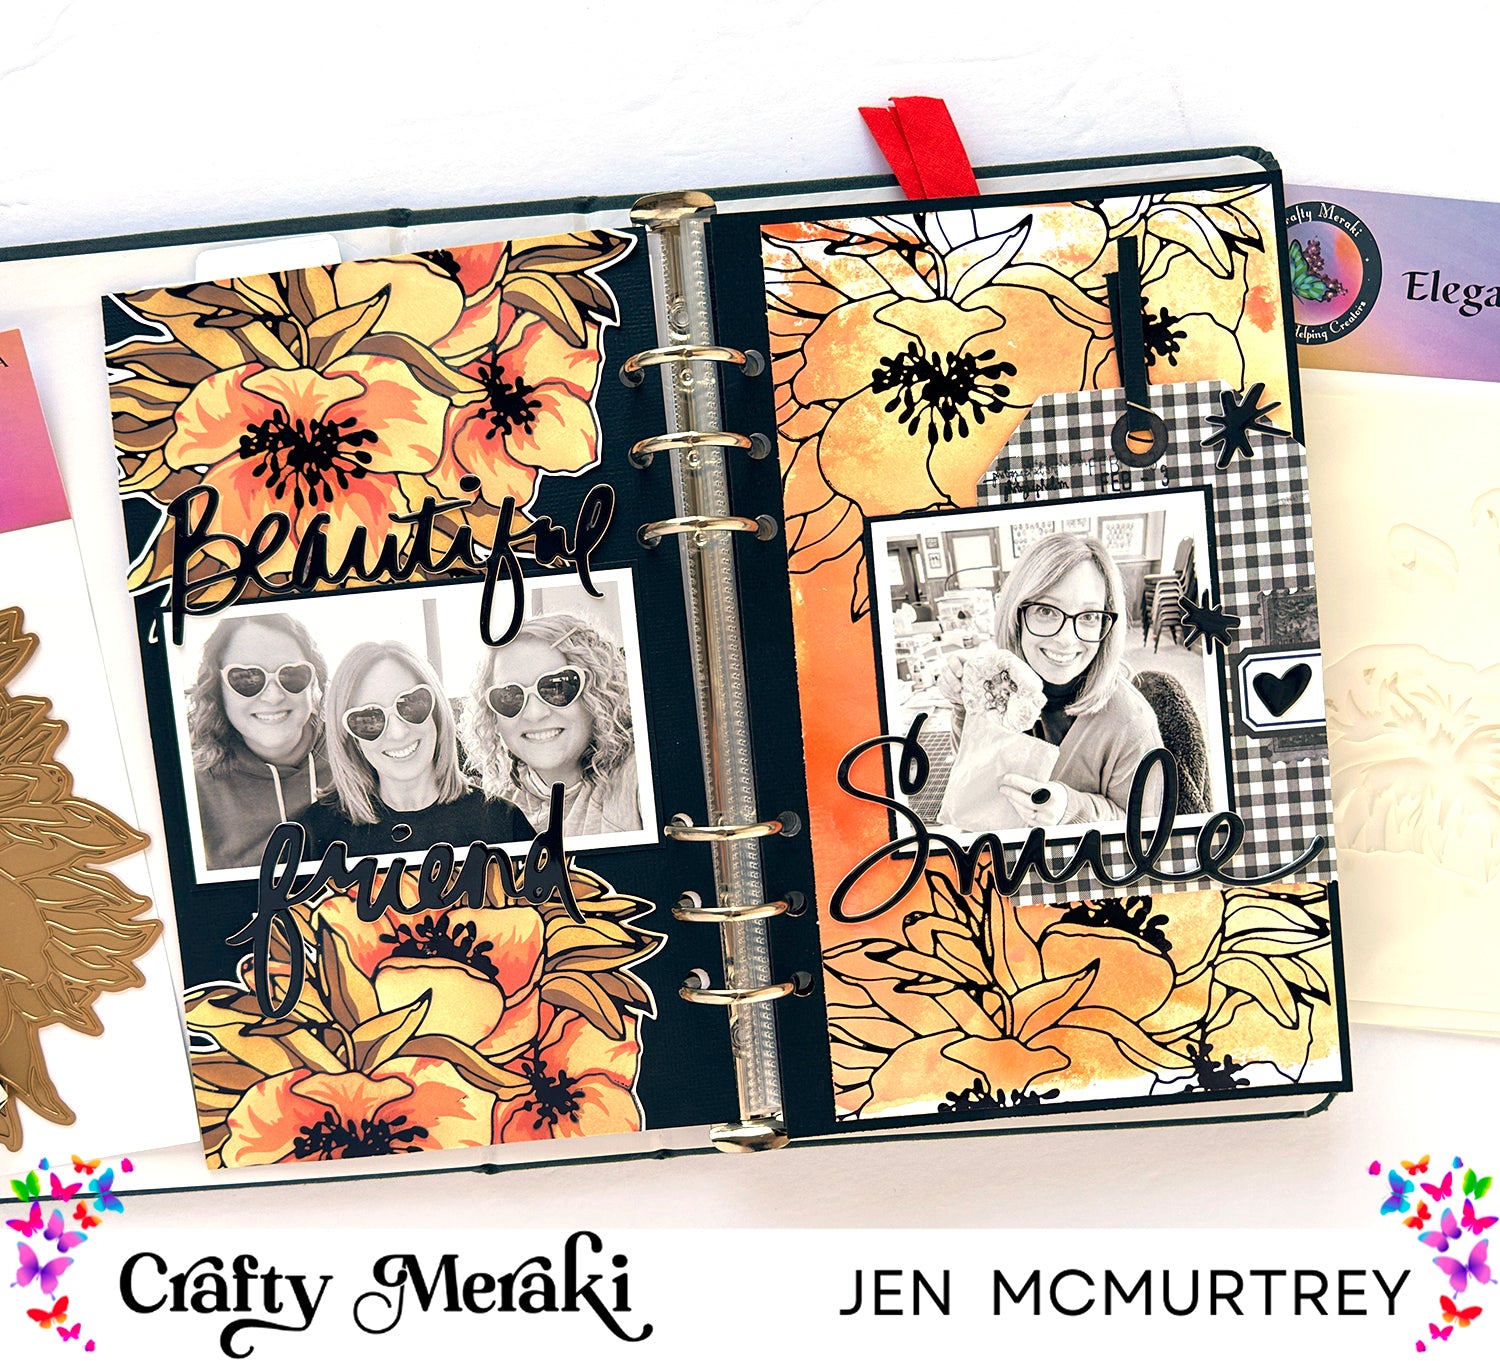
Hello, friends! It's Jen again today with the third of my four projects this month as a guest designer with Crafty Meraki, which is a small-format spread for my monthly album.

If you are anything like me, you undoubtedly have more craft supplies than you can use in a lifetime, as well as tools that sit untouched. This project was fun in that it had me dusting off my Glimmer Hot Foil System that has sat unused for far too long.
To create my project, I used the following products:
Crafty Meraki
Distress Oxide Inks
Dried Marigold
Rusty Hinge
Crackling Campfire
Brushed Corduroy
Vintage Photo

This project has two very distinct steps when using the Elegance Meraki Motifs and Shimmer. For the left side of the spread, I used Black Glimmer Foil on white cardstock to create two images.

After applying the foil, I used the Meraki Motifs stencils to color each set of the flowers and leaves. Once the the florals were done, I fussy cut both sets and adhered them to black cardstock (5 x 8.25 inches). The florals are striking against the black backdrop.

Next, I added the black-and-white photo that is backed with black cardstock. To complete the left side of the project, I used puffy sticker sentiments to create a simple title.

The right side of the project used the same inks and black foil but in a completely different way.

When creating the background, I applied each of the oxide inks to my glass mat and sprayed them with water. Next, I placed the white cardstock on top of the inks and repeatedly until the inks covered the page to my liking. Once the inks were dry, I used the same black foil and Elegance Meraki Shimmer to foil the top and bottom of the page. I then trimmed the cardstock down to size and adhered it to black cardstock.

To give the page more visual interest and texture, I placed a Simple Stories tag behind the photo. I then used the same puffy stickers to add the sentiment and puffy shapes before stamping the date above the photo.

This project may seem simple at first glance, but it did take several hours to complete and a bit of experimenting with the products to achieve the desired look. However, I really love how it turned out and plan to use these techniques on future projects.
Thank you for visiting today, and I hope you have been inspired to create. Be sure to drop by next Saturday when I share my fourth and final project as an April guest designer at Crafty Meraki.
Leave a comment
This site is protected by hCaptcha and the hCaptcha Privacy Policy and Terms of Service apply.