
Hello, It's Kari with another card and video to share with a 90 Degree stencil technique. This is something you can try with any stencil to create unique looks for background or die cutting.
Watch the video below or in HD on YouTube:
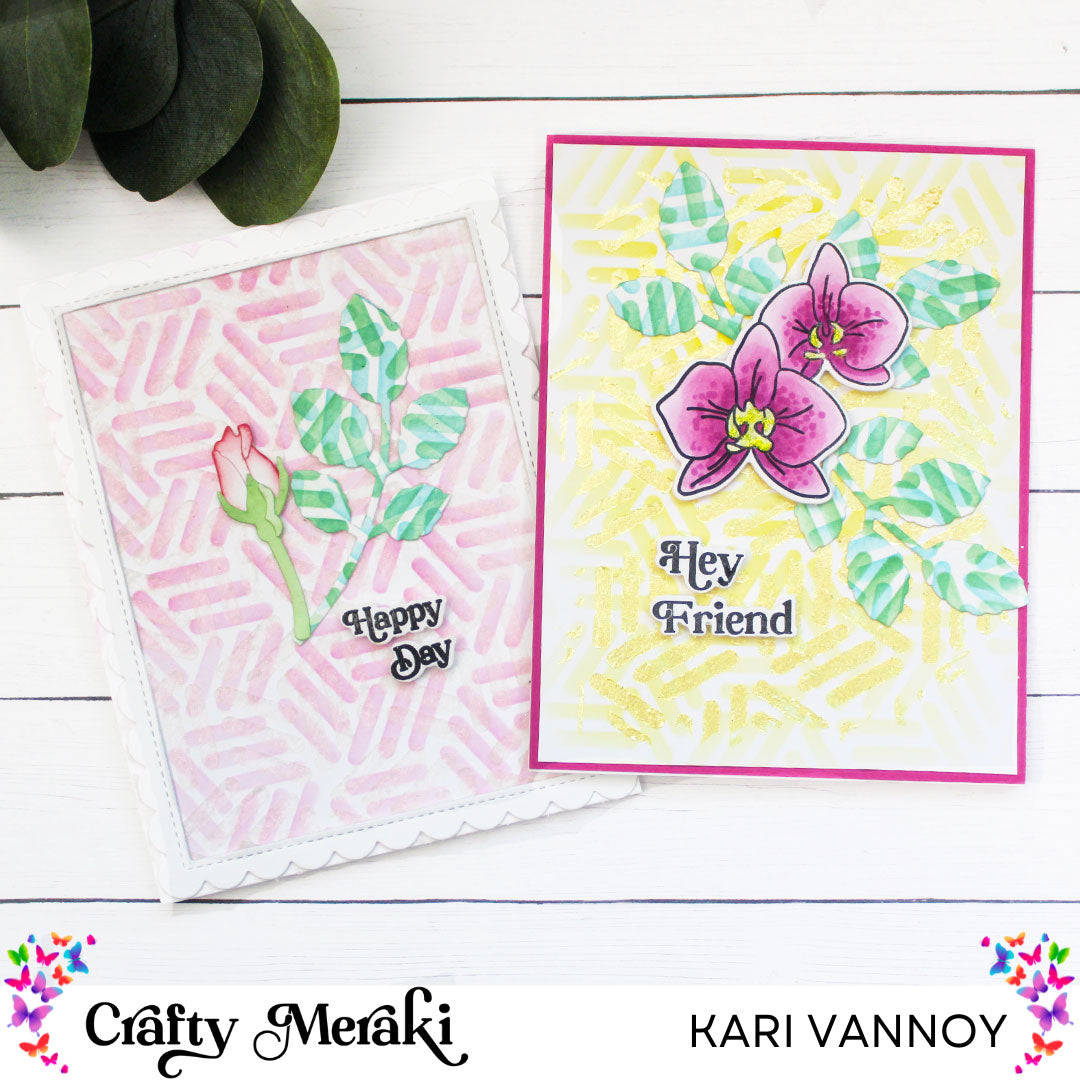
For this technique, I started with the Woven Wonders Stencil, which is a favorite of mine! Then, I inked on the background with some Distress ink. I tried this in a variety of colors, using softer colors. Next, I turned the stencil 90 degrees to add the second layer right over the top.

For this first card, I used some soft yellow ink for the first layer, turned the stencil and added a second layer of yellow Glacier Paste. It's a beautiful look!
Notice the leaves, I die cut those from the Meraki Artisan Rose Die set using another panel I created with this technique (in blue & green).

For the main image, I added a beautiful orchid from the Orchid Opulence stamp set. I love that this has a coordinating die to cut out all the images at once.

For the second card, I had an extra die cut leaf from the Meraki Rose Artisan Die set, so I decided to make another card. I put together one of the rose buds to make a soft focal point for this one. The background is a soft pink for the first layer, then turned 90 degrees to add a snowy glitter paste over the top. You can just see it here in this photo, but in real life there is beautiful glittery shine!

I hope you enjoyed these cards today! Watch the video to see the full technique, and please do let us know if you tried it by tagging us on Facebook or Instagram! We love to see your creations.
Kari

Leave a comment
This site is protected by hCaptcha and the hCaptcha Privacy Policy and Terms of Service apply.