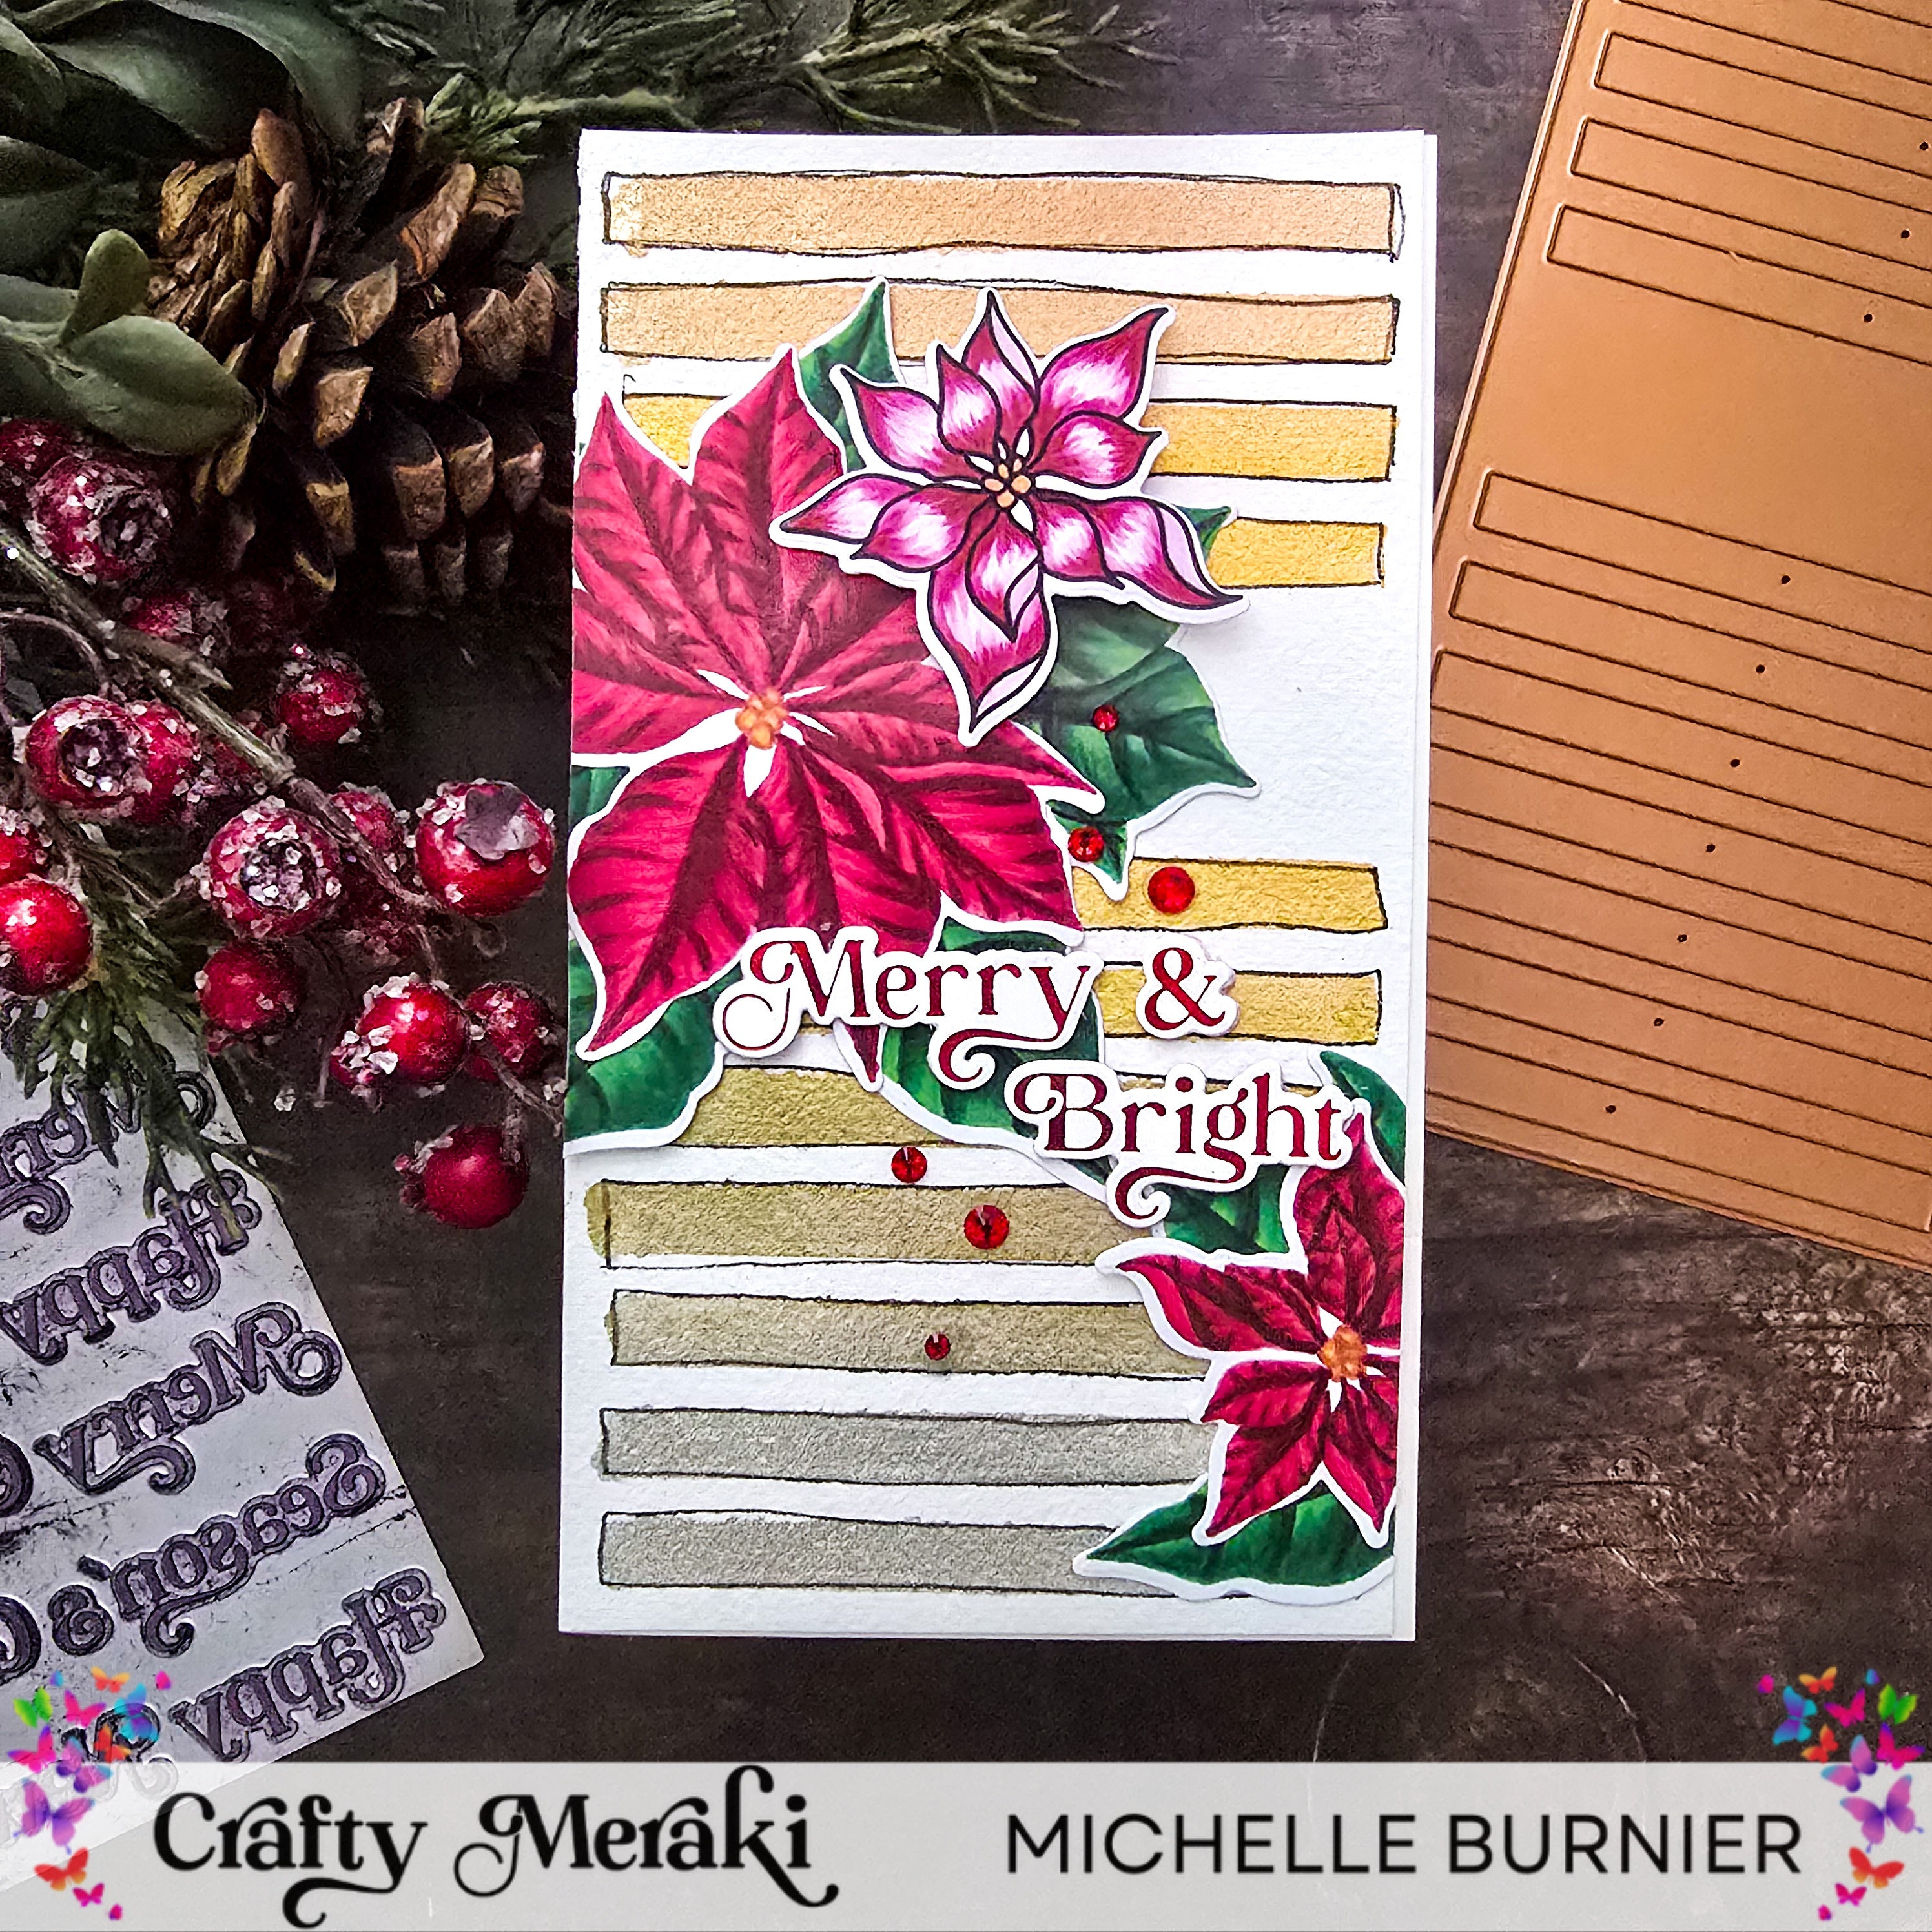
Happy Friday, friends! Irene with you today with a stenciled wreath card. I made my own stencil for this project Lets get started!
I began by creating a stencil with the Artisan Flora Wreath Builder. I folded 8.5x11 vellum paper in half. I placed a strip of double-sided tape inside of the vellum and cut the leaf dies. I placed the double-sided tape to make the vellum stencil sturdier. Side note: You can make the stencil with heavy cardstock; I used vellum because it makes it easier to see placement. I removed the vellum leaves from the negative space and used mint tape to cover up the side I would not be stenciling.


I placed the vellum stencil onto my card stock and began inking. I used three ink shades to create a dimensional look. I used Catherine Pooler inks in Matcha, Sage and Spruce. Tip: Place low tac tape behind your cardstock to avoid shifting of the vellum as you ink. I inked from lightest to darkest. As I inked, I changed the position of the vellum to create a round shape.
Next, I added glue to the Eucalyptus vellum die cut. I placed glue only along the branch part and added it to the inked wreath. I added two full die-cuts and two partial cuts. I made a bow die cut using the Take-a-Bow Again die set and matte gold cardstock. I added it to the top of the wreath with a foam tape dot.
I stamped "Merry Christmas' to the inside of the card with the Meraki Flora Festive Flora Wreath Stamp Set. I cut my stamp set and place the Merry in my misti and stamped it with Matcha ink. I then placed the Christmas stamp in my misti and stamped.
.


Finally, I used Meraki Sparkle Gold gems as embellishments around the wreath.
All done! I hope this tutorial inspires you! Have a fabulous weekend!


5 comments
MRS DEJANA IVICA
TANGIBLE INFORMATION ABOUT LOAN PLANNING… THIS HAPPY NEW YEAR..
This is not a normal post that you see every day on the internet where people give fake reviews and false information about excellent financial assistance. I am aware that many of you have been scammed and that fake agents have taken advantage of those seeking loans. I will not call these normal reviews, I will call this situation where I live a witness to how you can get your loan when you meet the company’s requirements. It really does not matter if you have a good credit rating or government approval, all you need is a proper ID card and a valid IBAN number to be able to apply for a loan with an interest rate of 3%. The minimum amount is 1000 euros and the maximum amount that can be borrowed is 100,000,000 euros. I give you a 100% guarantee that you can get your loan through this reliable and honest company, we operate 24 hours online and provide loans to all citizens of Europe and outside Europe. They sent me a document that was checked and tested before I got the loan, so I invite anyone who needs a loan to visit them or contact them via email: michaelgardloanoffice@gmail.com
WhatsApp for Europe: +38591560870
WhatsApp for USA: +1 (717) 826-3251
After you contact them, let them know that Mrs. Dejana Ivica from Zagreb gave you the information. Seeing is believing and you will thank me later when you get a loan from them. I made a promise that after I get a loan from them, I will post the good news to everyone online. If you have friends or relatives, including colleagues, you can tell them about this offer and that it is happening.
Barbara Ignazio
GETTING BACK LOST, HACKED OR STOLEN CRYPTOCURRENCY // RESCUE TEAM RECOVERY COMPANY. Recovery of Lost Crypto; Binary options scam, Investment scams, Loans scam Etc. What happens after losing Bitcoin or a bank transfer to Fraudsters? You can choose to accept the loss and give the con artists your hard-earned money, or you can choose the second choice. As a result of your failure to stop the scammers, additional people will become victims, many of whom will most likely be your friends or relatives. You can watch testimonies of successful recoveries by this company both on youtube and other platformshttps://youtube.com/shorts/VCE7mcnb48I?si=3Ms34Ww1TuFzMBV1 https://youtube.com/shorts/VCE7mcnb48I?si=WguNgW8p8mJVLI2RImmidiately, you can contact bitcoin recovery professionals like Rescue Team Recovery Company at Email add (Rescueteamrecovery @ cyberservices. com) That will assist you in tracking and recovering your lost, scammed or hacked crypto currencies and band funds. The Rescue Team Recovery Company collaborates with law enforcement to help catch these con artists. You can proceed as long as you know the wallet address of the con artist or the receipts of the bank transactions. I wish you success. WhatsApp; +14706372676 Learn More; Eml: Rescueteamrecovery@cyberservices.com
https://youtube.com/shorts/VCE7mcnb48I?si=3Ms34Ww1TuFzMBV1
Bram Orrie
HOW I RECOVER $850 FROM FAKE INVESTMENT BROKER ONLINE
I’m grateful to THE HACK ANGELS RECOVERY EXPERT for helping me recover my stolen Bitcoin. After losing funds to a fake platform, I felt hopeless. I am deeply grateful for their support. If you have fallen victim to a Bitcoin scam or any other form of cryptocurrency fraud, don’t give up. Reach out to THE HACK ANGELS RECOVERY EXPERT Contact:
WhatsApp (+1(520)200-2320
Email at support@thehackangels.com
Website at www.thehackangels.com
If you’re in London, you can even visit them in person at their office located at 45-46 Red Lion Street, London WC1R 4PF, UK.
Leave a comment
This site is protected by hCaptcha and the hCaptcha Privacy Policy and Terms of Service apply.