

Hello Crafty Folks,
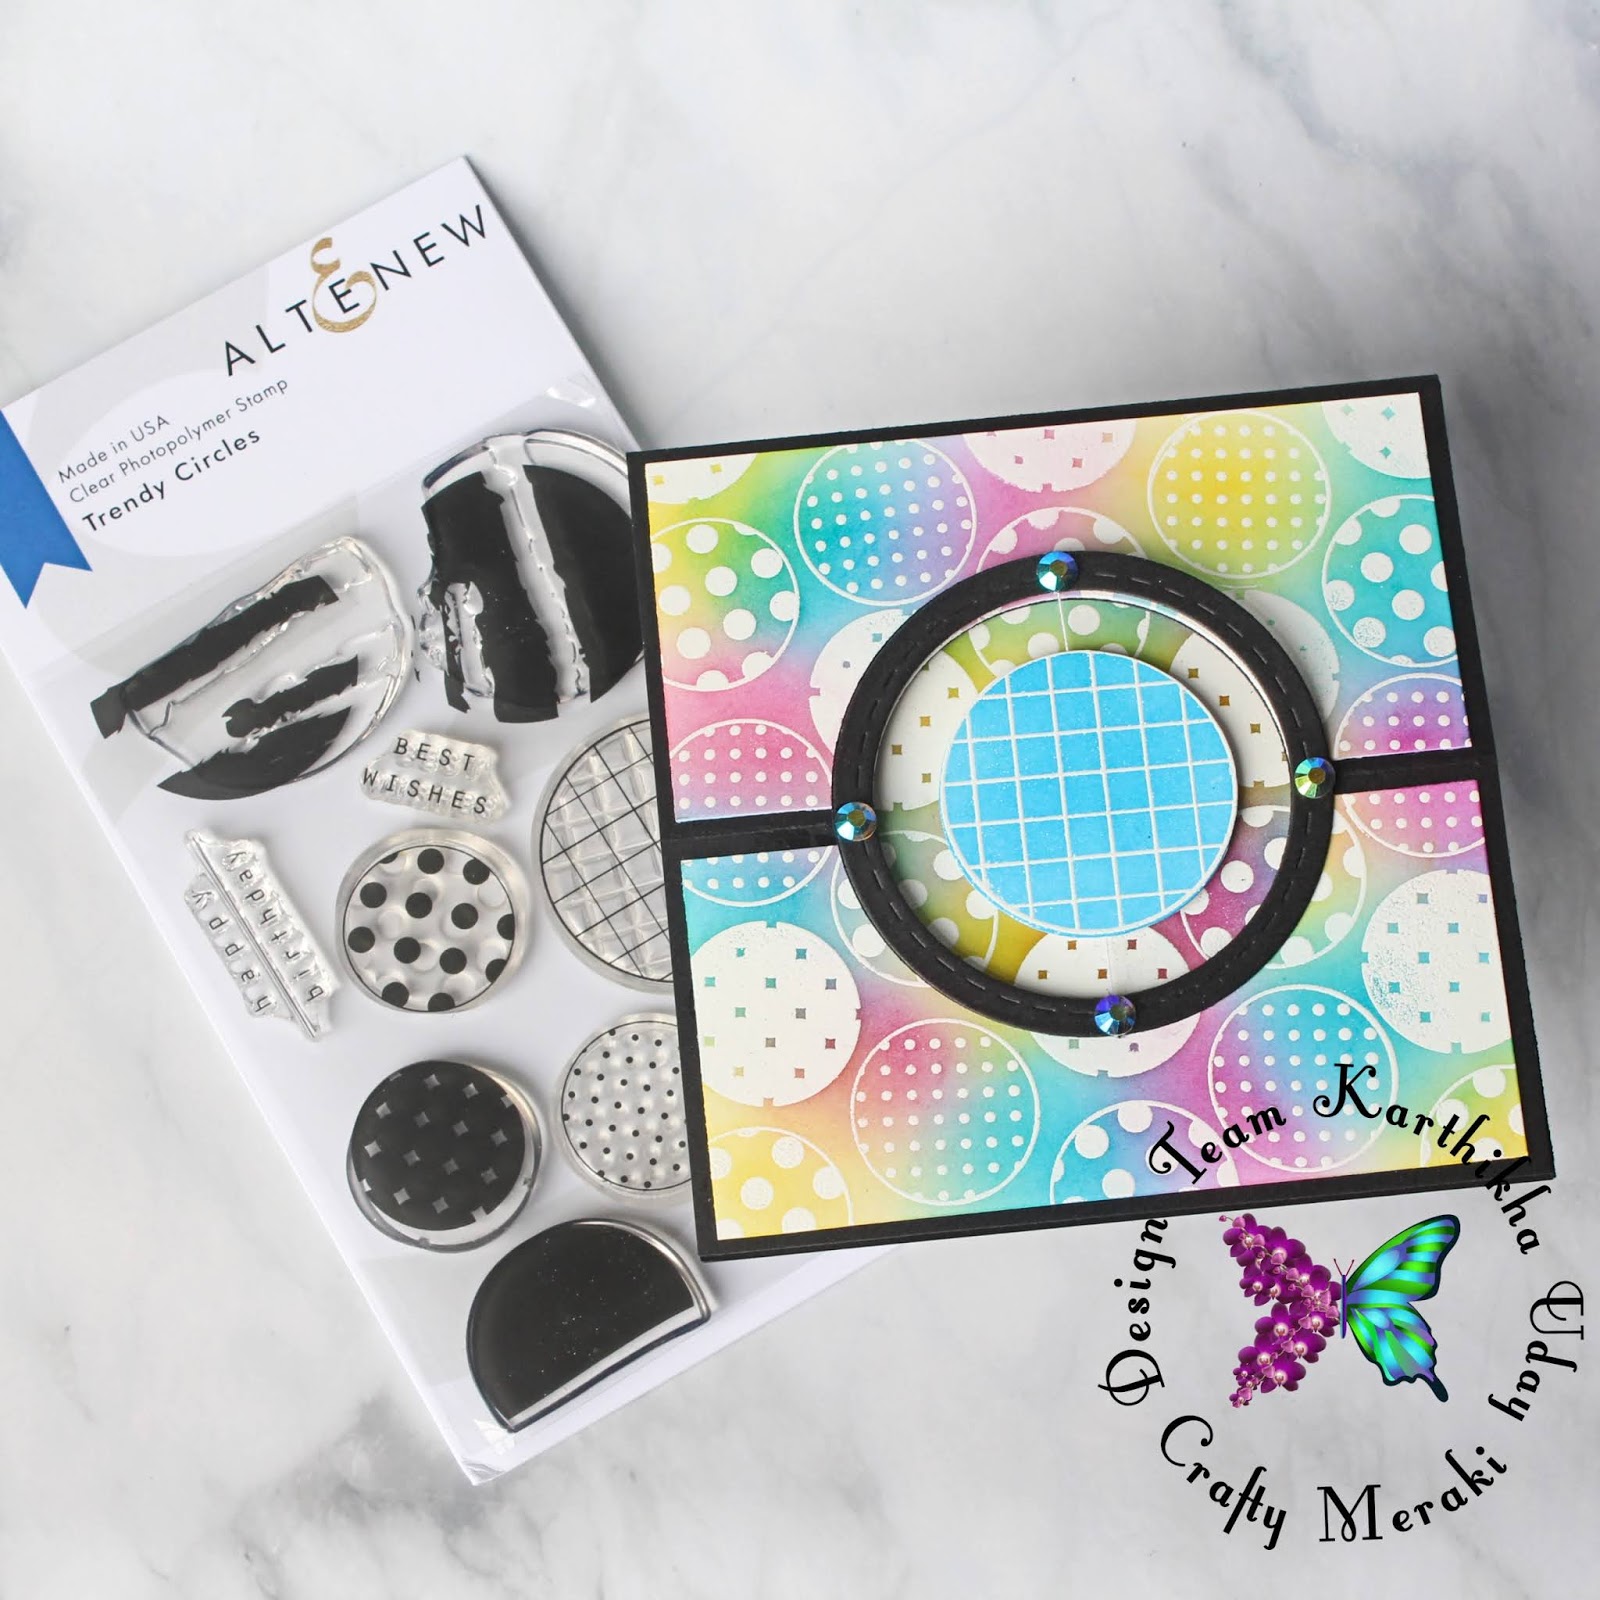
This is Karthikha, back again at Crafty Meraki with a new interactive card - an easel card along with a spinner. And I've used only one stamp set to make this - Trendy Circles from Altenew.
Watch the video first to understand how this card works :)
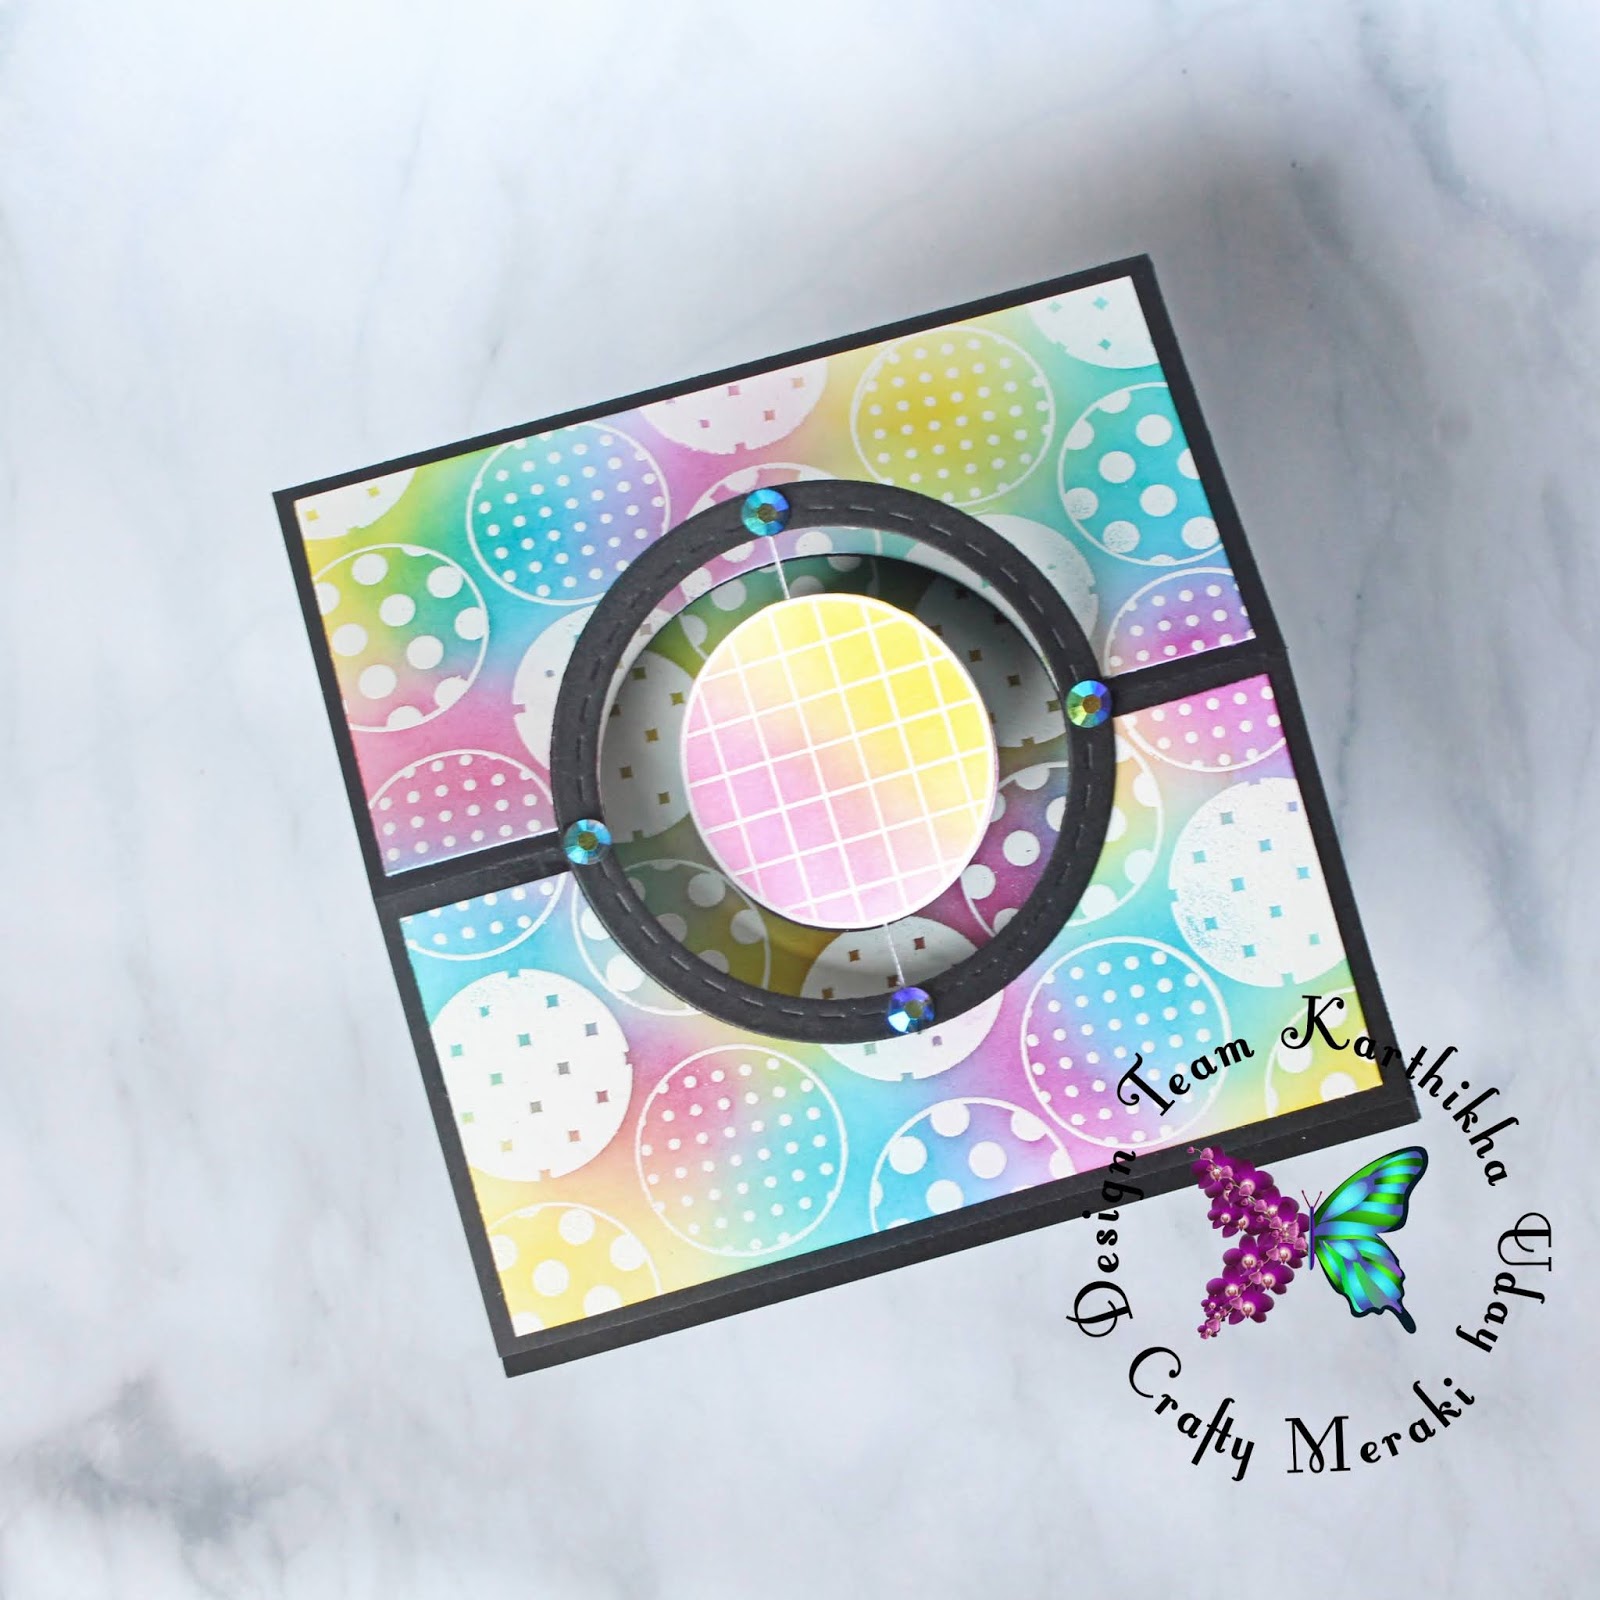
I'm a fan of patterned papers and I love to create my own using stamps and emboss resist technique. I started by stamping 3 circle images from the stamp set, using Versamark ink onto white cardstock. I went row by row, repeating the stamping, and heat embossing them in white. Once the heat embossing was completed, I've blended distress inks in a random fashion. I've used only 3 colors - Salty Ocean, Picked Raspberry, and Mustard Seed. This is one of my fav combinations, the blending also results in green and purple shades. Wipe the panel using a dry cloth to highlight the white embossing. I created 2 panels for the easel card, each measuring 4.75 x 4.75 inches.
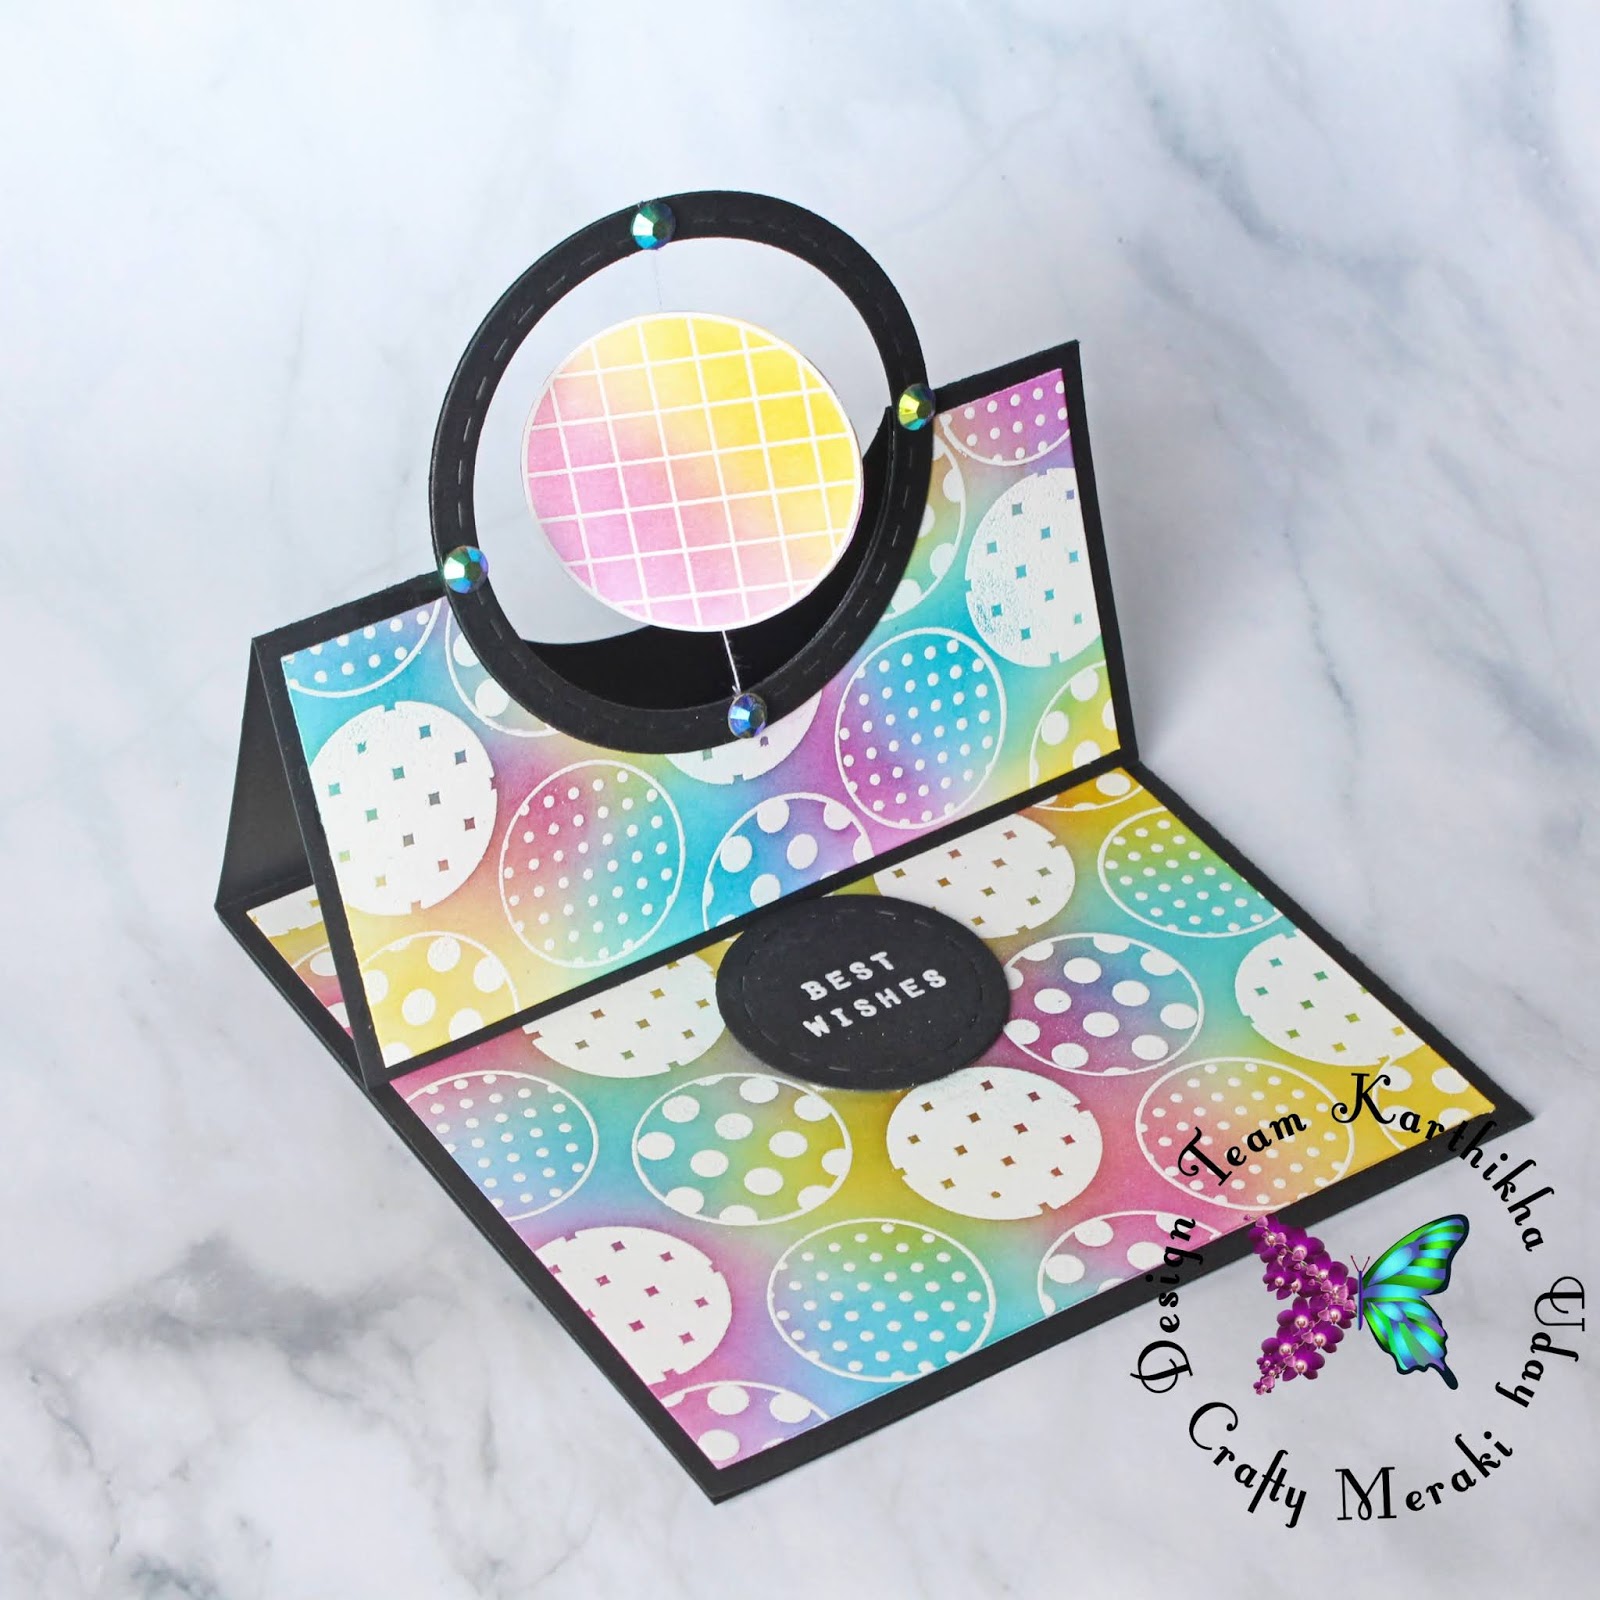
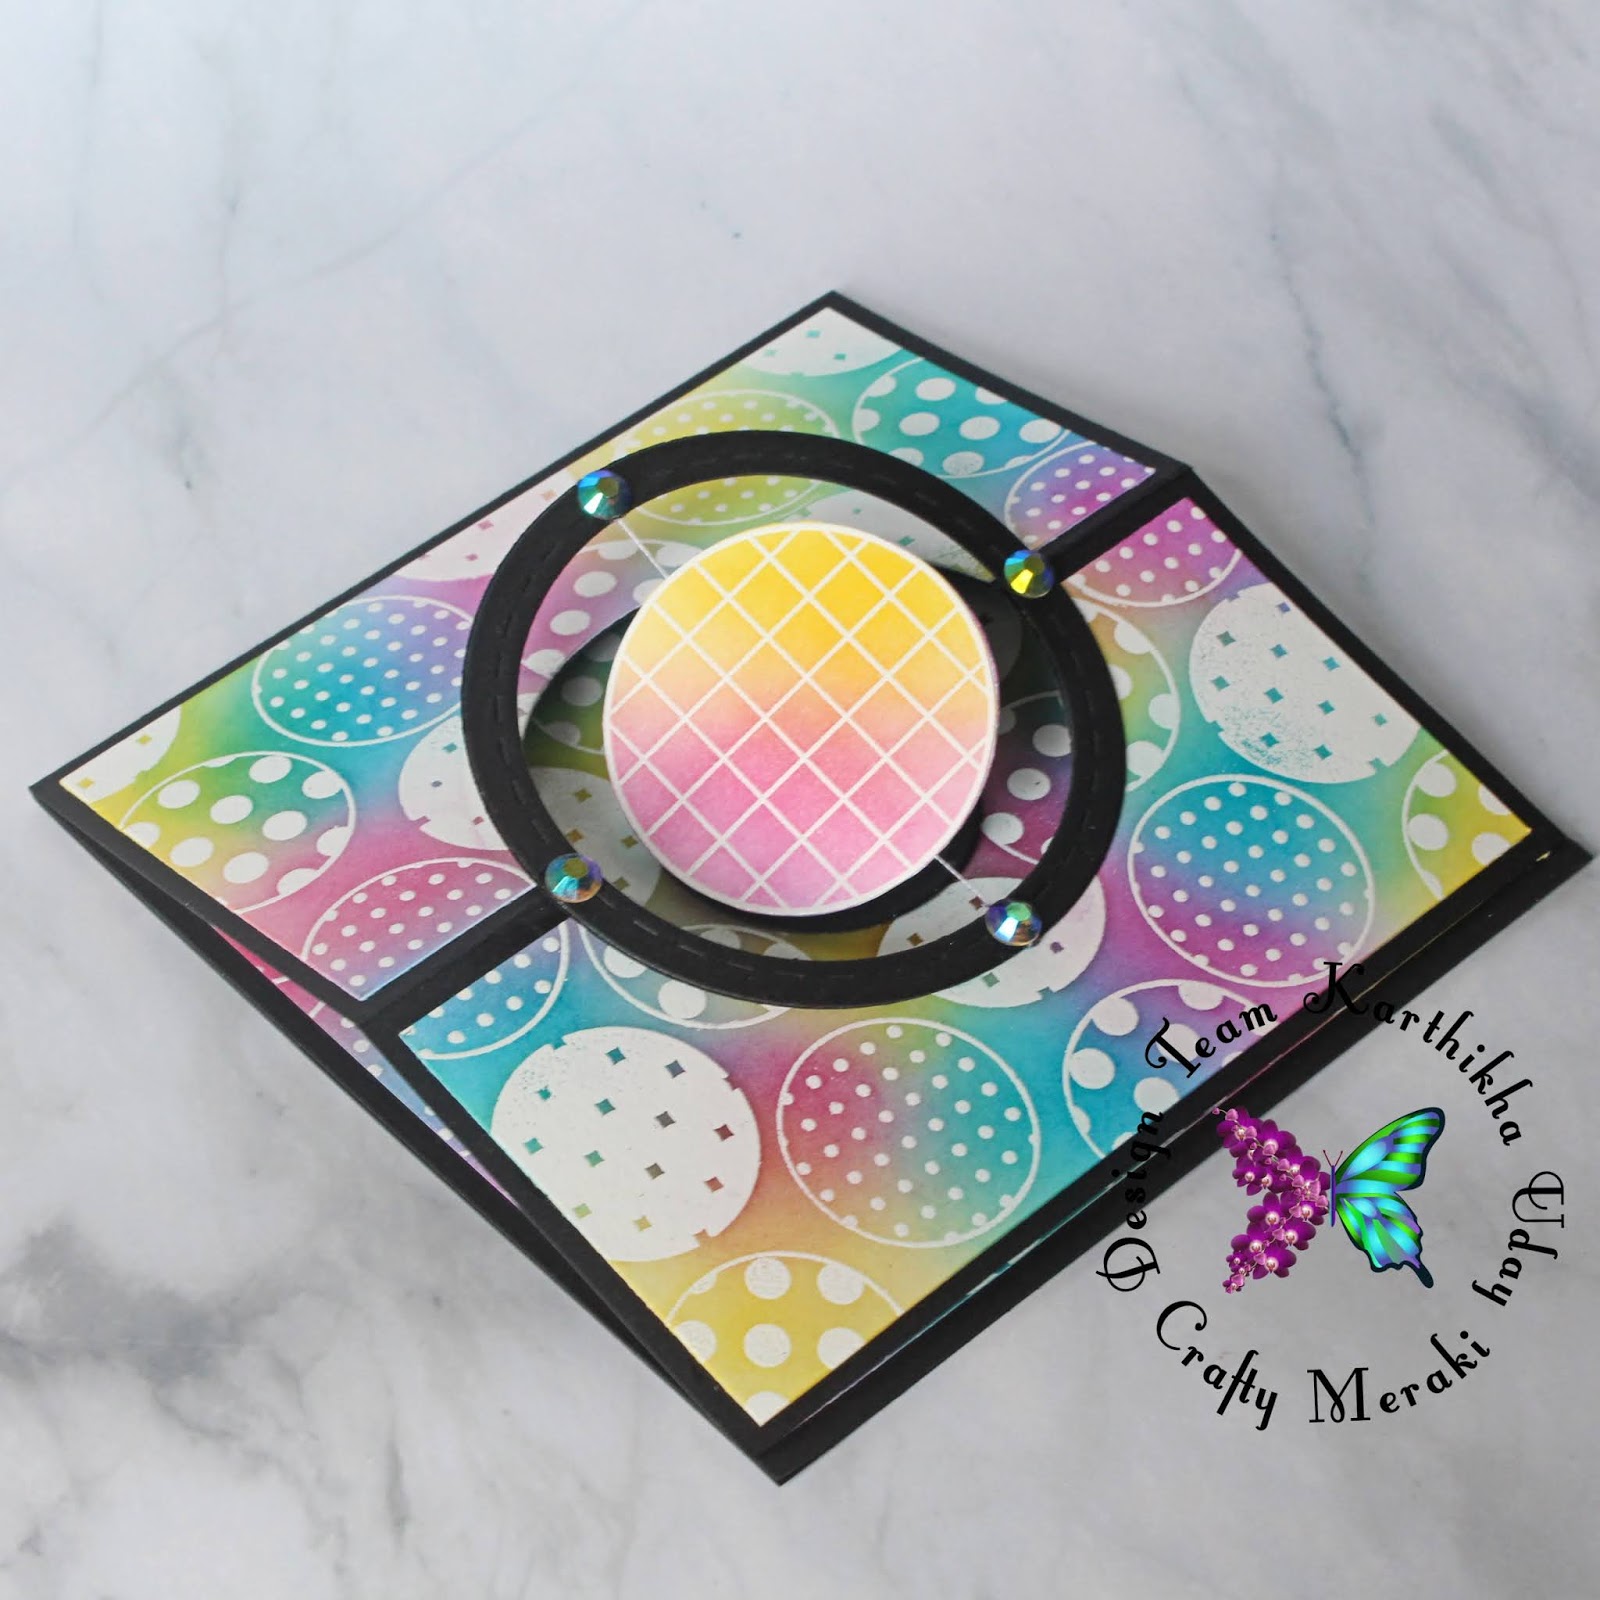
I then made a square easel card using black cardstock, of size 5x5 inches. I've trimmed the patterned panels as required and attached them to the easel card base. The next step is to get the spinning element ready. I've stamped the bigger circle image twice, heat embossed in white, blended one image in blue and the other in pink and yellow, and fussy cut them out. Sandwiching a thread in between, glue the 2 circles together.
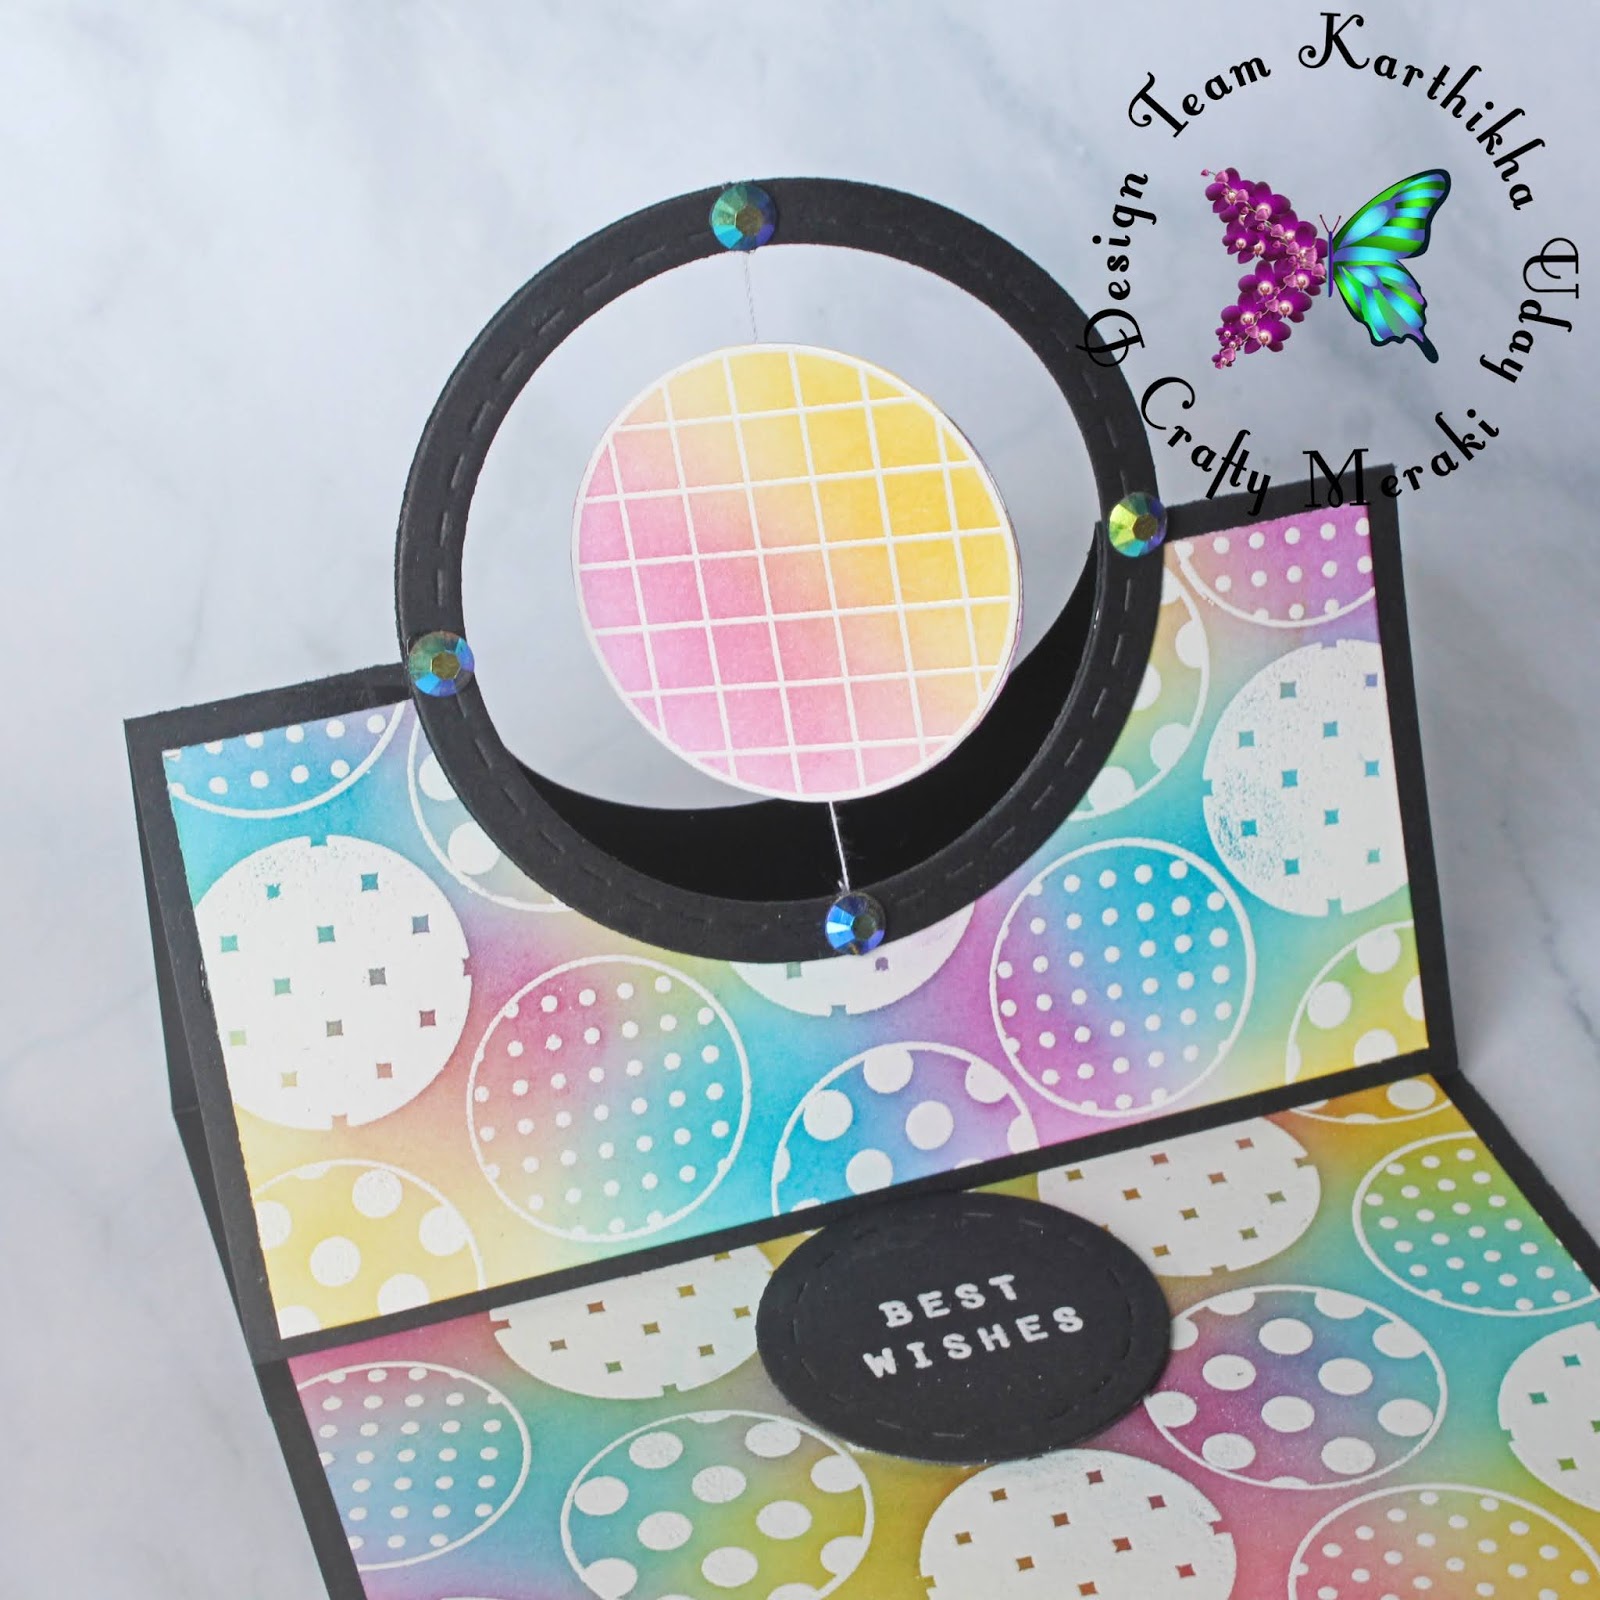
Next, the spinner element needs a frame to spin within. I've created this frame using a nested stitched circle die set, out of black cardstock. Choose a couple of sizes bigger than the spinning circle, so that it can move freely. Stretch the thread through the frame and adhere using strong glue. I've doubled up the frame as well, to hold the thread in place and be sturdy.
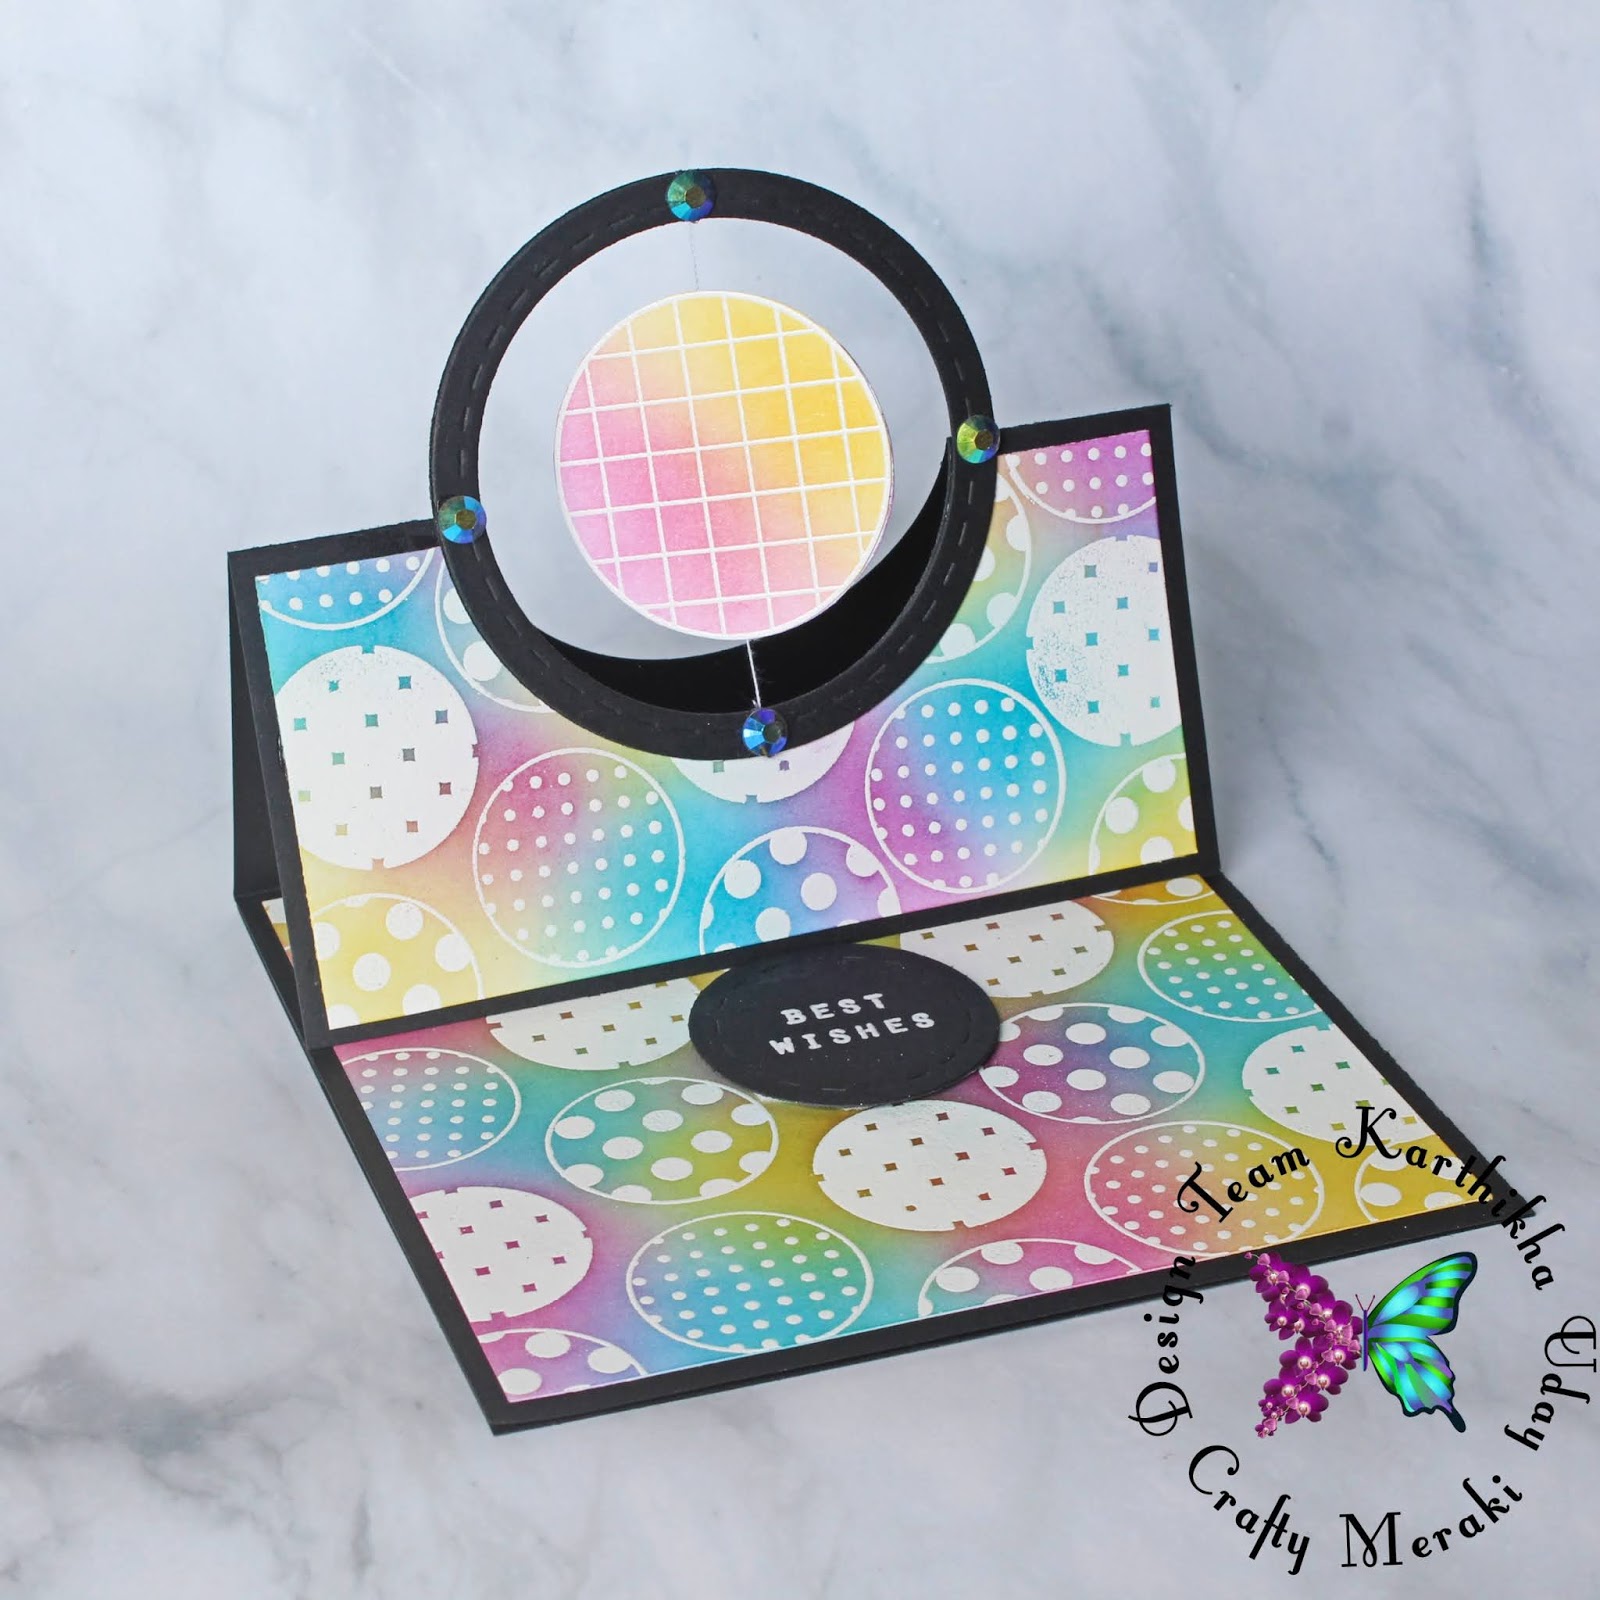
Out of the 2 dies used to create the circle frame, I took the smaller circle and die-cut from the easel folding portion, at the center. This provides the window to attach the frame. I then glued only the bottom portion of the frame to the easel card, to make sure the spinner stands when the easel card is set. I hope the steps are clear to understand if you watch the video! :)
For the easel stopper, I used a sentiment from the same stamp set, heat embossed in white on black cardstock and die-cut it using a circle die. I've adhered it right behind the spinning circle image, using foam tape. I also added a few jewels on the circle frame for some sparkle. To finish the card, I needed a space to add a personal message, so created another black square notecard and adhered to the base of the easel card.
Thank you for stopping by, hope you like my creation! Do let me know your feedback! Have a nice day :)

8 comments
Dianne ten Hove
What a great card !!!
Karthikha Uday
Thank you :)
Susie Moore
This is so very clever. Thank you for sharing!!
Leave a comment
This site is protected by hCaptcha and the hCaptcha Privacy Policy and Terms of Service apply.