
Hey Crafty Meraki friends......it's Michelle back with a new post for you, featuring the newly released shaker products! This week they have released both A2 and Mini Slimline clear shaker pockets. These allow you to create a full card front or inifnity shaker card. There are also some gorgeous new elements to put in those shaker cards! Everyone loves a fun shaker card, so keep reading to find out just easy it is to make a shaker card!

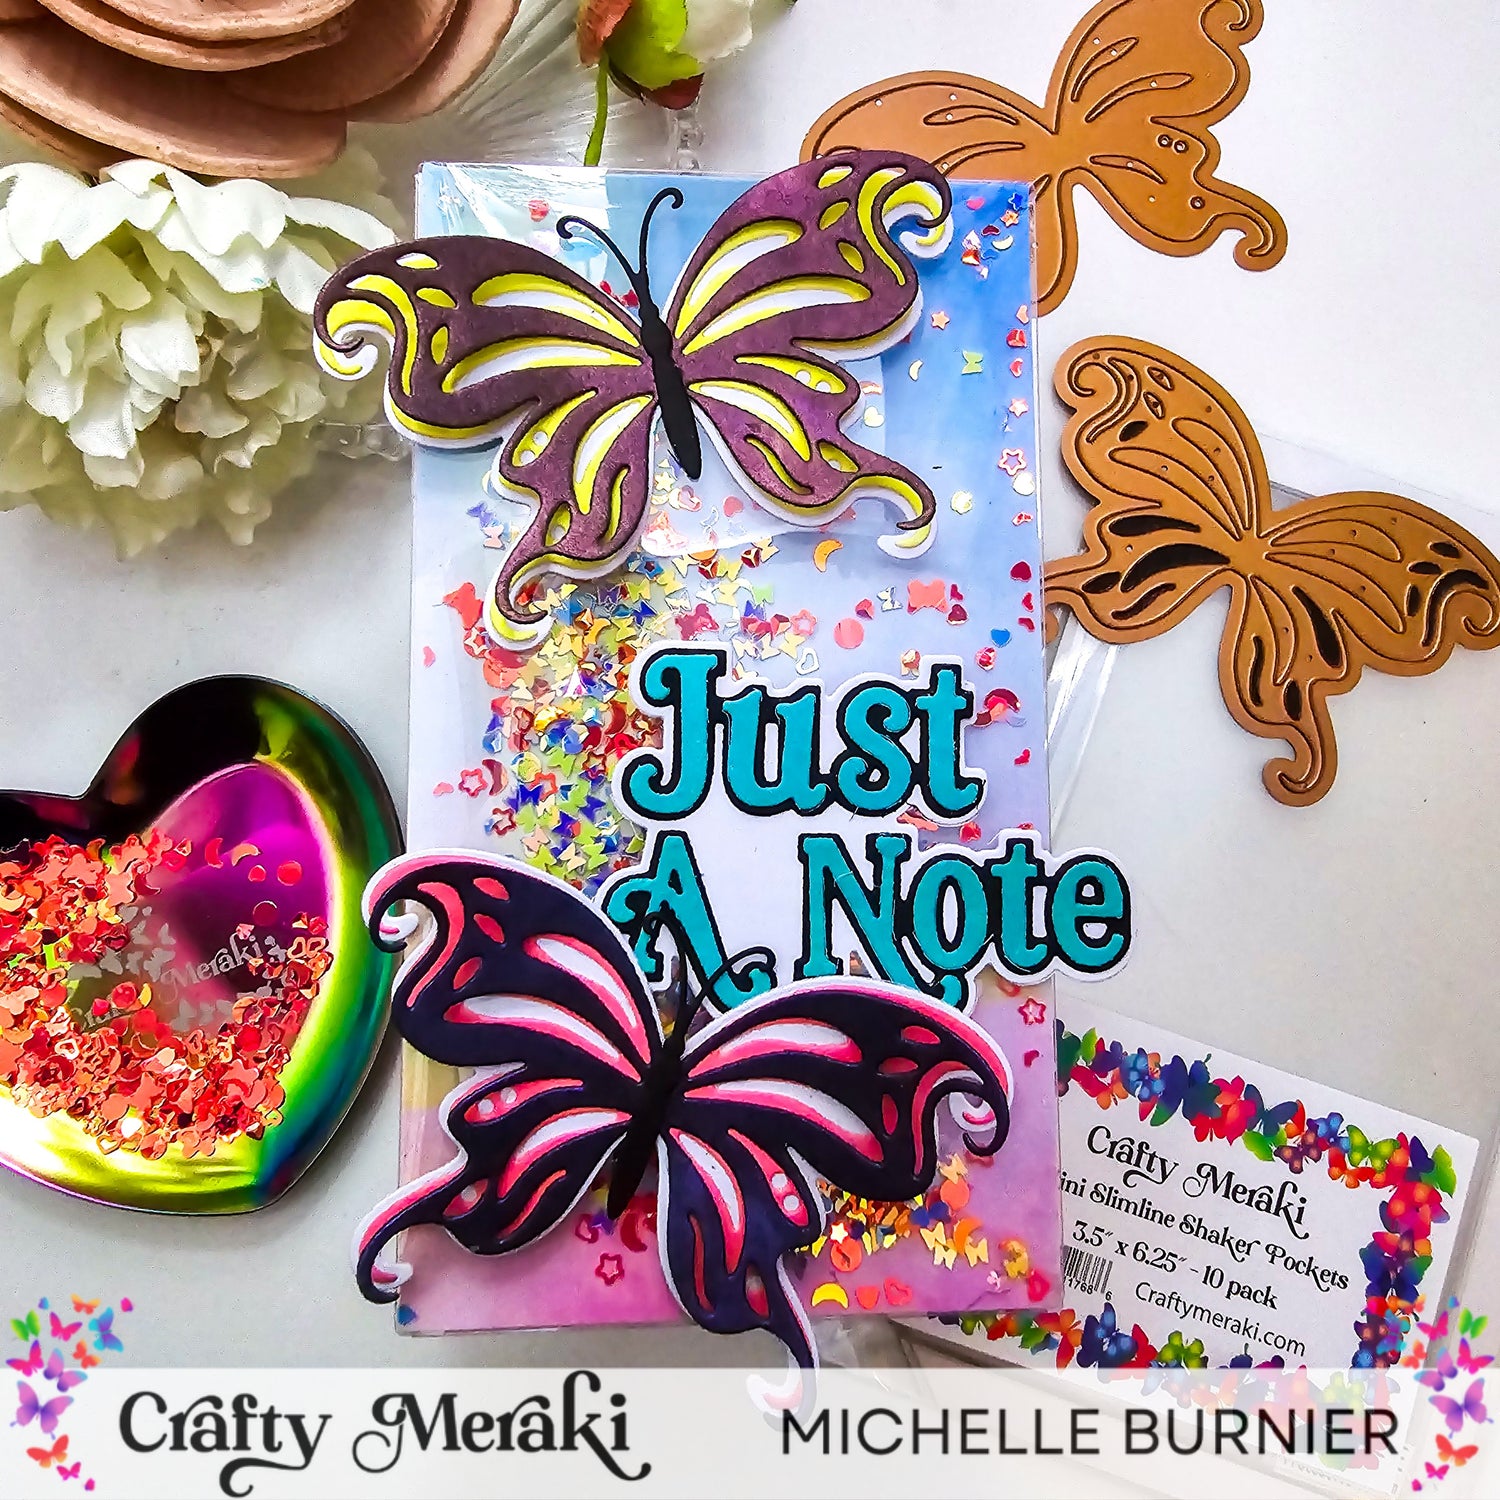
I started by ink blending 3 pieces of white cardstock and 3 pieces of black. I used 3 interference ink pads from Lisa Horton. ( I changed my mind after and only used 2 of them, instead of my orginal plan to have 3). These inks are pretty amazing, as the same ink pad will give you a different colour when ink blending on white cardstock compared to black, so you get a 2 for 1. I used the top 2 layers of the Emperor Wings Para Dies and die cut from the 2 ink blended pieces of cardstock of each colour. I cut the top detailed layer from the darker colour (which was blended on black) and the brighter white cardstock was cut from the second layer. The bottom layer of the butterfly was cut from plain white cardstock, this way they don't get lost against the shaker background.

I picked out a sheet of paper from the Color Cascade Pattern Paper Pack, that had the same shades of colours as the butterflies. The background paper was cut down slgihtly smaller the pocket size of 3.5x6.25". By cutting it ever so slightly smaller, it will fit perfectly in the pocket and not buckle, if you will.

Take one of the shaker pockets and using a bone folder fold over the bottom and left and right sides of it. Insert the background pattern paper into the pocket, with the good side facing the clear acetate front.

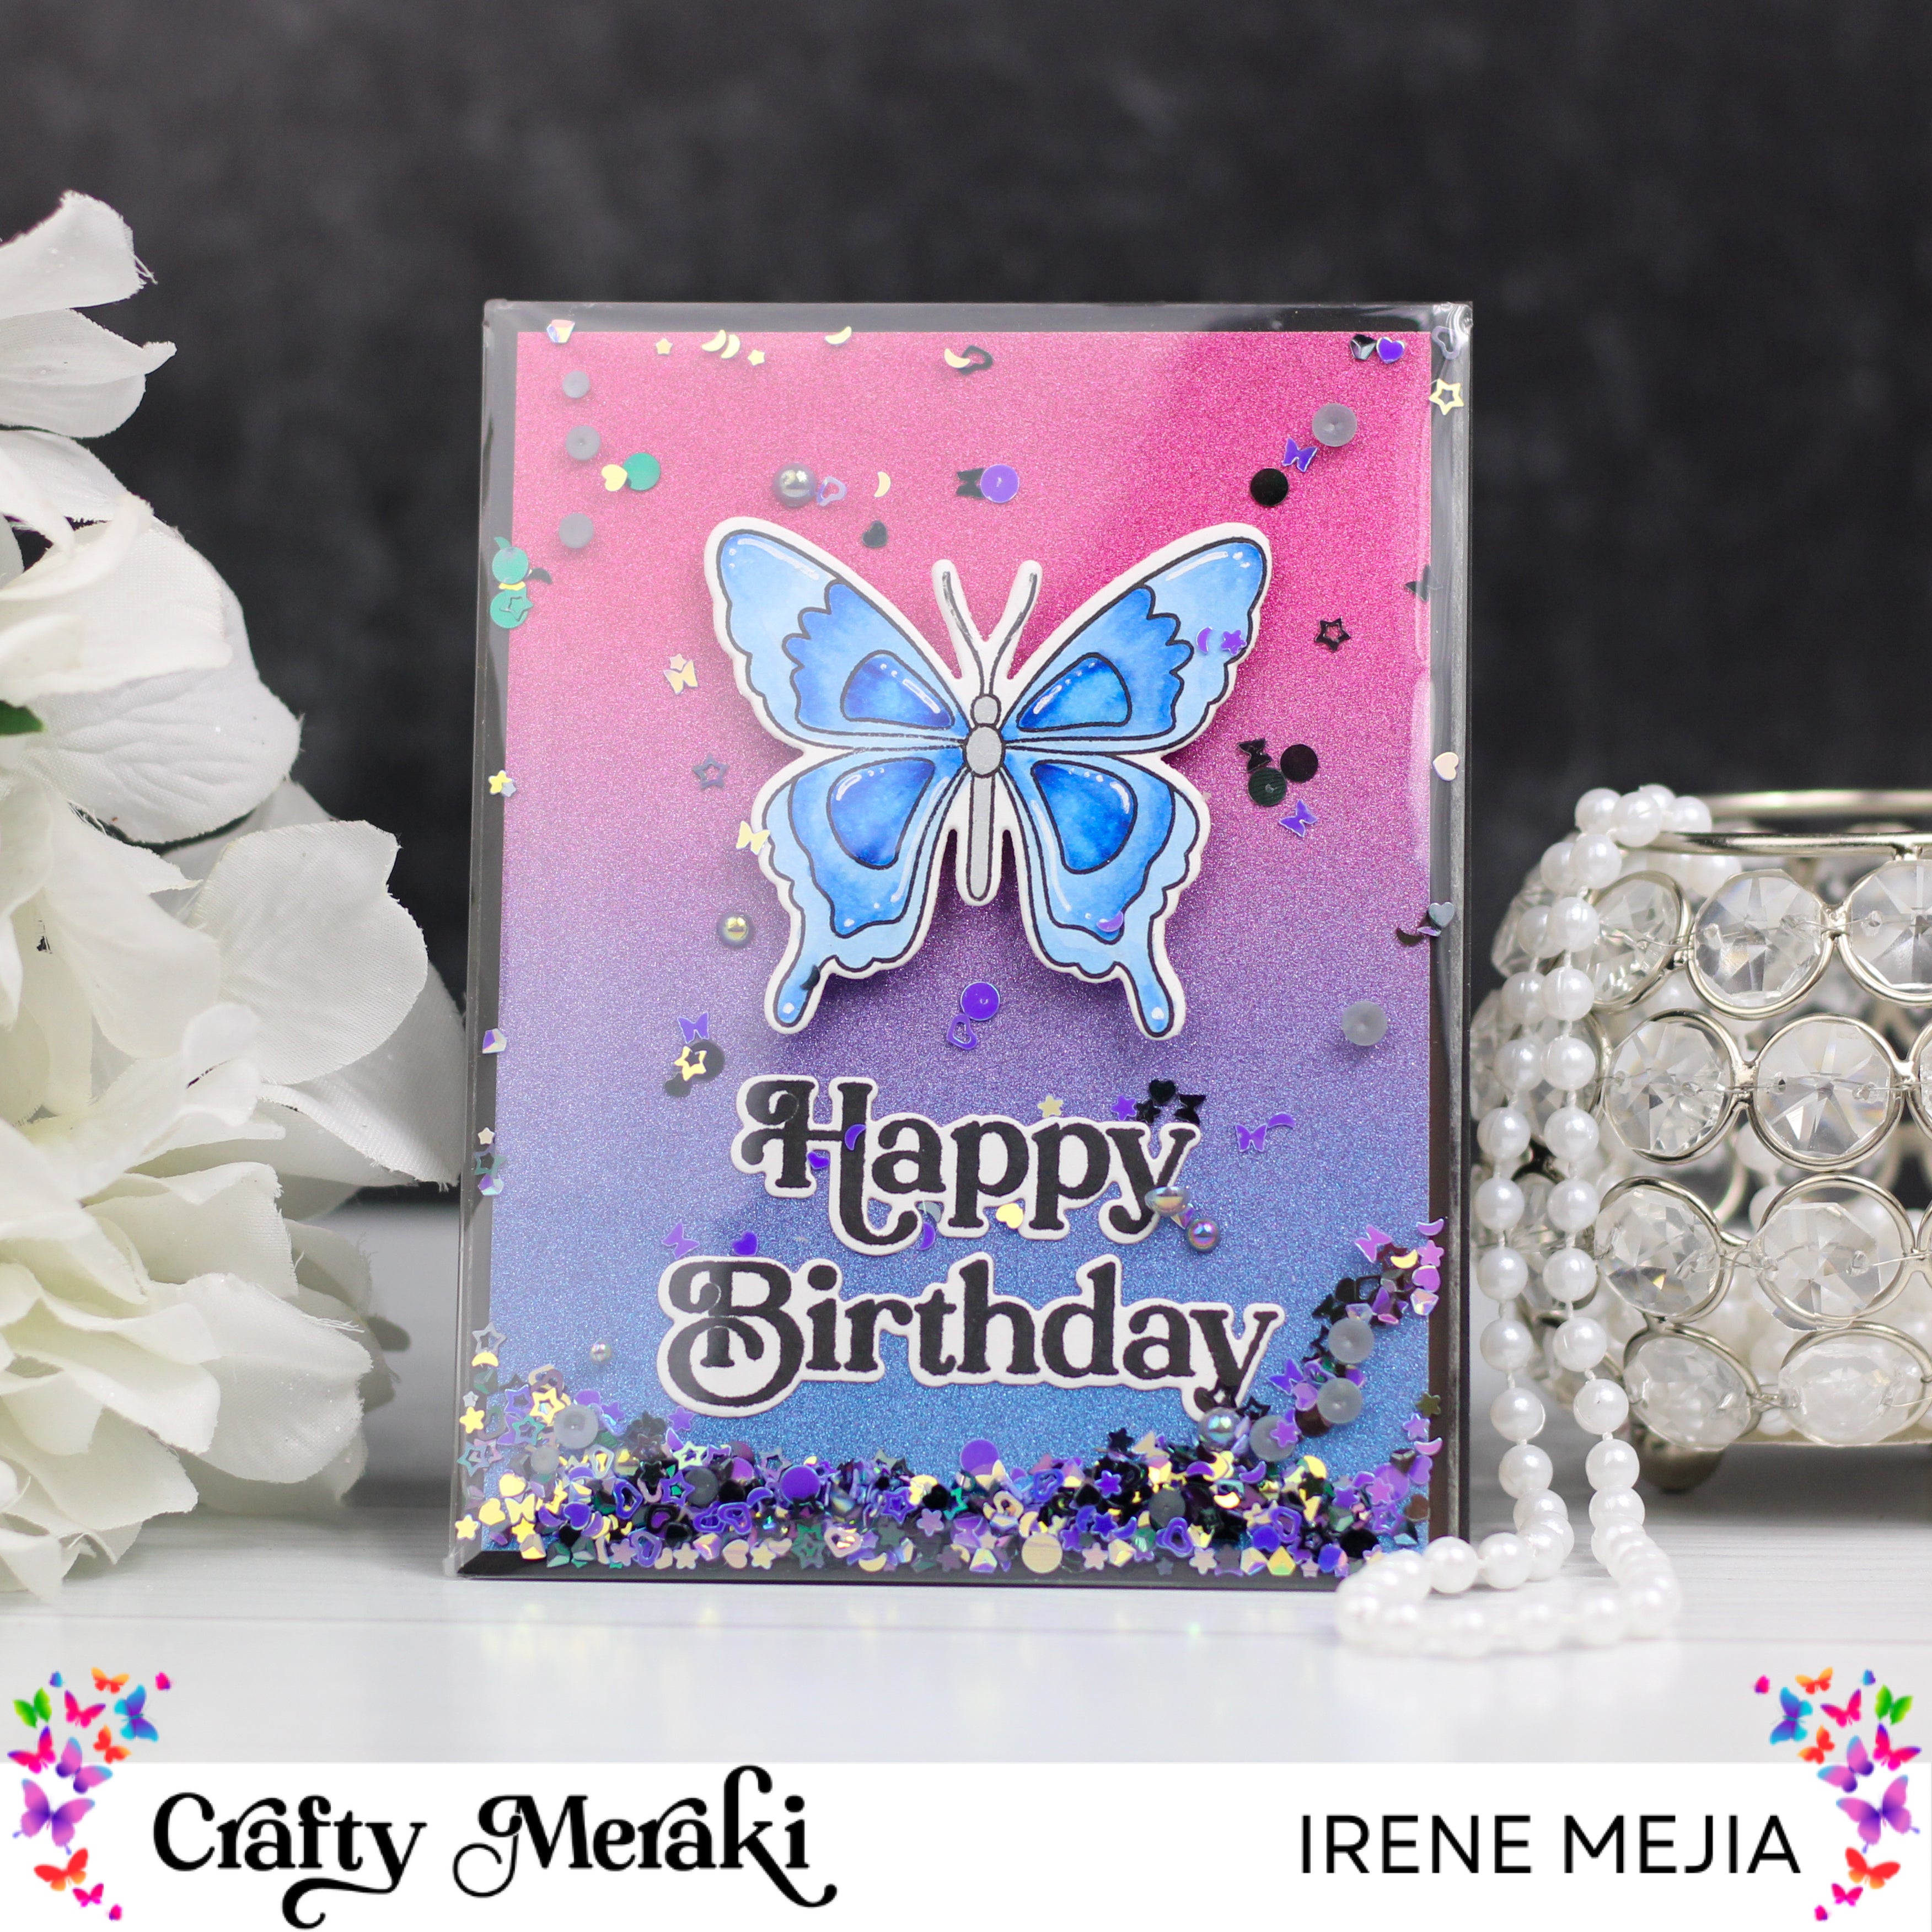
Remove the backing from the adhesive on the 3 sides and adhere to a cardbase measuring the same size as the shaker pocket......3.5 x 6.25". This will leave the top of the shaker pocket open. Add your sequins using the top of the shaker pocket, that is not yet sealed shut. I used Fancy Flutter Buttercream, Twinkle Treats Azure, Flutter Fancy Lavender and Twinkle Treats Neon PInk. These all mimicked the same colours I used for the rest of the elements of the shaker. Before adhering the top flap to the cardbase, remove the protective film from the shaker pocket. Fold over the top of the pocket using the bone folder, remove the backing from the adheisve strip and adhere to the cardbase.

Adhere 2 of the butterflies together and adhere to the front of the clear acetate shaker pocket using liquid adhesive. Cut out the 3 layers of the Just A Note sentiment. The first layer using a teal from the same type of inkpads (this was actually the 3rd colour of ink that I ink blended initially for the butterflies, but chose not to use in the end). Cut out the bottom 2 layers of the sentiment from black and white. Adhere the 3 layers together and add to the card front. Place an acrylic block on top of it all for a few minutes to ensure that it adheres well.

And that's it! These shaker pockets are so easy to use! They make making a shaker card very easy and simple to do. Long gone are the days of shaker cards being intimidating and thinking you can't do one. Anyone can make one with minimal effort!
Thank you very much for stopping by today and joining me on the blog. I hope that I have helped to inspire you in some way. I wish you all the most wonderful day and until next time, Michelle :)
Leave a comment
This site is protected by hCaptcha and the hCaptcha Privacy Policy and Terms of Service apply.