
Hi crafty friends! It's Samantha back on the Crafty Meraki blog enjoying my time as guest designer. Valentine's Day is almost here and this week we are focusing on "Love" cards.

There is nothing I enjoy more than to use alcohol markers to color a big beautiful floral image, and Crafty Meraki has some of the prettiest floral stamps you can find!
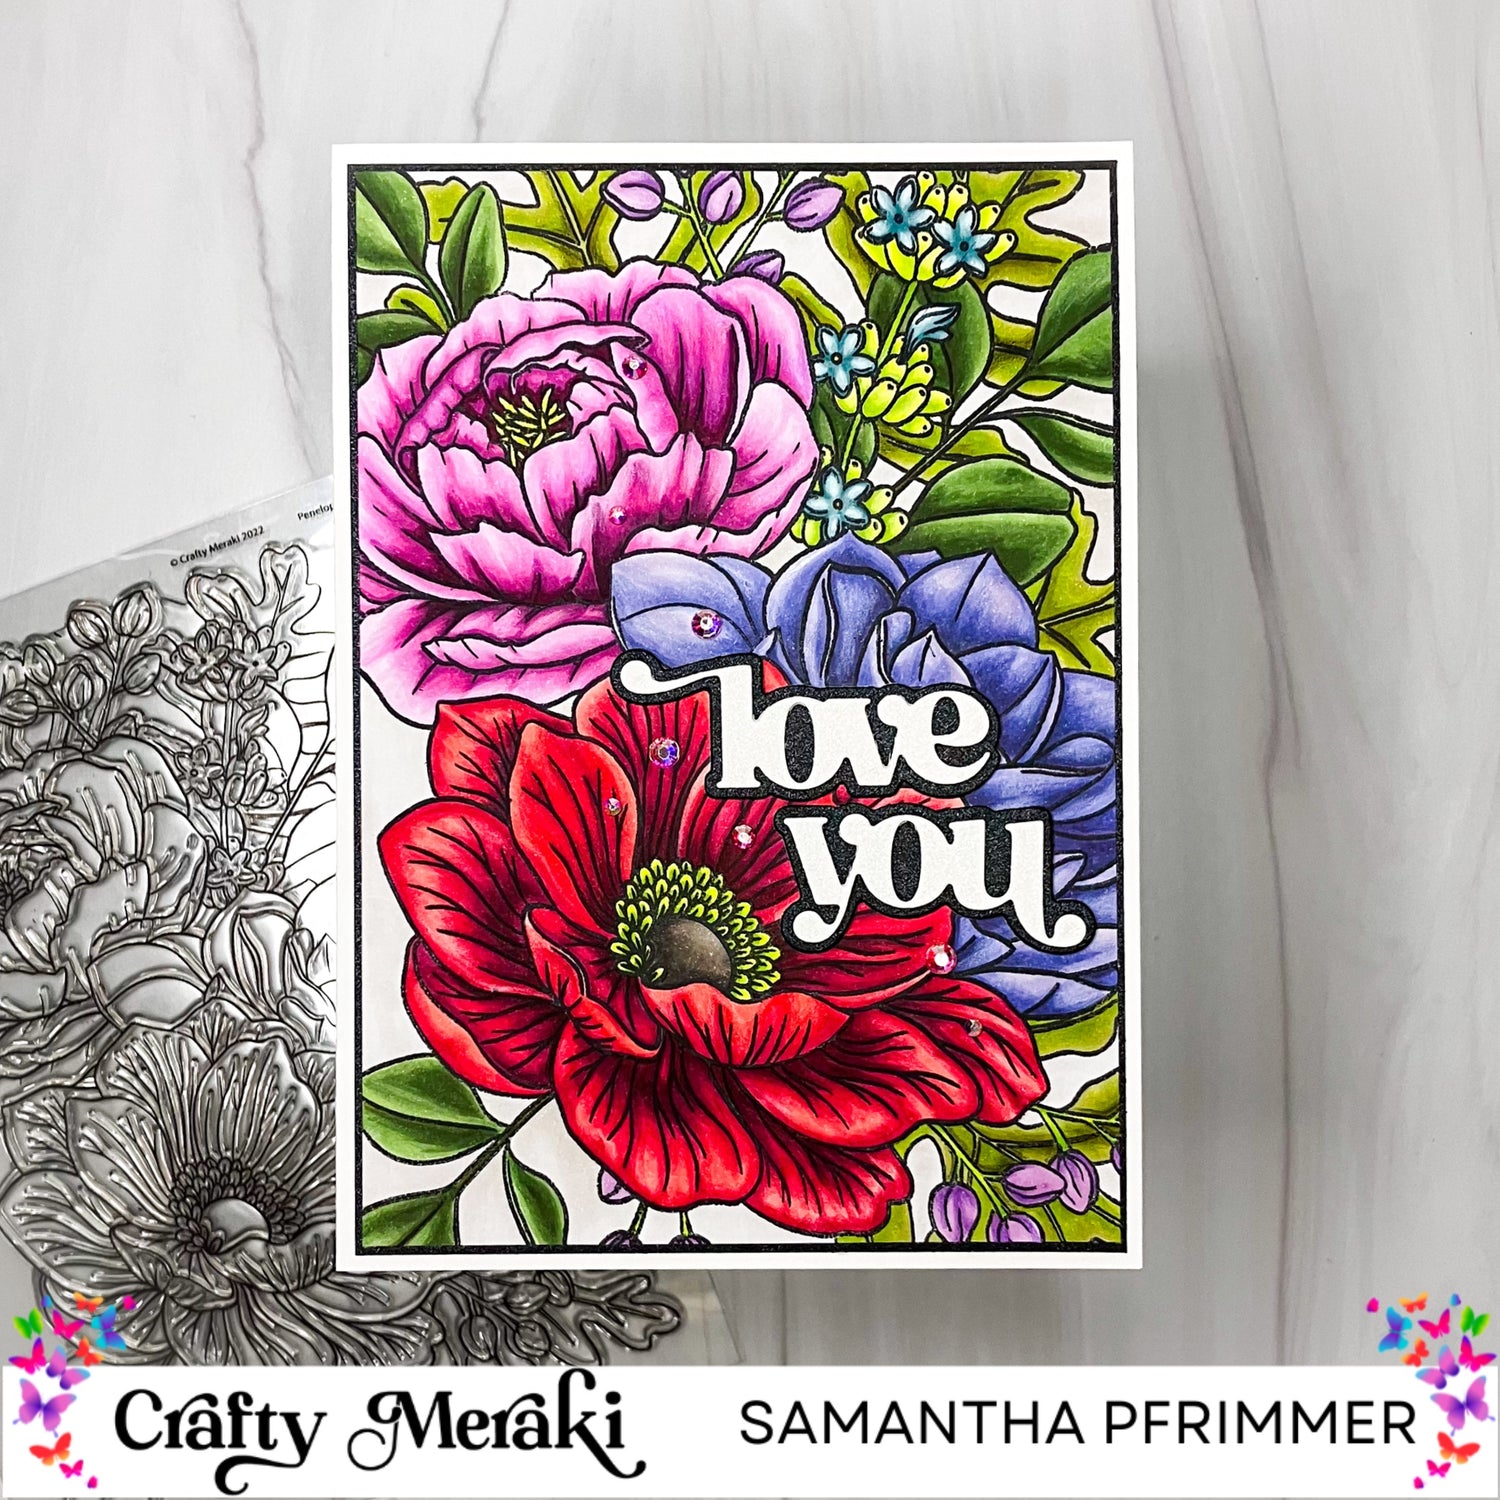
For this card, I selected the stunning Penelope's Garden Stamp Set which is made to fit a 5" x 7" card panel. It was love at first sight for me with this stamp and I could wait to use it for my project.

After stamping my image onto X-Press It cardstock in Memento Tuxedo Black ink, I then grabbed my Copic markers. I often get asked about coloring florals and I have a few tips to help improve your coloring results.
First, don't limit yourself to the markers in a single color blending family. You can always layer your markers to achieve new color options. For example, in my larger leaves, I used YG93 to color over a blend of YG23 and YG25 and was able to achieve a new olive green shade.
A second tip, grab those colored pencils. You can always use a little colored pencil to enhance your shadows and highlights, or even add in a deeper shade. You don't even need a full set of pencils. For this card, I used a little Prismacolor Black to deepen my shadows along with Prismacolor White to brighten my highlights. Just remember to keep your pencils sharp and work with a light hand.
The last tip, and most important one... Use Copic-friendly cardstock. It's a game changer! There are several brands of cardstock available for use with alcohol markers, and this specialty paper will always help you to improve your blends. They allow you to add more layers of ink without oversaturating your paper, and they help prevent a lot of color bleeding.

Once I finished coloring my card panel, using my paper trimmer, I trimmed it down to 4 5/8" x 6 5/8." Next I cut a black mat 4 3/4" x 6 3/4" which I attached to my card panel, before adhering both to a 5" x 7" card base.
To finish everything off, I added a "Love You" sentiment in white with a black shadow using a sentiment die from my stash. Finally, to enhance the sentiment I added a little shine to the white die cuts with a shimmer pen, before adding some Meraki Sparkle Magic Crystal embellishments.
I am so pleased with how this card turned out. I hope you enjoyed it too!
Thanks for reading!
1 comment
Debbie S. SCHENZ
Beautiful, love the bold colors! Love it!
Leave a comment
This site is protected by hCaptcha and the hCaptcha Privacy Policy and Terms of Service apply.