

Hello crafty friends! It’s Karin again from @creakarts. Welcome to my second blog as guest designer for this month. This weeks theme is all about gifts. Let me take you into the world of making gift tags and wrapping paper.
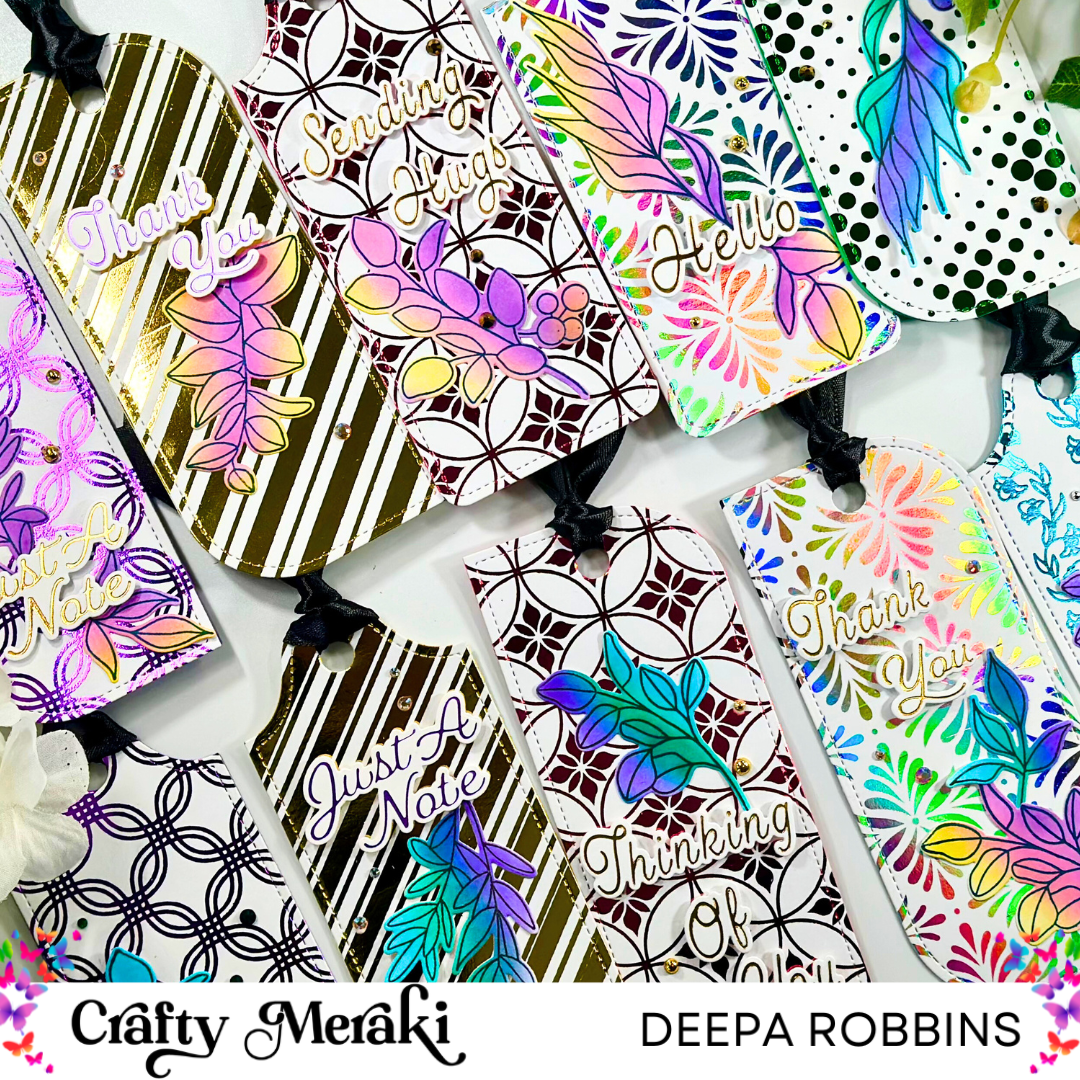
I started with a piece of white tissue paper to make my own wrapping paper. A stencil is a perfect way to make a lovely colourful piece of wrapping paper so I used the Blooming Halo layering stencil set for this piece. First I picked the ink colours I wanted to use. Distress oxide inks in the colours: twisted citron, dried marigold, carved pumpkin and cracked pistachio and I also used Pinkfresh studio dye ink in Spanish moss.


I placed the tissue paper onto a magnetic mat with the rougher side up and started with stencil number one and the colour dried marigold. I placed the little magnets against each side of the stencil to line every stencil up. I used little brushes to add the inks onto the paper. For the second stencil I used the colour carved pumpkin. The third stencil twisted citron, the fourth cracked pistachio and the fifth Spanish moss. Now one wreath is done and I moved the magnetic mat to make another wreath, I repeated this several times until I was satisfied with the amount of wreaths.
At the end I saw I made one wreath too many so I cut one out of the paper and used it to make a gift tag. For the biggest gift tag I used watercolour paper because I wanted to ink smooch the background. I placed some twisted citron ink onto my glass mat and sprayed a little water over it, I took my tag and placed it on top of the ink and pressed it into the ink with my fingers. When you pick up your piece of paper you’ll see there’s a lovely smooch of ink on the paper. I dried it with my heat tool and did the exact same thing after it was dry but now i used dried marigold. The inks won’t mix but lay on top of each other.
I cut out the wreath along the lines and cut it in three pieces. I placed them onto the tag, smooth side up, with modpodge and smeared modpodge over the wreath pieces too. When its dry it’s water resistant. After it was dry I added some Ranger ink tarnished brass coloured distress paint splatter and dried marigold distress oxide spray paint splatters.
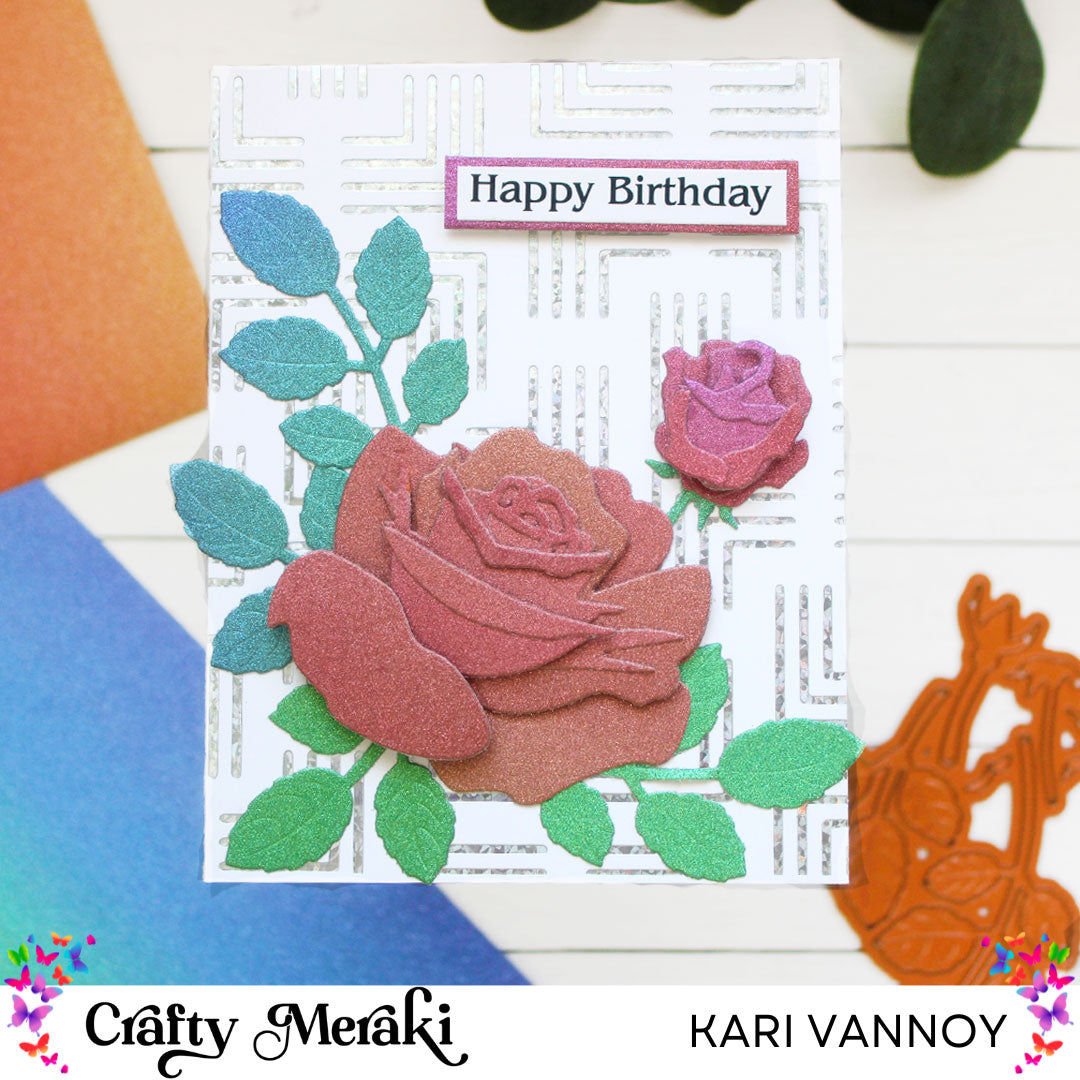
I wanted to add a sentiment but I didn’t want to place one over this big tag so I made another smaller tag and just added a sentiment on it. The sentiment stamps I used for this tag are from the Birthday Bouquet stampset. I used memento tuxedo black to stamp the sentiments and uni-ball signo pen in gold to colour some of the edges of the letters.
Now everything is finished I can wrap up my gift with the tissue paper, smooth side up. If you want to have a white base for the tissue paper you can use normal wrapping paper inside out first. Adding the gifttags with a shiny thin piece of rope to the gift gives it an even more festive look.
There’s one downside about using tissue paper, it can’t get wet, because it’ll tear up very fast when it’s getting too wet. So be careful.
I hope I inspired you with this blog and you’ll give it a try too! I wish you a wonderful weekend and hope to see you next Saturday for another blog.
~ Karin
~ Karin
14 comments
Christina Harrison
I still can’t believe I’m writing this today, but I just have to share my story. After my husband left me, I was completely devastated. We had been together for years, and I couldn’t understand what went wrong. He moved out, stopped communicating, and even started seeing someone else. I tried everything I could think of to make things right, but nothing worked. Then, a close friend told me about Dr. Great, a spiritual spell caster who helps reunite lost lovers. I was skeptical at first, but I was desperate to save my marriage, so I decided to give it a try. I contacted Dr. Great, explained my situation, and he listened patiently. He assured me that he could help restore my marriage — and after 48 hours of him casting the spell, things started to change.Out of nowhere, my husband called me to apologize. He told me he had been thinking a lot about us and wanted to come home. Within a week, he was back, full of love and regret. Since then, our relationship has been stronger than ever. I’m so grateful to Dr. Great for his powerful work and for bringing peace and love back into my life. If anyone out there is going through something similar, don’t give up. There’s hope, and sometimes the right help can make all the difference. Email Dr Great at
infinitylovespell@gmail.com
Add him up on WhatsApp +2347080414916
WEBSITE https://infinitylovespell.wixsite.com/infinity-love-spell
Heather Delaney
It is amazing how quickly Dr. Excellent brought my husband back to me. My name is Heather Delaney. I married the love of my life Riley on 10/02/15 and we now have two beautiful girls Abby & Erin, who are conjoined twins, that were born 07/24/16. My husband left me and moved to be with another woman. I felt my life was over and my kids thought they would never see their father again. I tried to be strong just for the kids but I could not control the pains that tormented my heart, my heart was filled with sorrows and pains because I was really in love with my husband. I have tried many options but he did not come back, until i met a friend that directed me to Dr. Excellent a spell caster, who helped me to bring back my husband after 11hours. Me and my husband are living happily together again, This man is powerful, Contact Dr. Excellent for any kind of spiritual problems or any kind of spell or relationship problems, he is capable of making things right for you. Don’t miss out on the opportunity to work with the best spell caster. Here his contact. Call/WhatsApp him at: +2348084273514 "Or email him at: Excellentspellcaster@gmail.com ,For more information visit his website:https://drexcellentspellcaster.godaddysites.com
Patricia Lovick
How To Recover Your Bitcoin Without Falling Victim To Scams: A Testimony Experience With Capital Crypto Recover Services, Contact Telegram: @Capitalcryptorecover
Dear Everyone,
I would like to take a moment to share my positive experience with Capital Crypto Recover Services. Initially, I was unsure if it would be possible to recover my stolen bitcoins. However, with their expertise and professionalism, I was able to fully recover my funds. Unfortunately, many individuals fall victim to scams in the cryptocurrency space, especially those involving fraudulent investment platforms. However, I advise caution, as not all recovery services are legitimate. I personally lost $273,000 worth of Bitcoin from my Binance account due to a deceptive platform. If you have suffered a similar loss, you may be considering crypto recovery, The Capital Crypto Recover is the most knowledgeable and effective Capital Crypto Recovery Services assisted me in recovering my stolen funds within 24 hours, after getting access to my wallet. Their service was not only prompt but also highly professional and effective, and many recovery services may not be trustworthy. Therefore, I highly recommend Capital Crypto Recover to you. i do always research and see reviews about their service, For assistance finding your misplaced cryptocurrency, get in touch with them, They do their jobs quickly and excellently, Stay safe and vigilant in the crypto world.
You can reach them via email at Capitalcryptorecover@zohomail.com OR Call/Text Number +1 (336)390-6684 his contact: Recovercapital@cyberservices.com
Christopher Reed
It is hard to believe this but it is true you can spy on whoever you want to remotely from anywhere in the world and get any data you want to get from anywhere with the help of Brillianthackers800 AT gmail DOT com, trust me you can count on this team, you can also get through to them via WhatsApp: +14106350697, All you need to do is try, That is all i did and they came through good.
Leave a comment
This site is protected by hCaptcha and the hCaptcha Privacy Policy and Terms of Service apply.