
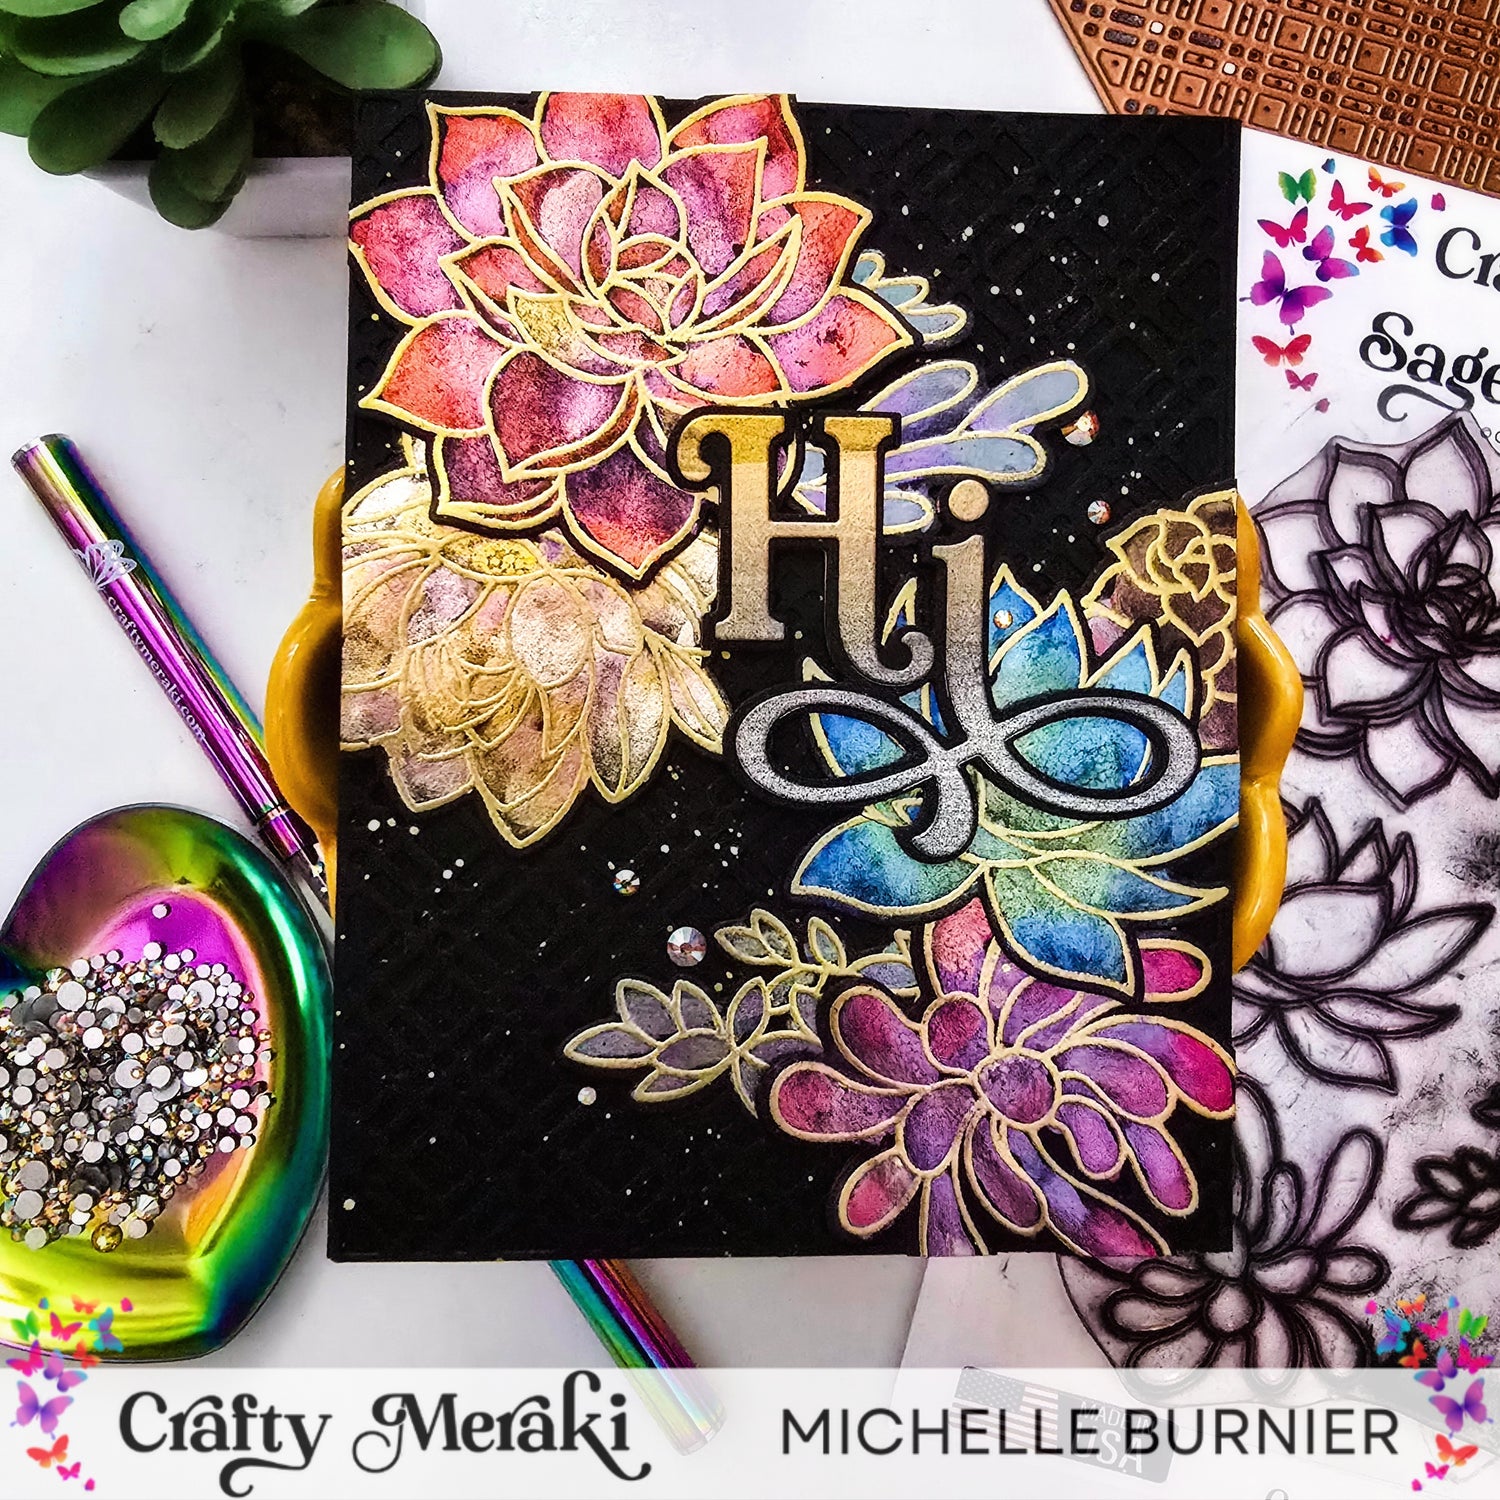
Hey Crafty Meraki friends.....it's Michelle back with you today sharing a card using the new Sage Symphony Stamp Set and the re-released A2 background die...the background die now covers an A2 panel perfectly. This card brings a bit of drama with the black background and all of the focus is on these gorgeous succulents! Let's get started, shall we! A word of caution, this post may be photo heavy ( I couldn't stop taking pics lol).

On a piece of black cardstock, heat emboss the Sage Symphony Stamp Set with gold embossing powder. I used an anti-static powder on the paper, to ensure I got a very clean embossed image as everything shows on black lol. After it was embossed and cooled, I went over it lightly with a very lightly damp paper towel to remove any white residue left from the anti.static powder.

Next came the colour. I recently got some new pearlescent (also in my opinion metallic) watercolours and have wanted to just paint all the things...they are just that gorgeous, especially when on black. So I thought these images would be perfect for them. Although these are watercolour paints, I used regular cardstock, as I wasn't going to flood the paper with water, but just enough to move the paints and blend them abit.

So I got out my paint palettes, some clean water and a small paintbrush. I tried to make each image a different colourway and added 2 or more colours to each as well. These dry quicker than using watercolour cardstock, as the paper absorbs the paint quicker.

I wanted the background to be tone on tone,which will allow the focus to stay on the succulents, but I also wanted a bit of texture to it, so I cut out the Crafty Plaid A2 Background Die in the same black cardstock as the cardbase. I added some gold paint flecks using the same paint palettes as the above. I did this in my dedicated paint splatter box, so as not to get gold paint all over my work surface.

I adhered the splattered diecut plaid background on my A2 cardbase and then arranged the images how I wanted them. Once I was happy, I placed a piece of Press N Seal over top and applied some pressure to get them all to stick to it. This allows me to add adhesive to the back of them and then place them back on my background exactly where I want them. There is no second guessing this way as to whether they are in the correct spot. Any overhang of the flowers were cut off the edge of the cardbase.

I cut the sentiment using the Meraki Moments Hi Para-Die, from a previously made background when I first got these paints and was playing around, using the gold palette. Oh and the silver at the bottom of the ombré p'iece..it contains real silver....the sparkle is gorge! The second layer of the sentiment was cut from black cardstock and they were adhered together. The sentiment was added to the card front and then a few bits of sparkle was added using the Meraki Sparkle Golden Illusion.

And that's it! I love how these paints really bring these succulents to life...they really shine! The shine on these is unreal......so gorge! I love these succulents, as they are a perfect vessel for adding colour and especially using watercolours.

Thank you very much for stopping by today and joining me on the blog. I hope that I have helped to inspire you in some way. I wish you all the most wonderful day and until next time, Michelle :)

1 comment
Dave allen
I lost my job few months back and there was no way to get income for my family, things was so tough and I couldn’t get anything for my children, not until a met a recommendation on a page writing how Mr Bernie Doran helped a lady in getting a huge amount of profit every 6 working days on trading with his management on the cryptocurrency Market, to be honest I was skeptical at first but I took the risk to take a loan, and I contacted him unbelievable and I was so happy I received a profit of $15,500 with an investment of $1500 within 7 days of trading , the most joy is that I can now take care of my family, i am just sharing my testimony on here. I don’t know how to appreciate your good work Mr. Bernie Doran, God will continue to bless you for being a life saver I have no way to appreciate you than to tell people about your good services. He can also help you recover your lost funds, For a perfect investment and good return on investment contact Mr Bernie Doran on Gmail : Berniedoransignals@gmail.com his telegram : IEBINARYFX or his whatsApp : 1 ( 424 ) 285 – 0682
Leave a comment
This site is protected by hCaptcha and the hCaptcha Privacy Policy and Terms of Service apply.