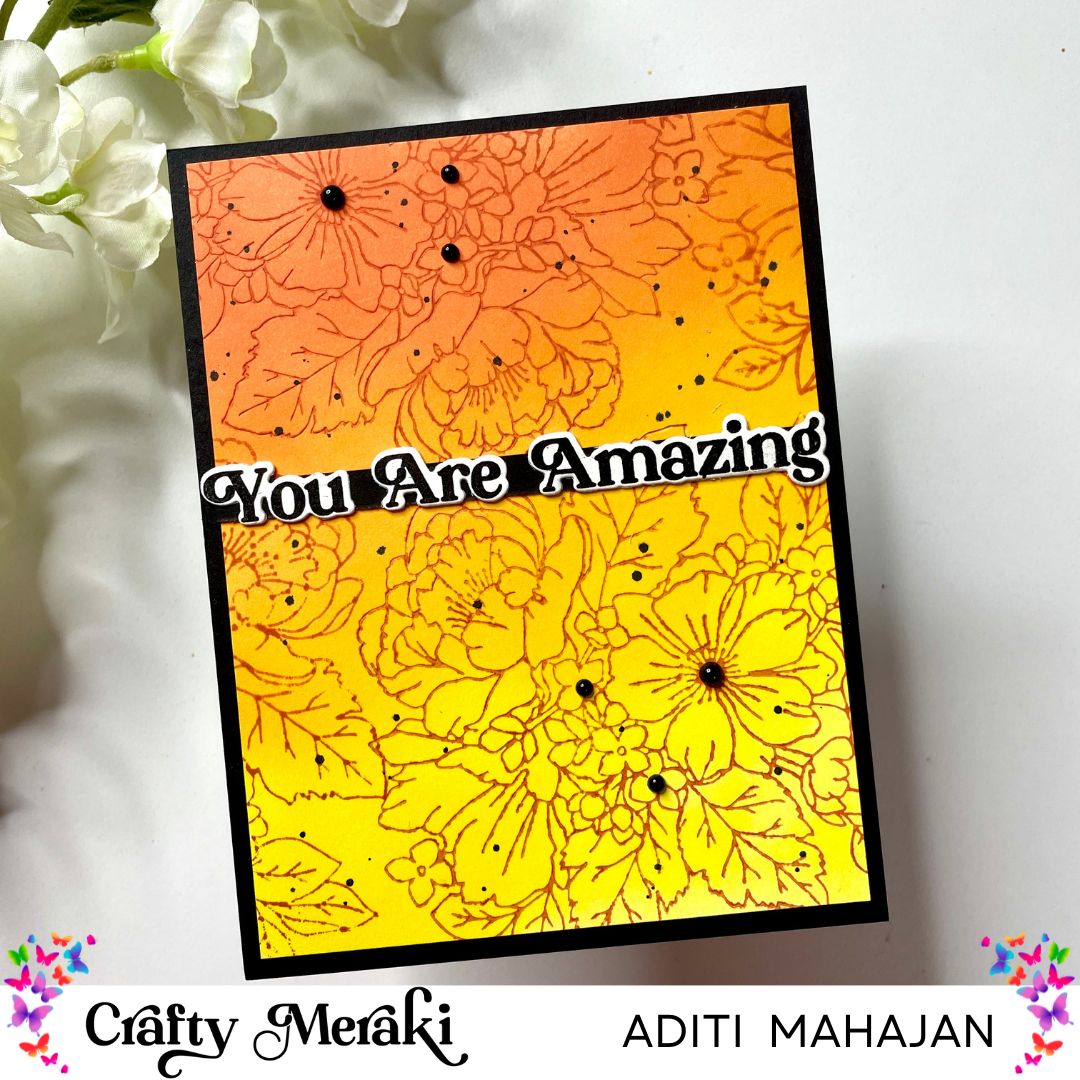
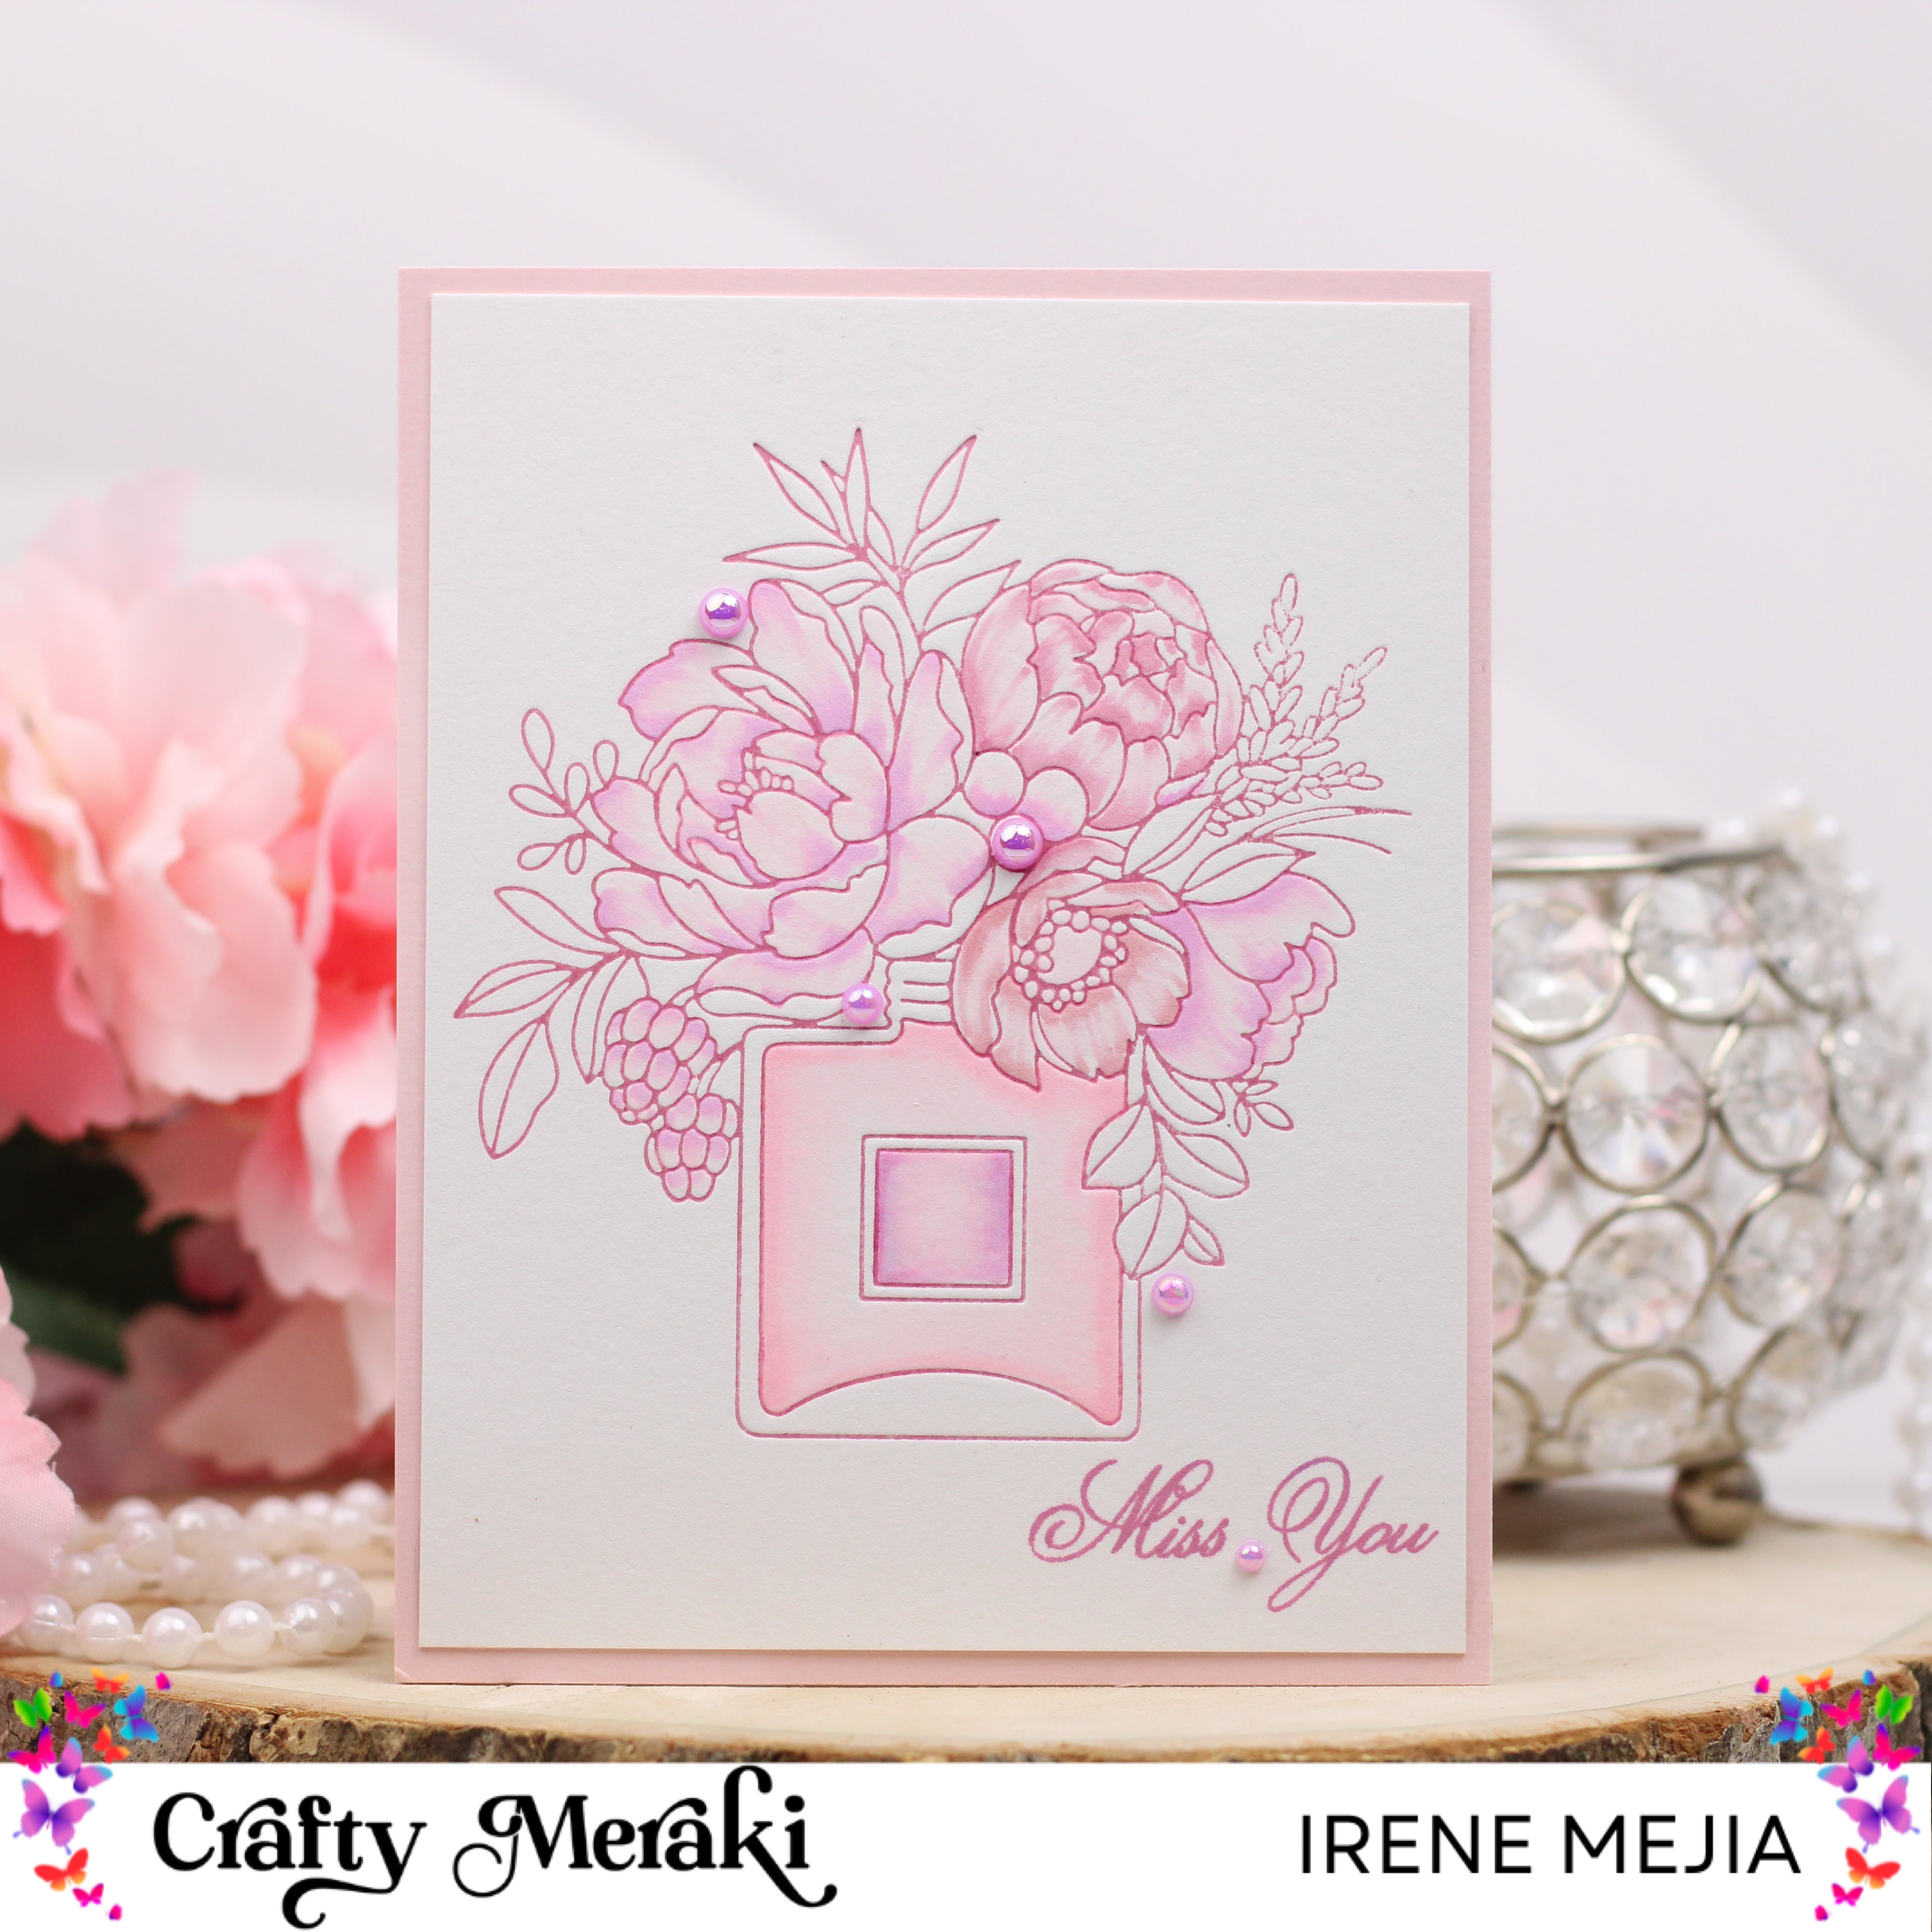
Hey friends.....have you seen the new Craftober release from Crafty Meraki? It's all about Press Plates compatible with the Spellbinders Betterpress System. Pressplates are so easy...I mean ridiculously easy to use and work straight out of the box, no learning curve needed. Crafty Meraki has come out with 7 new press plates ( 2 are well loved stamp sets re-imagined as press plates) incl 2 filled with perfect sentiments.

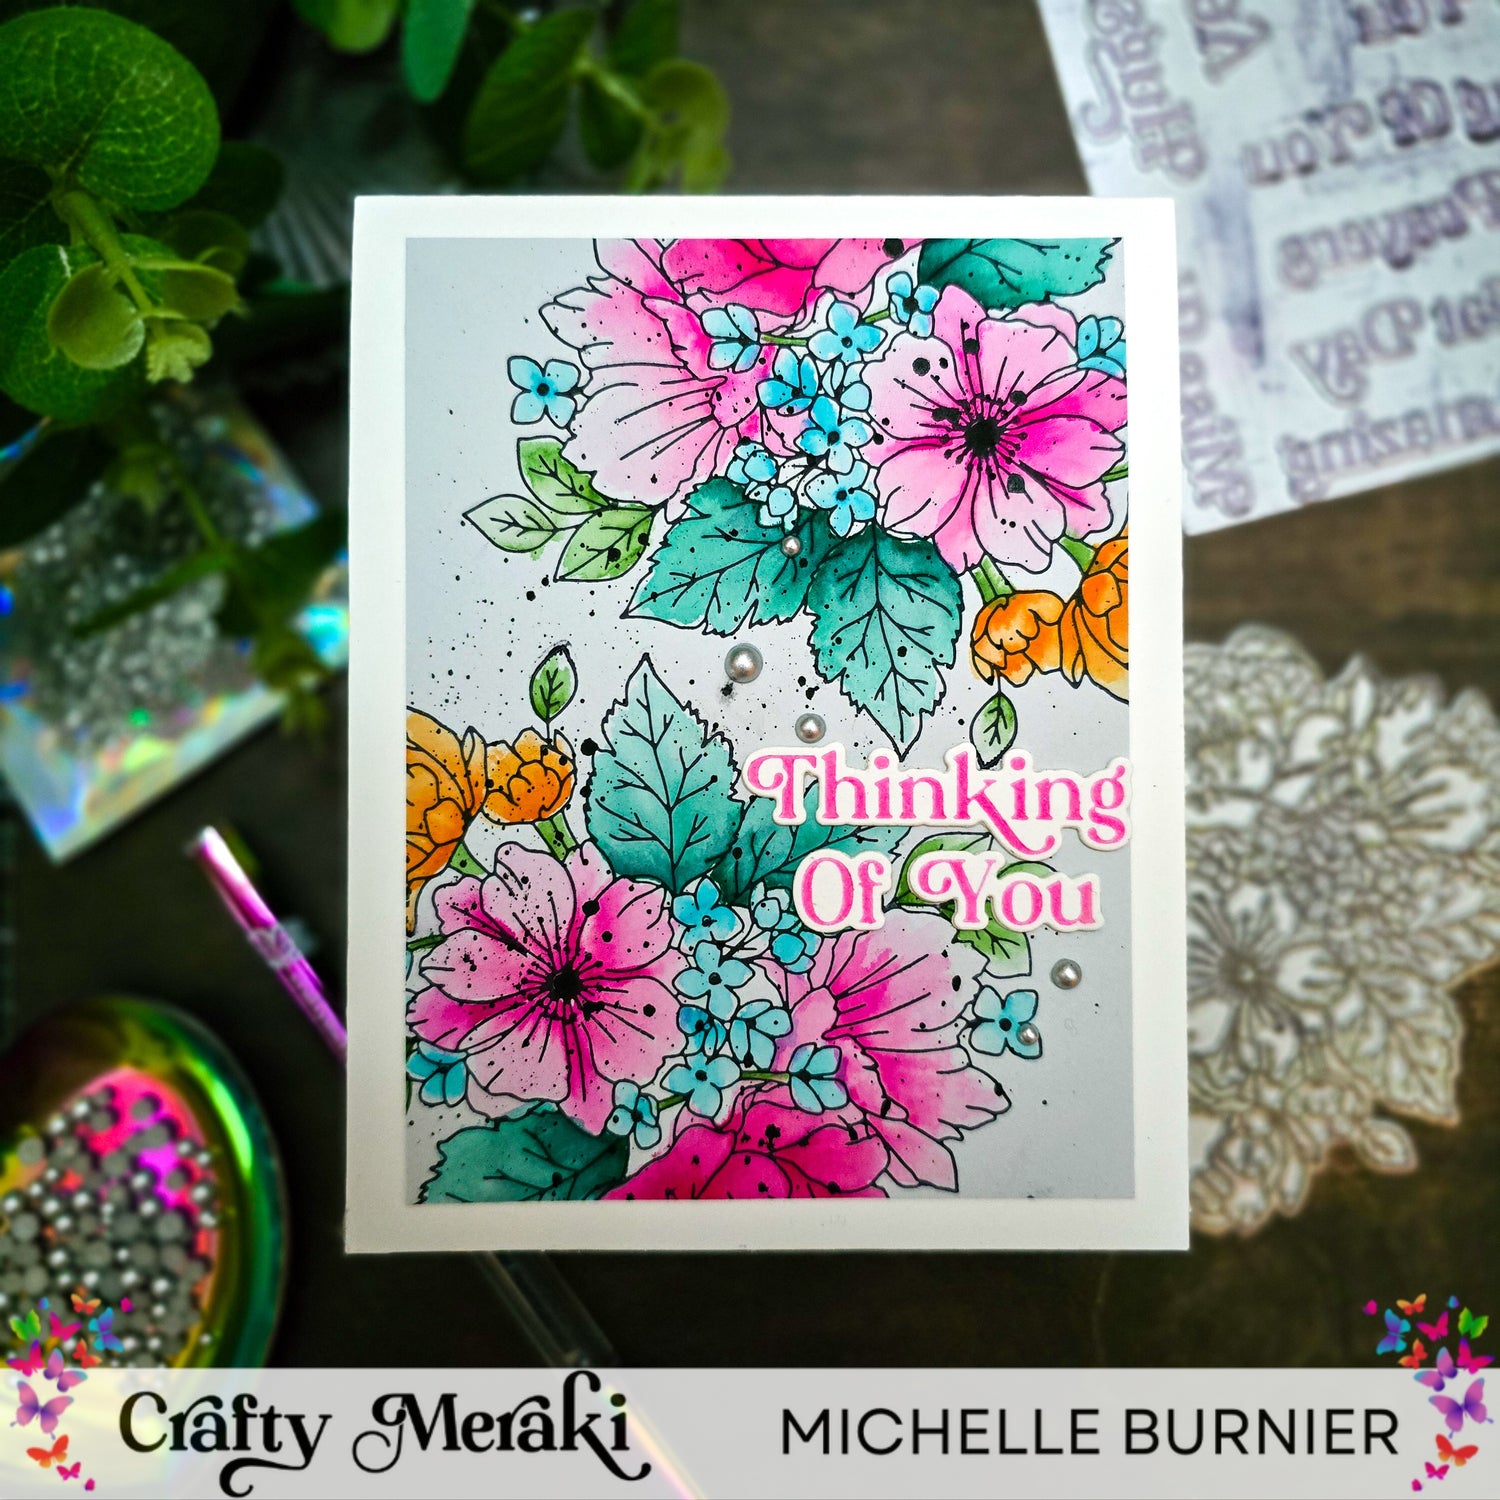
For my project today I used the gorgeous floral plate Little Things and the new Gilded Expressions Press-Tacular Plate. Let's get started shall we and I'll show you how easy it is to make a symmetrical floral design using the plates.

Place the pressplate on the platten (the grey magnetic part) in the BetterPress machine. Place your watercolour paper (you get the deepest impressions with a watercolour paper) where you want it on the press plate. Add some small pieces of low tack tape rolled over on itself to the top transparent plate and press down to pick up the cardstock and adhere it to the pieces of tape. Ink up the press plate with your desired ink.....I used the BetterPress Black Ink. Run through your diecutting machine.

Leave the plate as it is on the machine and the paper and ink up the plate again. Take the plastic plate with the watercolour paper still on it and rotate it 180 degrees so that the previous impression is sitting opposite to the position of the plate now. Run through your diecutting machine. You should have the excat same floral design in opposite corners of the paper. I did get a bit of black ink on the paper, but that will be cut off later, so it won't be seen at all.

Add colour to the flowers using Karin Brushmarkers. I started by adding a little to the base of the flowers and dragging the colour out using some water and a small paintbrush. I added more layers of colour as needed. Allow layers to dry before adding more colour. Allow to dry and trim 1/4" evenly on all 4 sides, so that it measures 3.75x5".

Use a black fine tip pen and add some detail back the centers of the large pink flowers and the small blue flowers. 
Add some black splatters using black gouache, concentrating them over the flowers and in between. Allow to fully dry.

I had some previously made sentiments from other projects, so I found a pink one that went with it perfectly. I normally would go for a black one (yeah I know...boring lol) but I love the look of the pink! I'll have to use colour for sentiments more often lol. The sentiment was added using small foam circles.

¨I added it to an A2 cardbase and a few of the new Meraki Matte Silver Opal Gems were added.

And that's it! It si really easy to create beautiful designs using the new Press-tacular Plates from Crafty Meraki ( and truly fool proof too). All you need is a simple rotation of the paper for this design and you have some gorgeous florals!

If you haven't seen the new release yet, you definitely want to go and check it out as well as all of the amazing inspiration from the rest of the design team! Thank you so much for joining me on the blog today and I hope that I have helped to inspire you in some way. I wish you all the most wonderful and crafty day. Until next time, Michelle :)


Leave a comment
This site is protected by hCaptcha and the hCaptcha Privacy Policy and Terms of Service apply.