
Crafty Meraki stencils are a treasure trove of designs. Whether you're a seasoned crafter or just dipping your toes into DIY projects, these stencils offer endless possibilities. From beautiful backgrounds to elegant floral patterns, there's something for everyone.
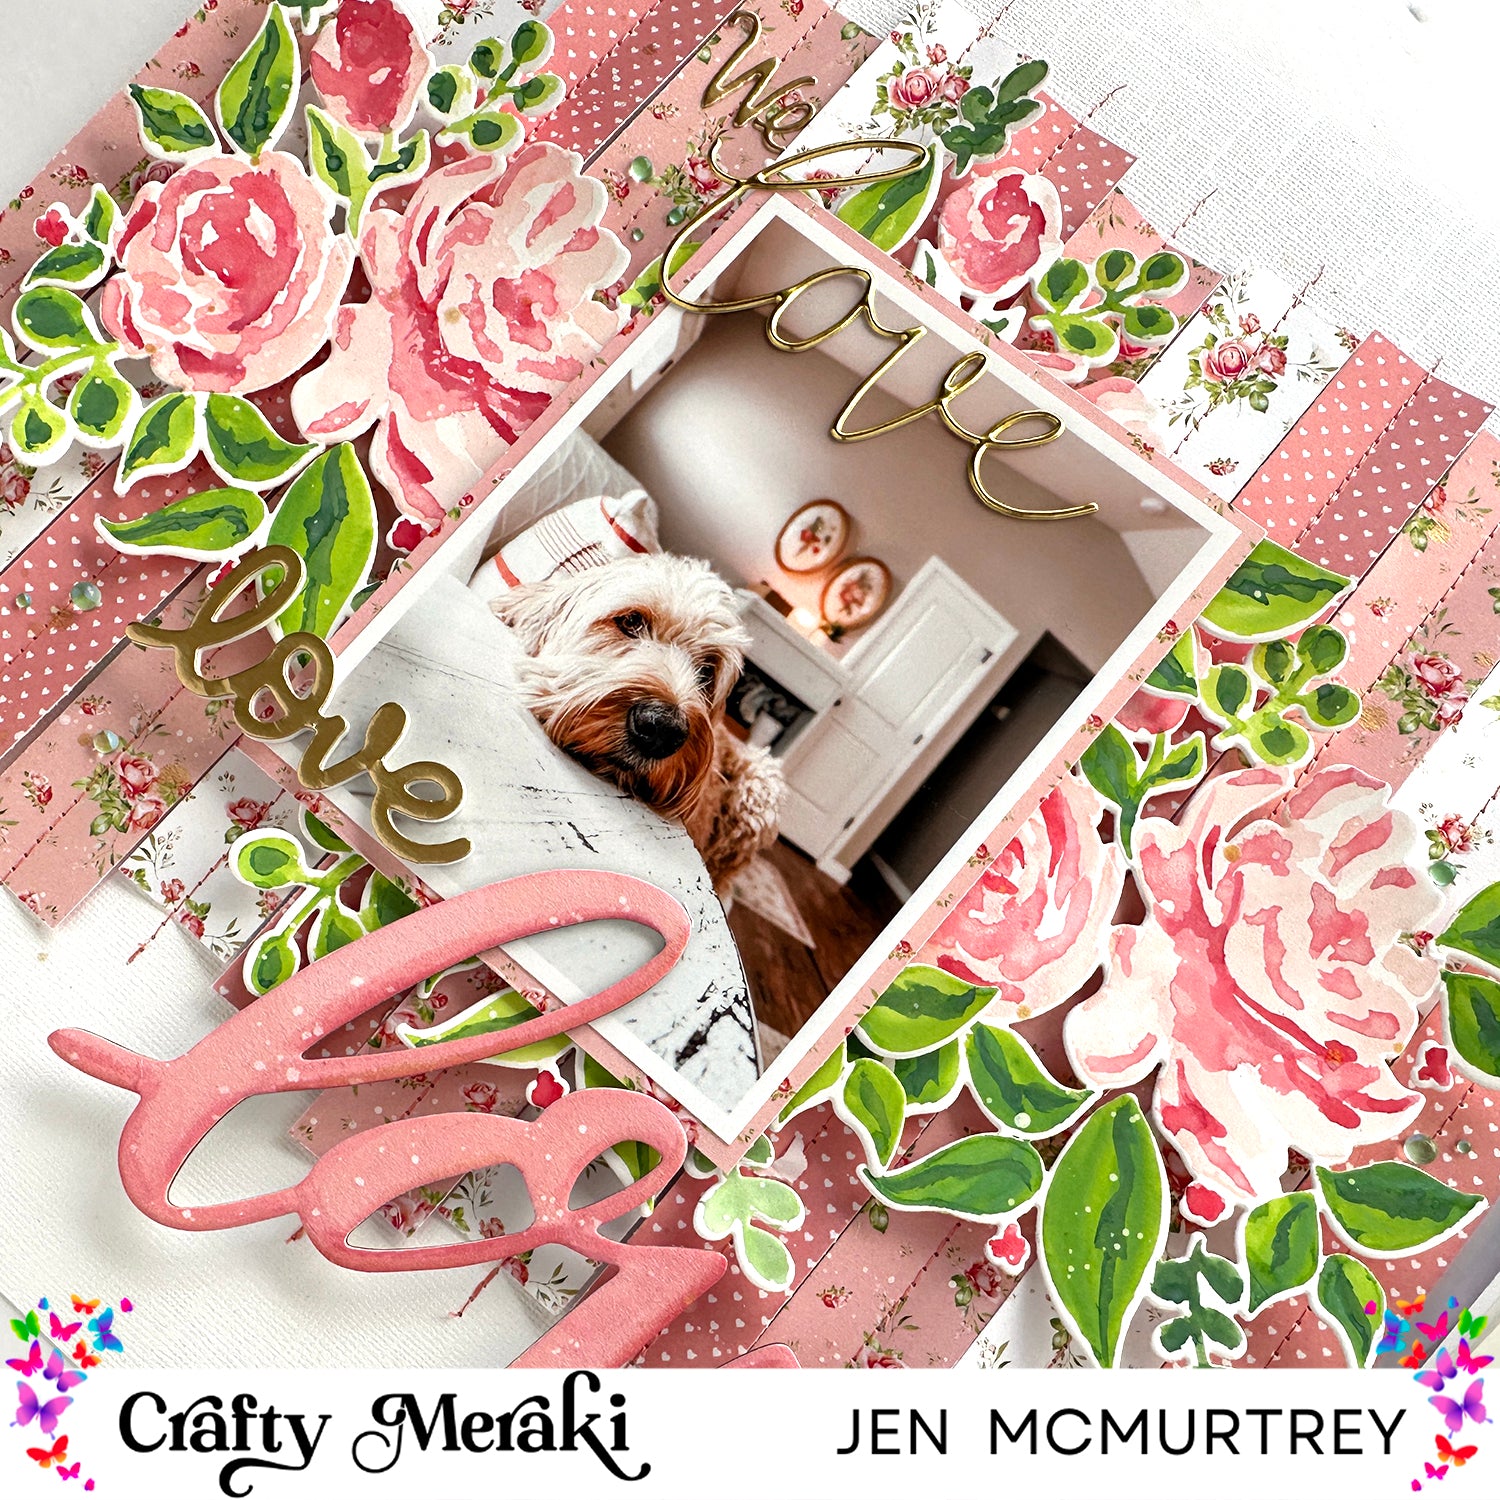
Today, I am sharing a soft, floral layout featuring my sweet pup Mildred using the following Crafty Meraki supplies:
- Crafty Meraki Damask Layering Stencil
- Crafty Meraki Damask Coordinating Die Set
- Crafty Meraki Watercolor Whimsy Paper Pack
-
Crafty Meraki Limited Edition Gems Dew Drop collection - Fern

This project mixes several Crafty Meraki products with other elements from my stash. I love the Damask Layering Stencils and knew I wanted them to be a major focal point on the layout. It took a little while to determine what technique to use (simply using a brush with inks or paint), and I finally decided to paint the stencils using distress oxide inks).

When painting with the inks, I smooshed each color (Saltwater Taffy, Worn Lipstick, Lumberjack Plaid, Mowed Lawn, and Rustic Wilderness) onto my glass mat and used a watered-down brush to apply the colors. This is a technique I have not tried before, so there were several "mistakes" before I was finally able to achieve the look I wanted. I had been using too much water by spraying it directly onto the inks, so I began dipping a brush in water to keep the ink from becoming too watery. I painted and die cut a total of three floral clusters.

After spending more time than I care to admit painting the stenciled florals, I set them aside and got to work building the background using the Watercolor Whimsy Paper Pack. I chose three patterned papers and cut them into one-inch strips. Next, I used a tiny bit of adhesive to loosely tack them onto white cardstock before machine stitching them in place.

After stitching the strips of paper in place, I then folded the edges upward to create dimension. Next, I backed the photo of Mildred with one of the same patterned papers and adhered it using foam tape. I then played around with positioning the die cut florals on either side of the photo before placing them with foam tape. Lastly, I cut one of the florals in half and tucked each piece in place along the top and bottom of the picture.
Next, I took a deep dive into my stash and found several gold sticker titles that I liked. Ultimately, I chose a large chipboard "love" title and painted it to match the florals. After placing each of the words in the title, I covered the picture and splattered white and gold paints on the layout.

I completed the layout by adhering the Fern Dew Drops throughout the project, and I am absolutely in love with how this turned out.
Here is one more look at the finished 12 x 12 layout.

Thank you for sticking with me to the end of this long post, and I hope you've been inspired to create! See you next Saturday with another fun project using Crafty Meraki's amazing products.
Leave a comment
This site is protected by hCaptcha and the hCaptcha Privacy Policy and Terms of Service apply.