

Hello Crafty Folks,
Karthikha here today, to inspire you with a lot of cards, made mainly using just one background stamp! Have a look at all the cards first! :)
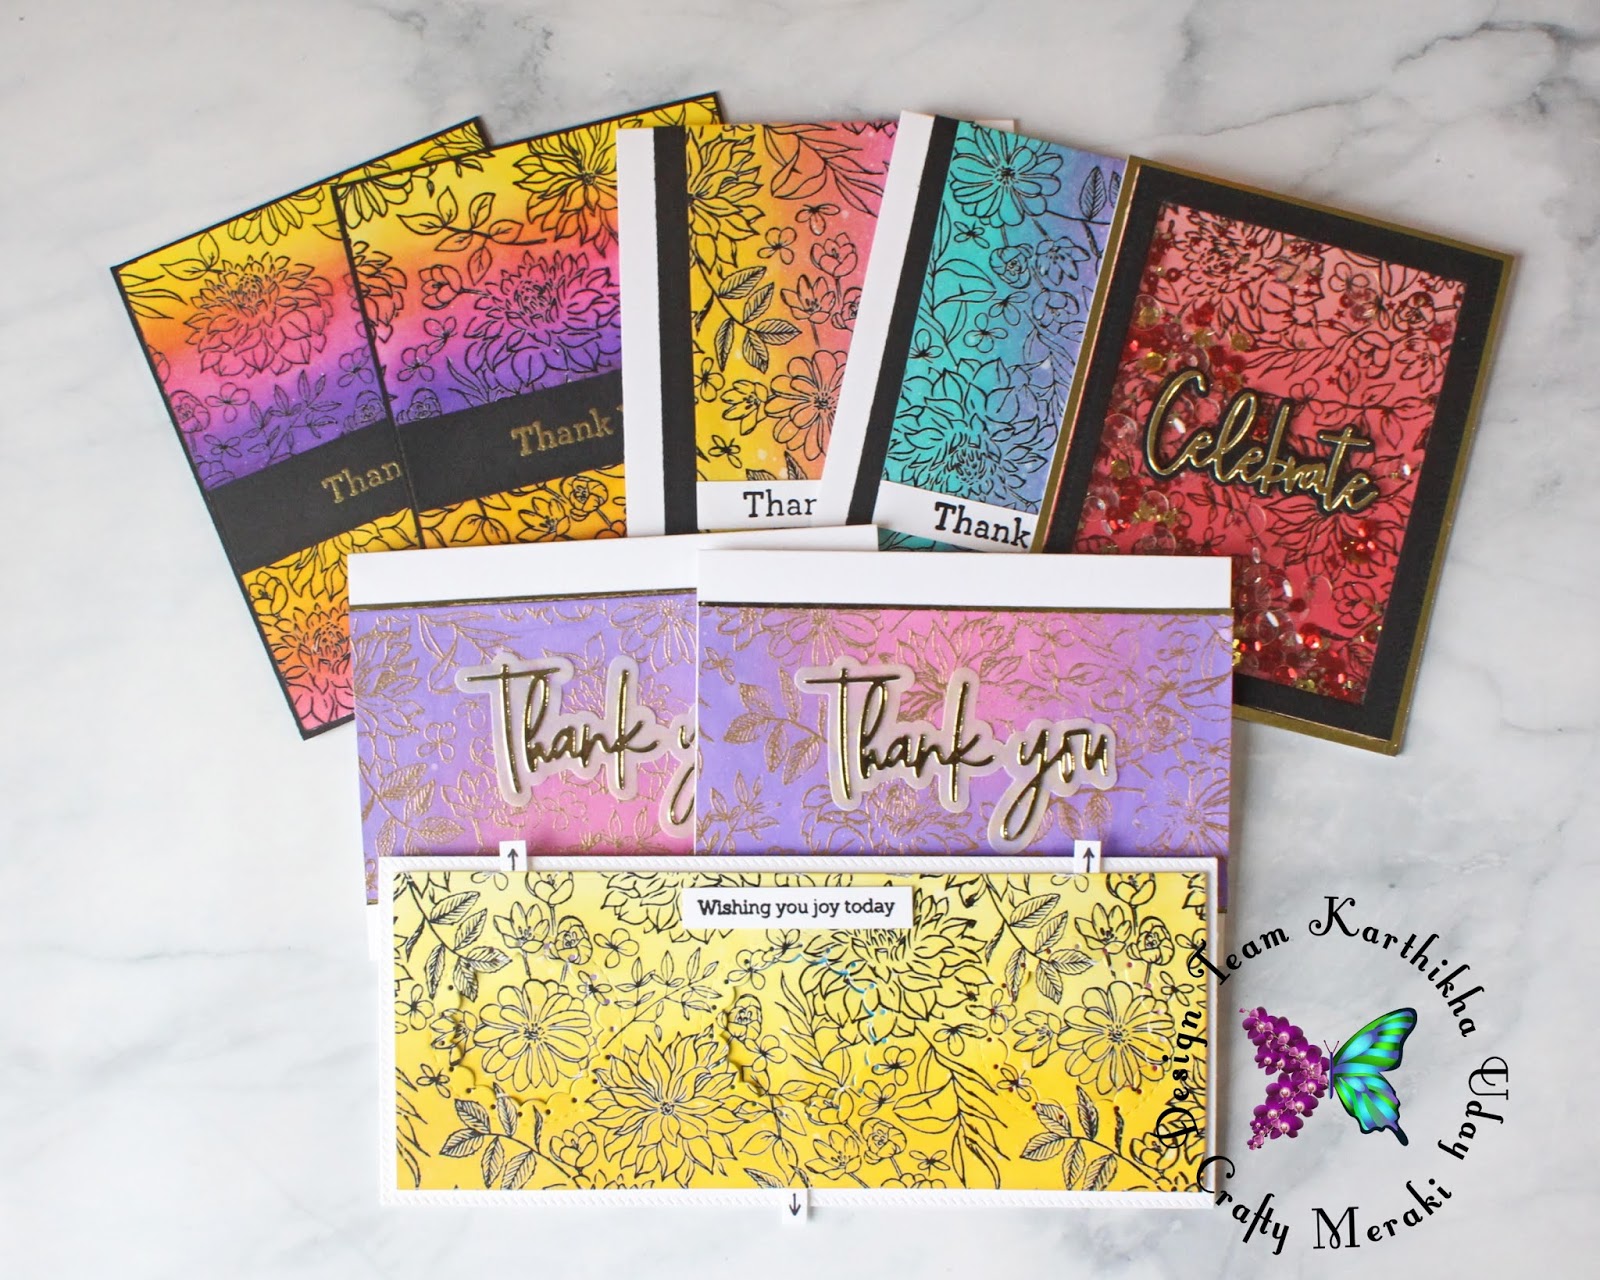
Warning: Picture-heavy post, with a lot of details! Hang on, and let me take you through the steps of creating each card, with some tips and fun facts along the way :)
All the supplies used are available at Crafty Meraki store!!
Stamps:
- Pinkfresh Studio - Enchanted Blooms Cling Rubber Stamp
- Pinkfresh Studio - Modern Layered Floral Stamp
Inks:
- Distress inks
- Pinkfresh Studio - Heartbeat Dye Ink Cube Set
- Altenew Obsidian Black Pigment Ink
- Embossing Ink
Dies:
Others:
- Embossing Powders - Clear, Gold, White
- Blending Brushes
- White Cardstock
- Acetate
- Foam Tape
- Tape Runner / Liquid Glue
Card 1:
So, the first one is the slimline card in yellow! It is an interactive one!
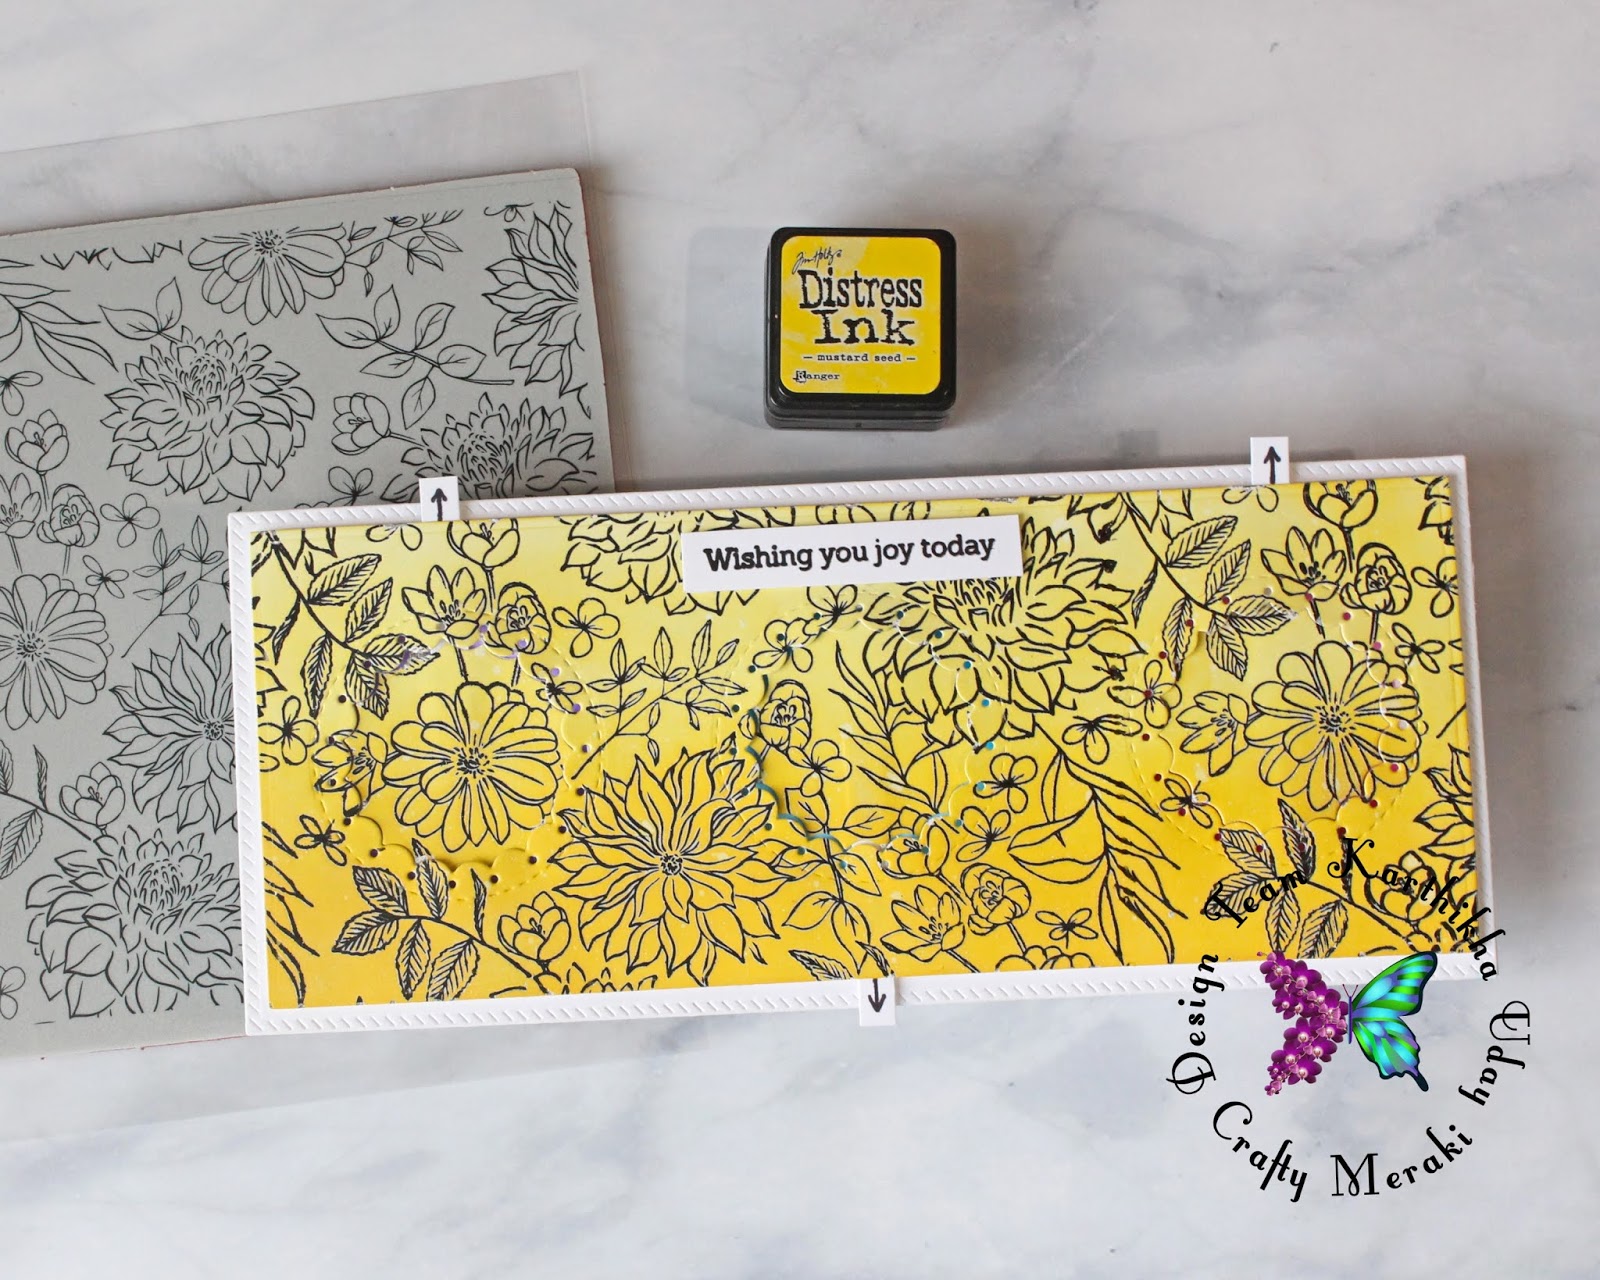
I started by stamping the background stamp onto white cardstock using Altenew Obsidian Black ink and heat embossed using clear embossing powder. I then blended Mustard Seed distress ink, with a heavier hand at the bottom and gradually lightening it towards the top for an ombre effect. Once blending was done, I die-cut the panel using Pinkfresh Studio Slimline Diagonal Stitched Rectangles die, and also used the smaller circle from Pinkfresh Studio Essentials Inverted stitched scallop circle die set, to die-cut thrice from the panel.
Did You Know? This stamp is designed to give a continuous image when stamped again, next to the previous stamping. Hence, it is an easy go on the slimline design, which extends beyond 6 inches.
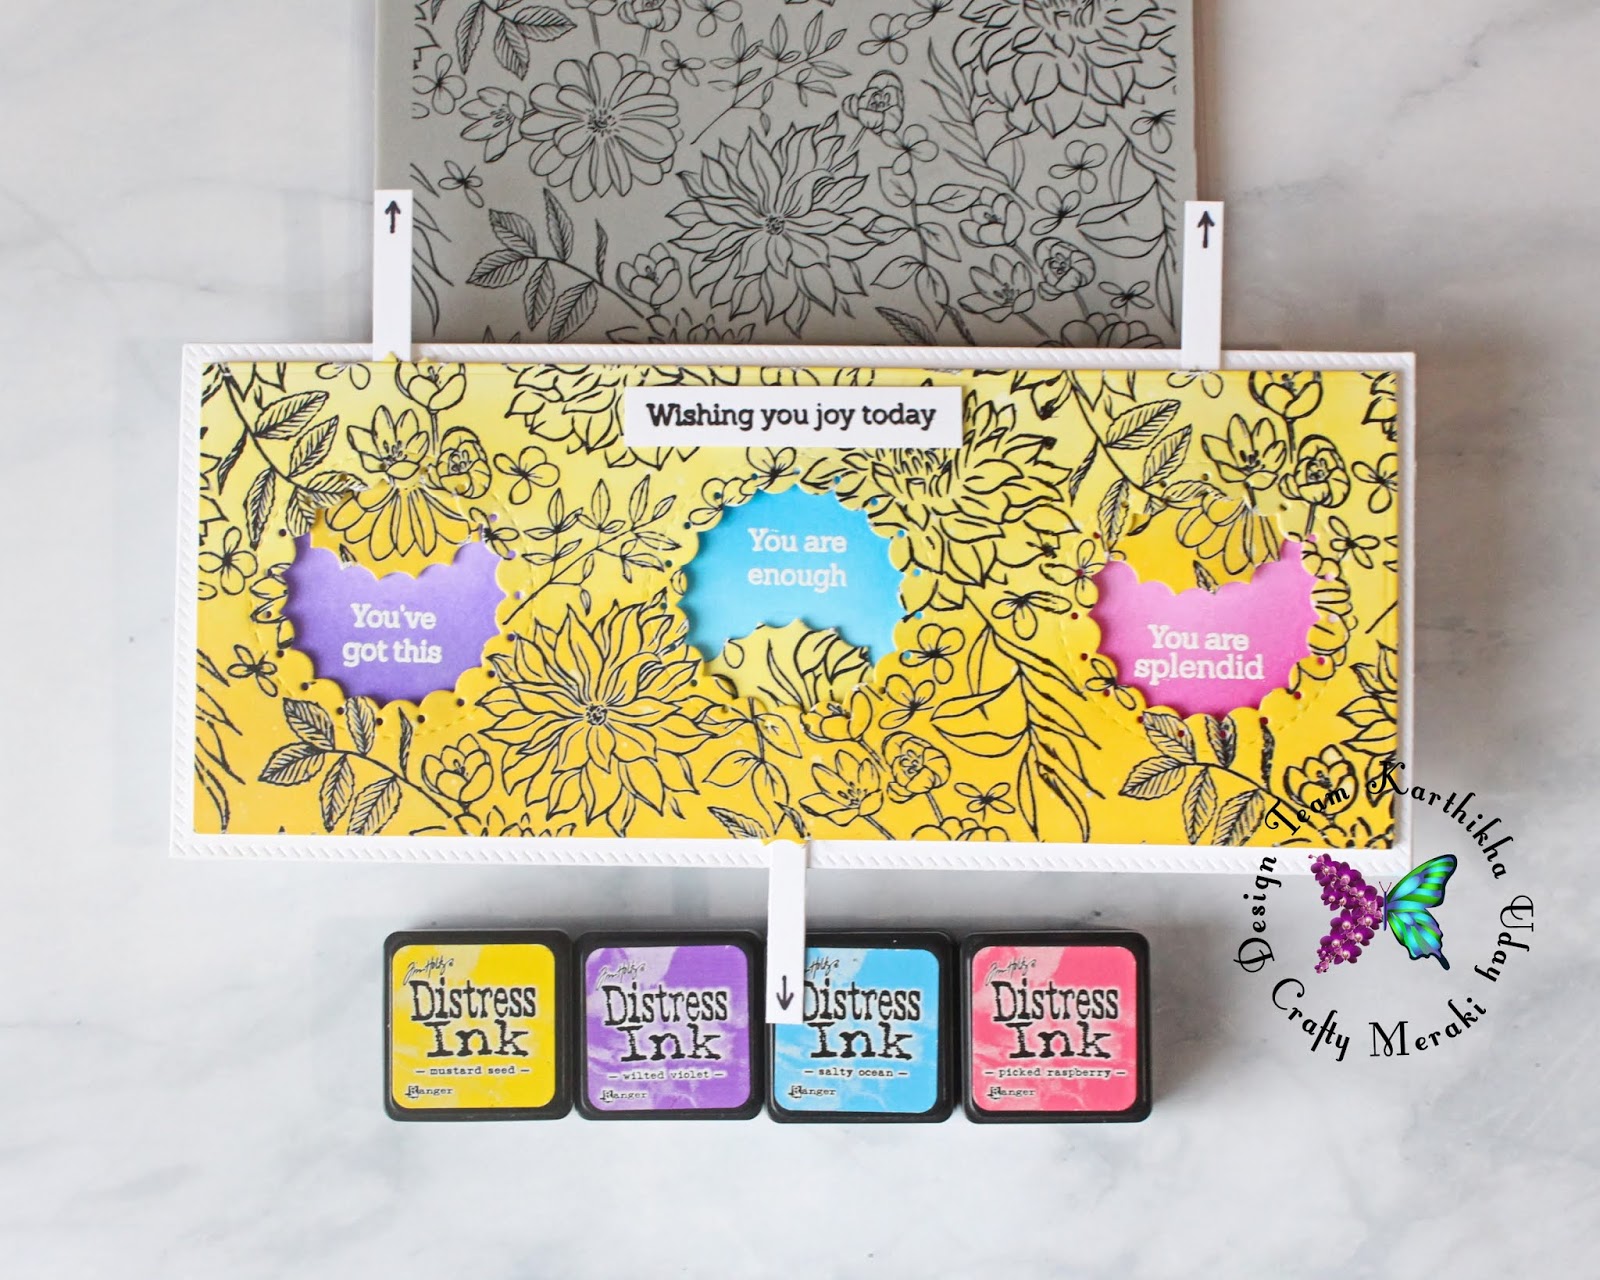
I wanted to make the interactive slider part to reveal a message underneath, so adhered a white strip to each of the inner die-cut circles, and added an arrow to the end of the strip. For the inner panel, I've used a white stitched frame die-cut and blended Wilted Violet, Salty Ocean and Picked Raspberry distress inks in an ombre effect.
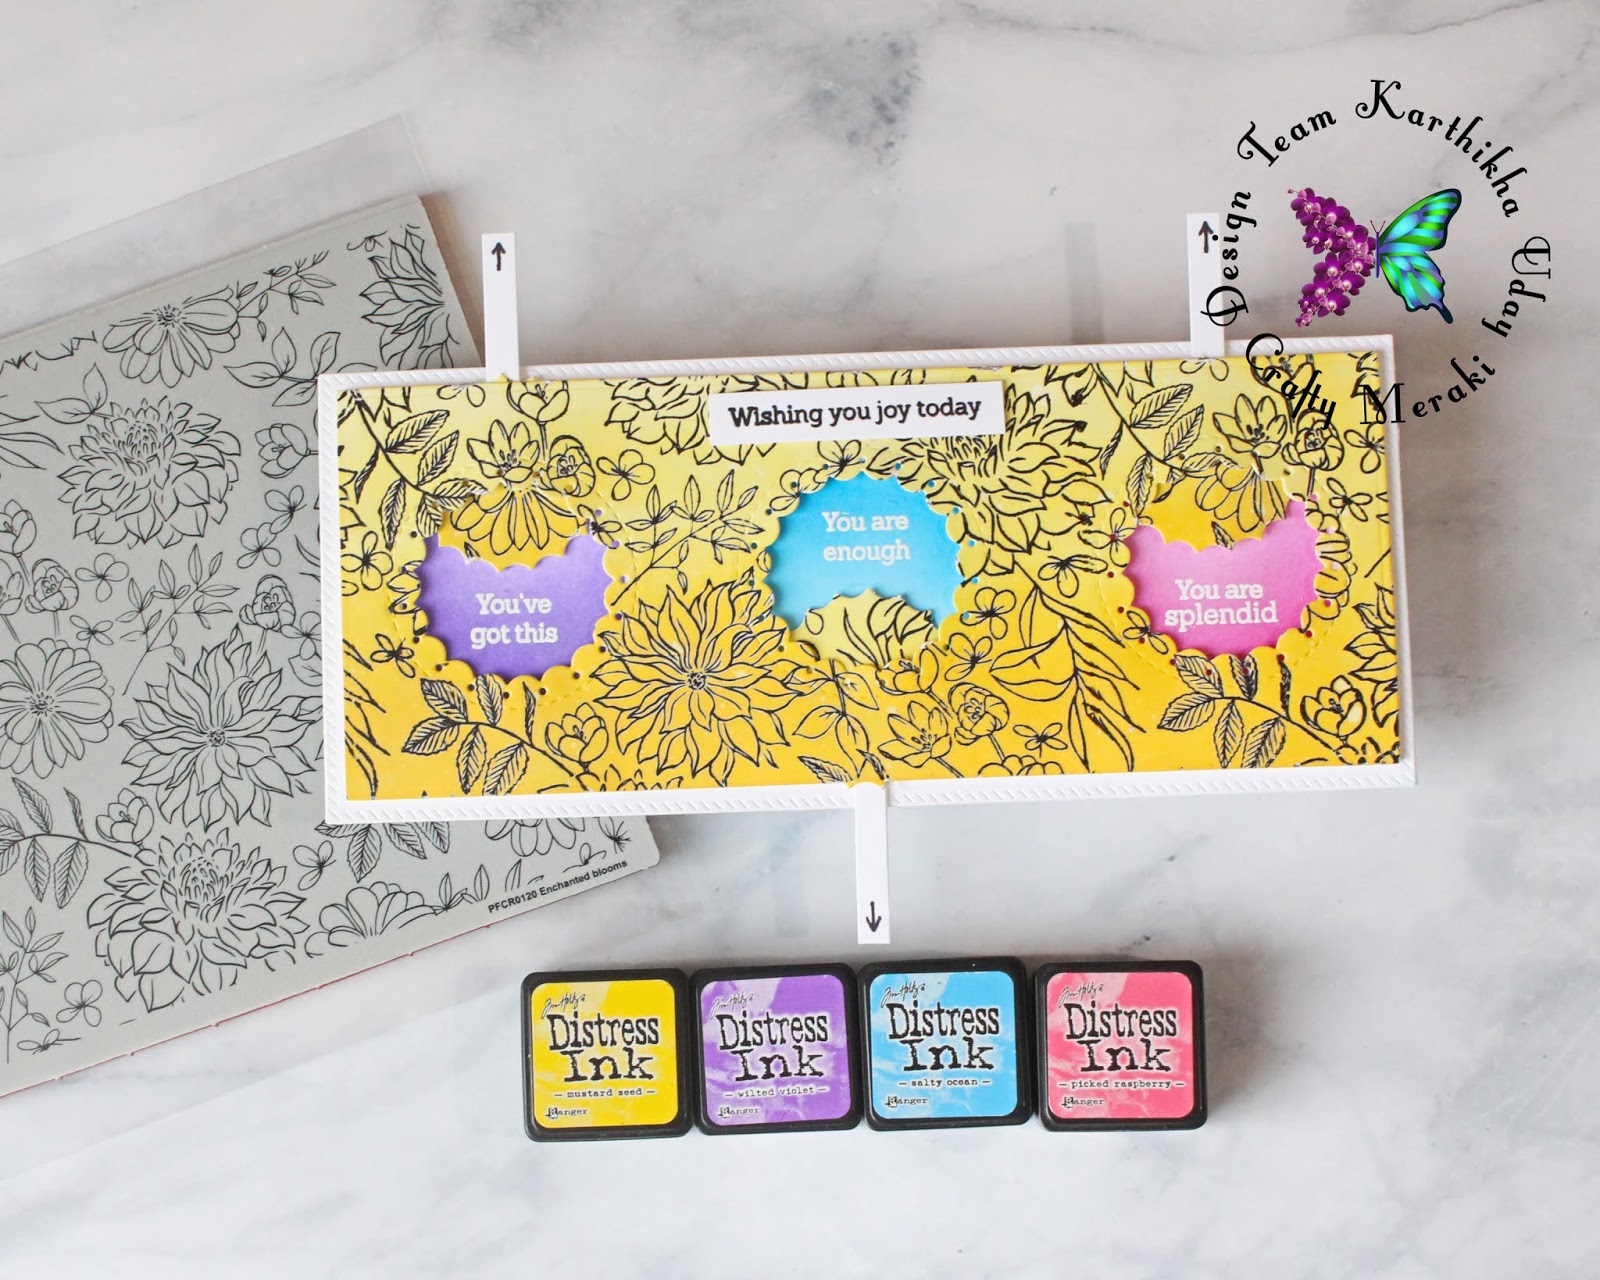
The sentiments are from Pinkfresh Studio - Modern Layered Floral Stamp set, heat embossed in white. I adhered the yellow panel over the base using foam tape, leaving out the slots for the white strips, to pull the slider.
Card 2:
The second one is a shaker card!

For this one, the floral image is stamped in black and clear heat embossed on white cardstock first. I've then used the Heartbeat set of ink cubes to blend over the panel in an ombre effect.
Did You Know? Pinkfresh Studio dye inks are so smooth for ink blending, every single time! Take out your dye inks and give it a try!
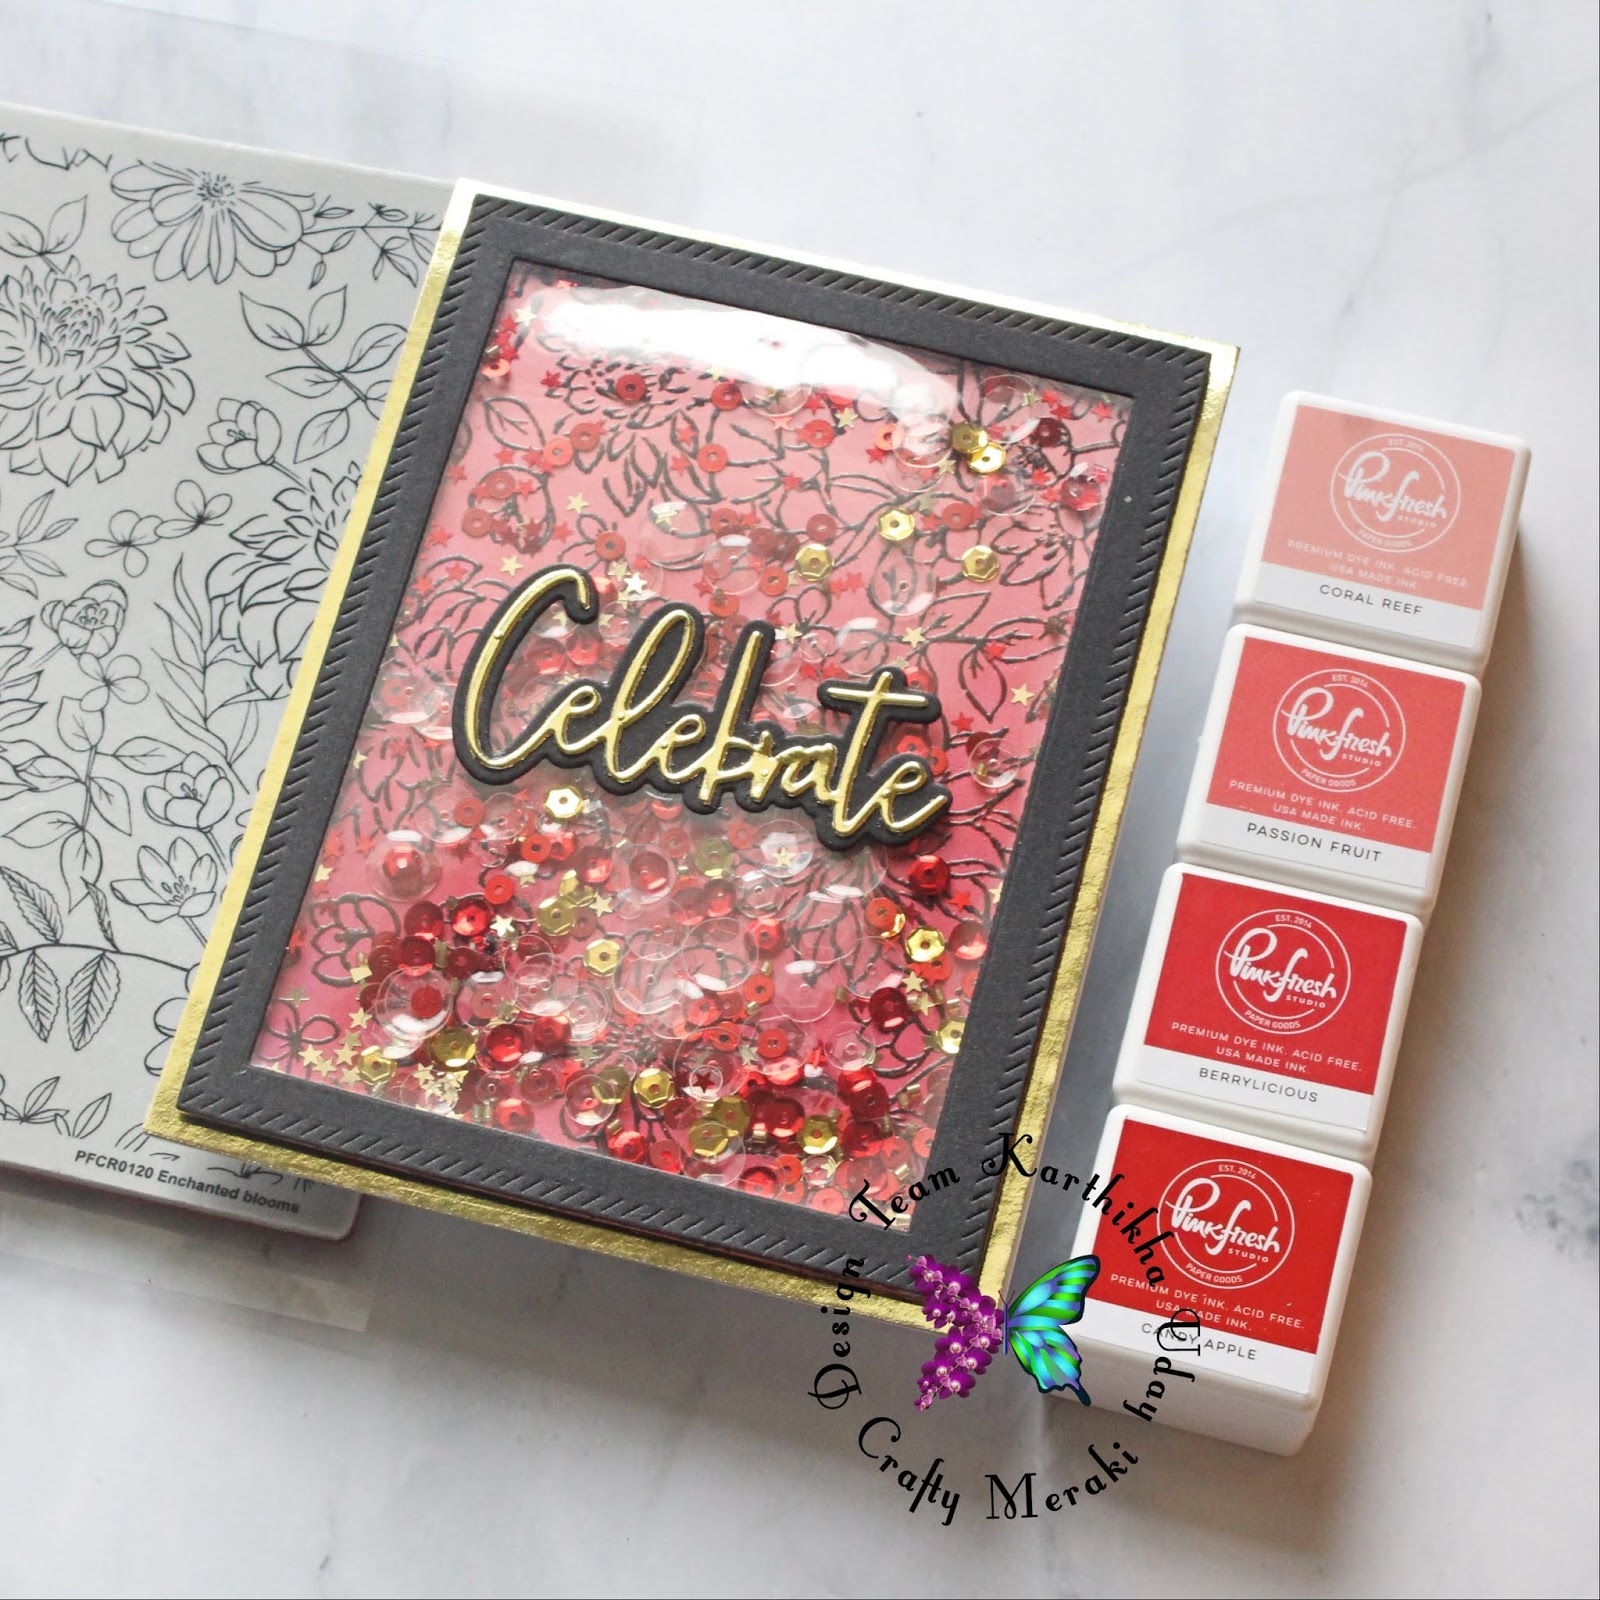
For the shaker, I've used sequins in red, gold and clear, with different shapes. The outer layer is a black die-cut using Pinkfresh Studio - Essentials: Diagonal stitched rectangles die set. I used the outer most frame die and the inner rectangle die to get the border frame. I adhered acetate behind the frame, added foam tape and completed the shaker.
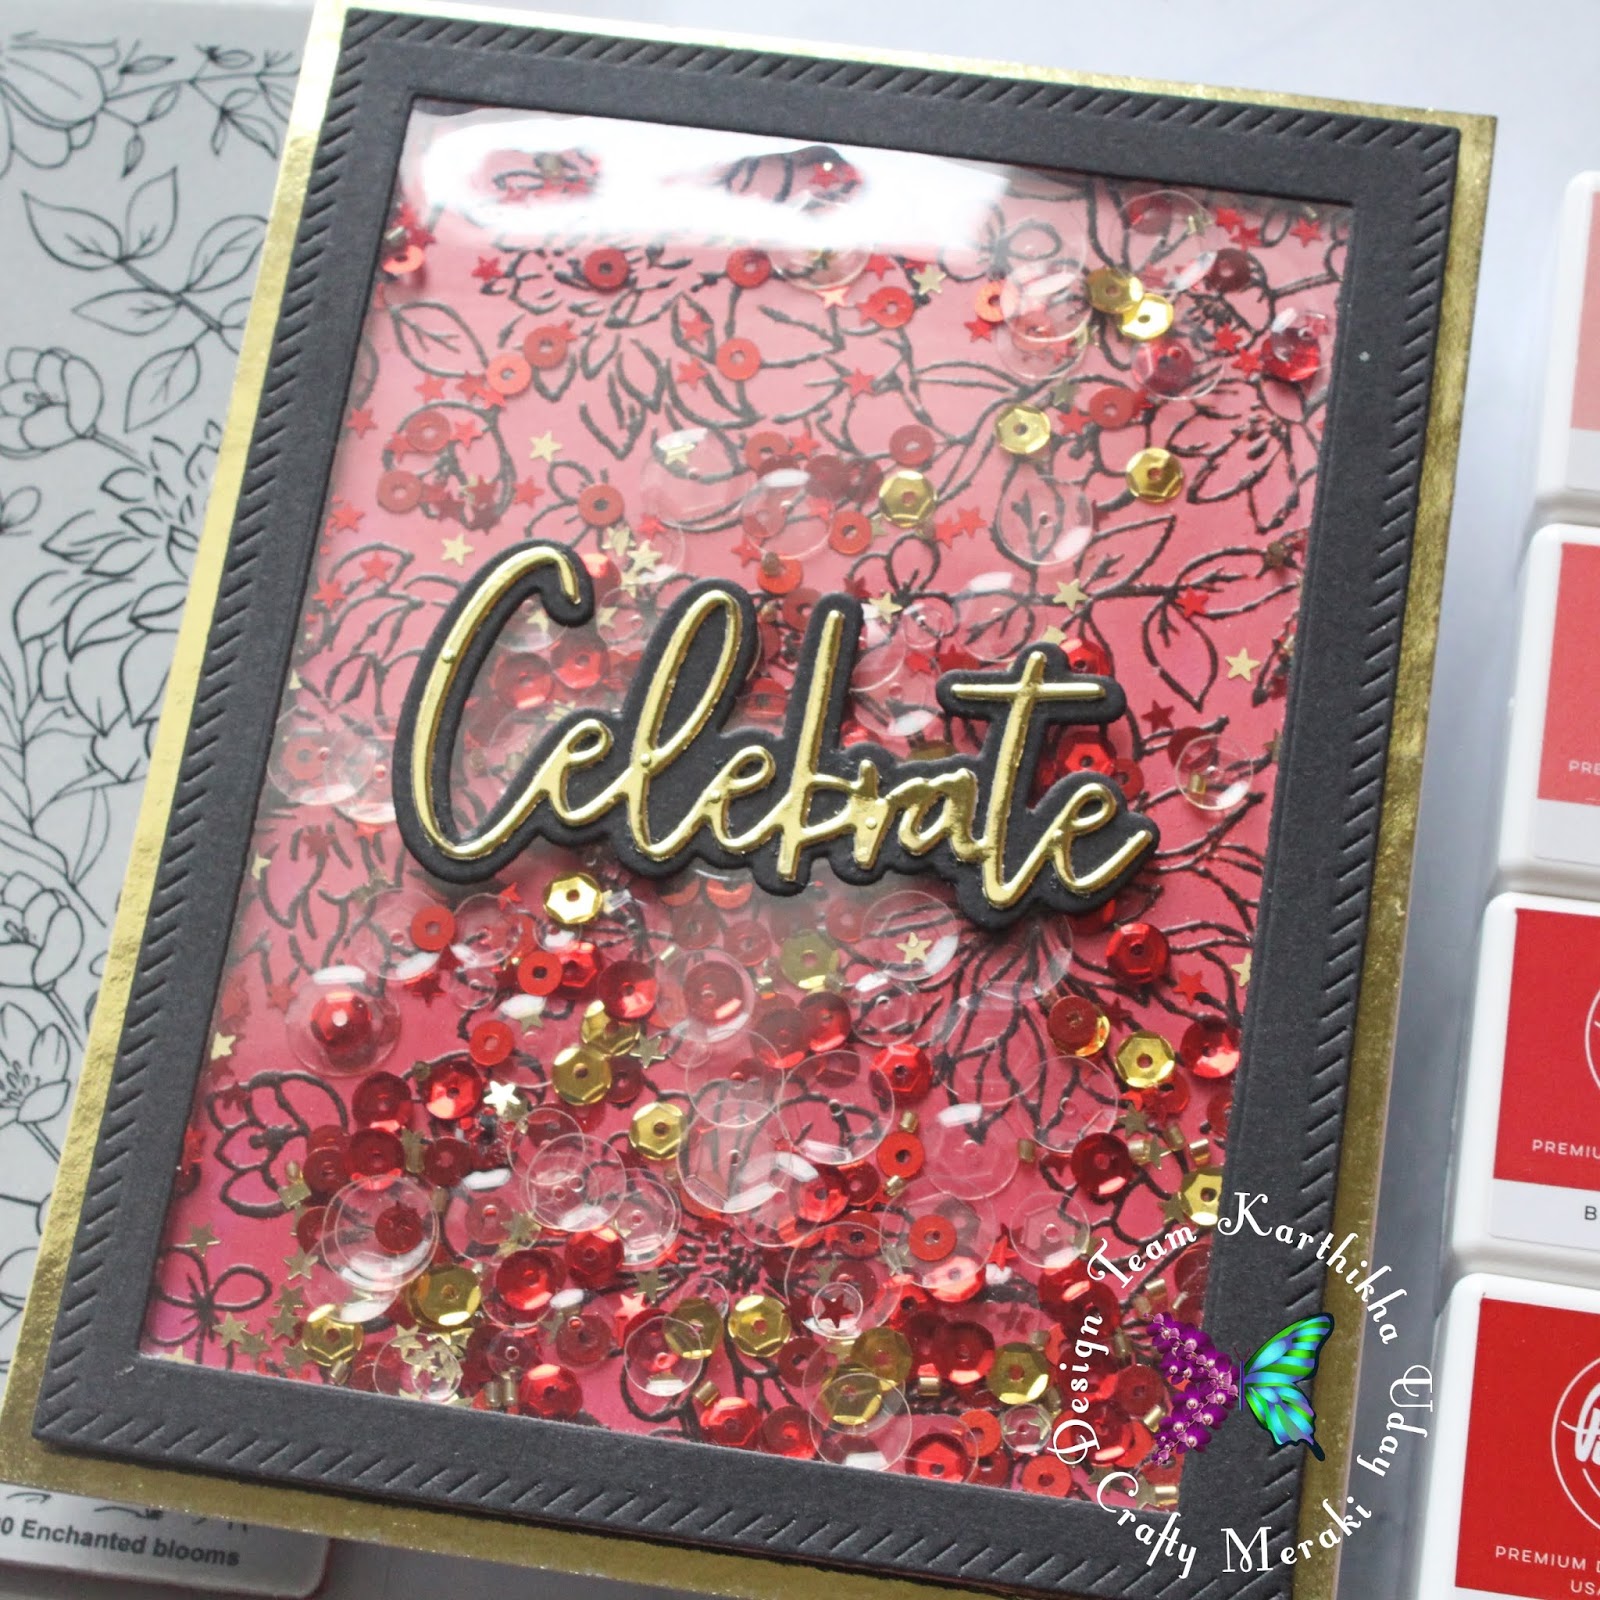
I mounted the panel onto a top folding notecard, matted with gold cardstock. For the sentiment, I've used the word Celebrate from Pinkfresh Studio - Essentials: Classic Words die set. The shadow is die-cut from black cardstock and the word is die-cut from gold cardstock. That completes this card :)
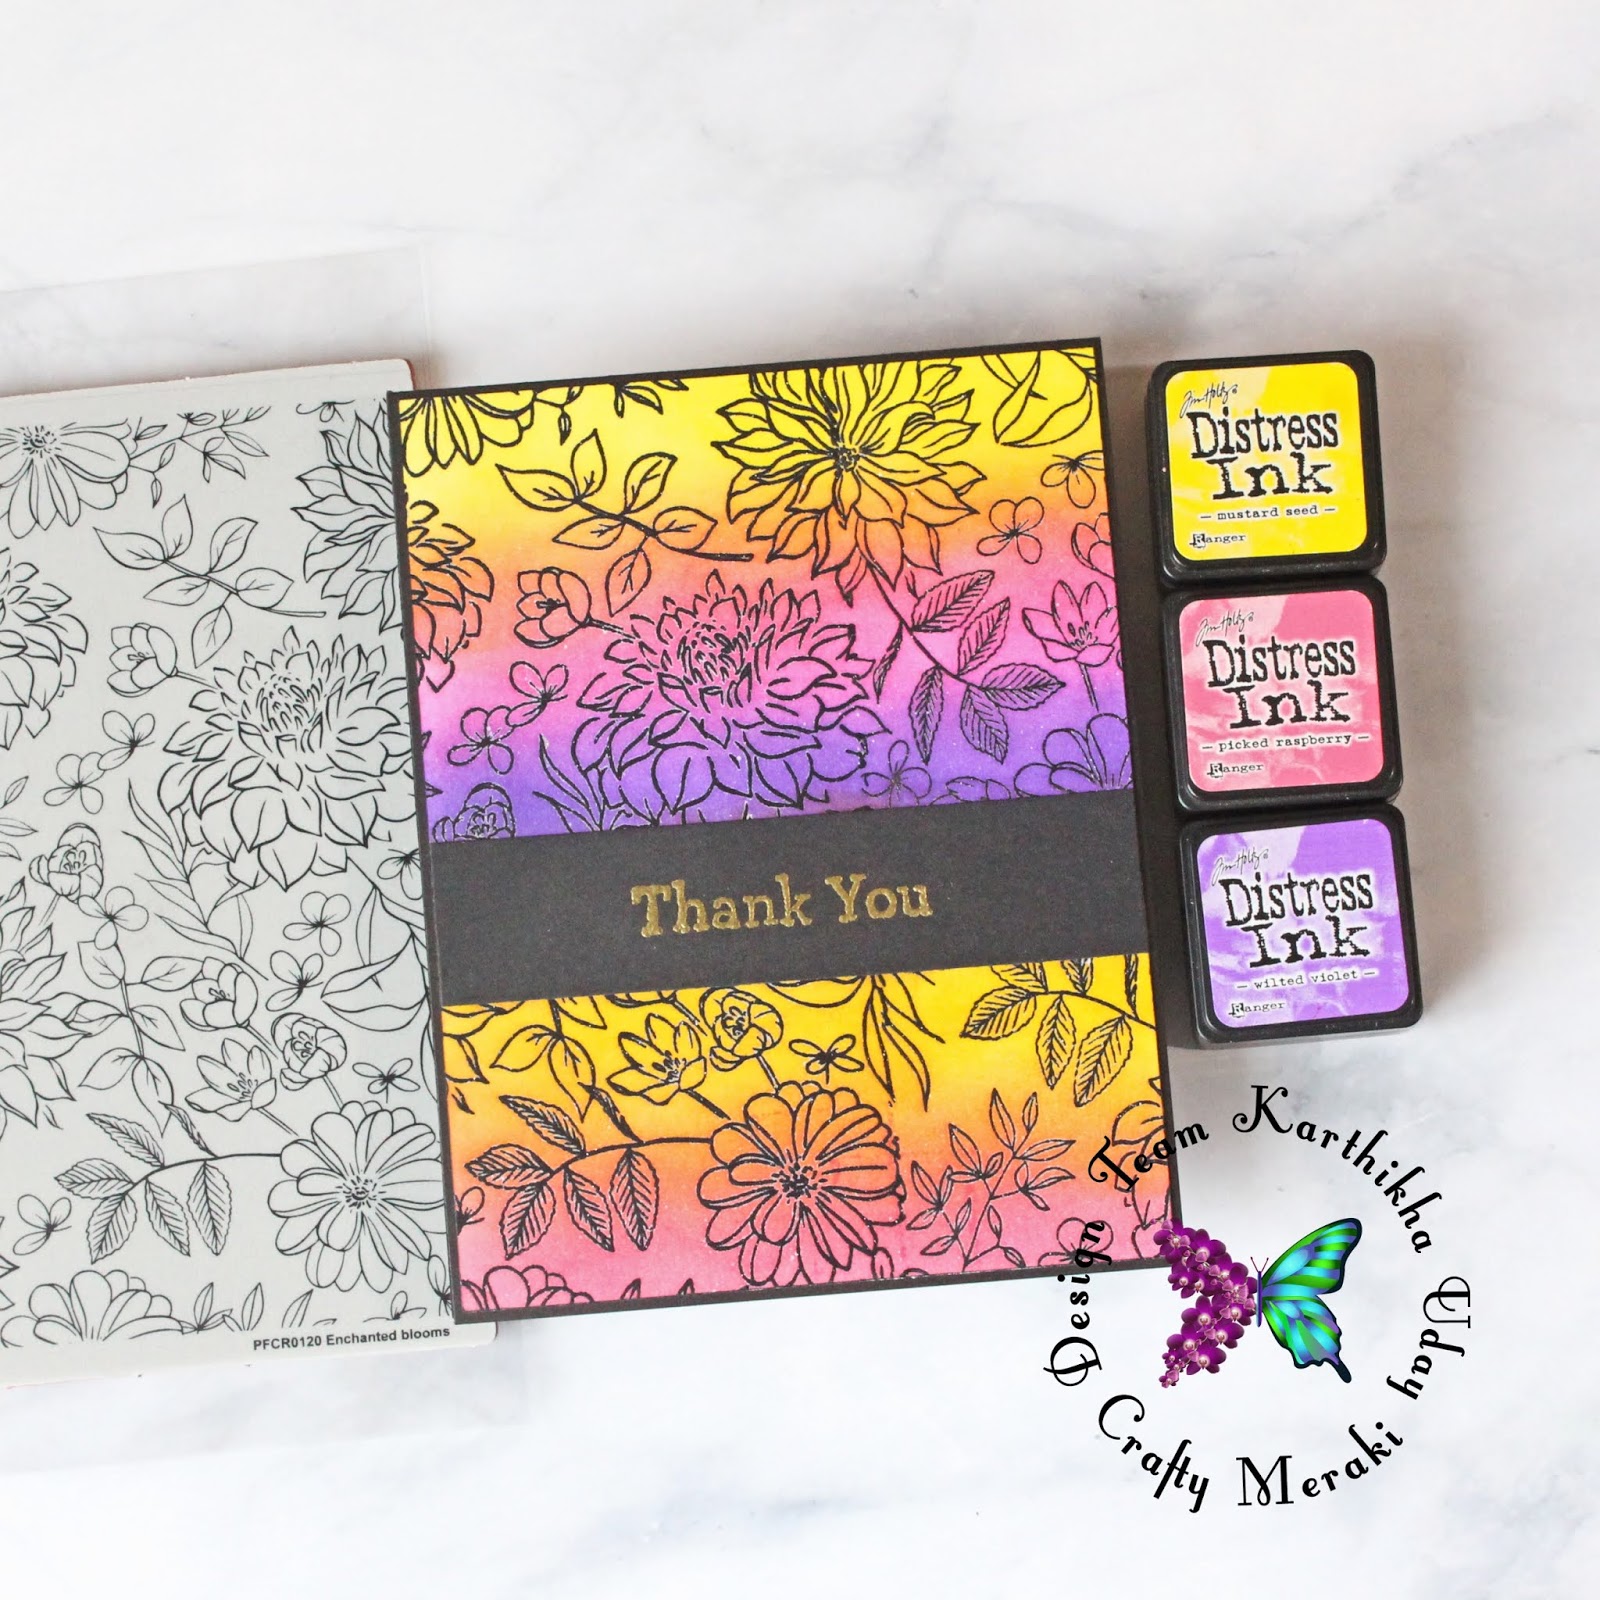
Cards 3 & 4:
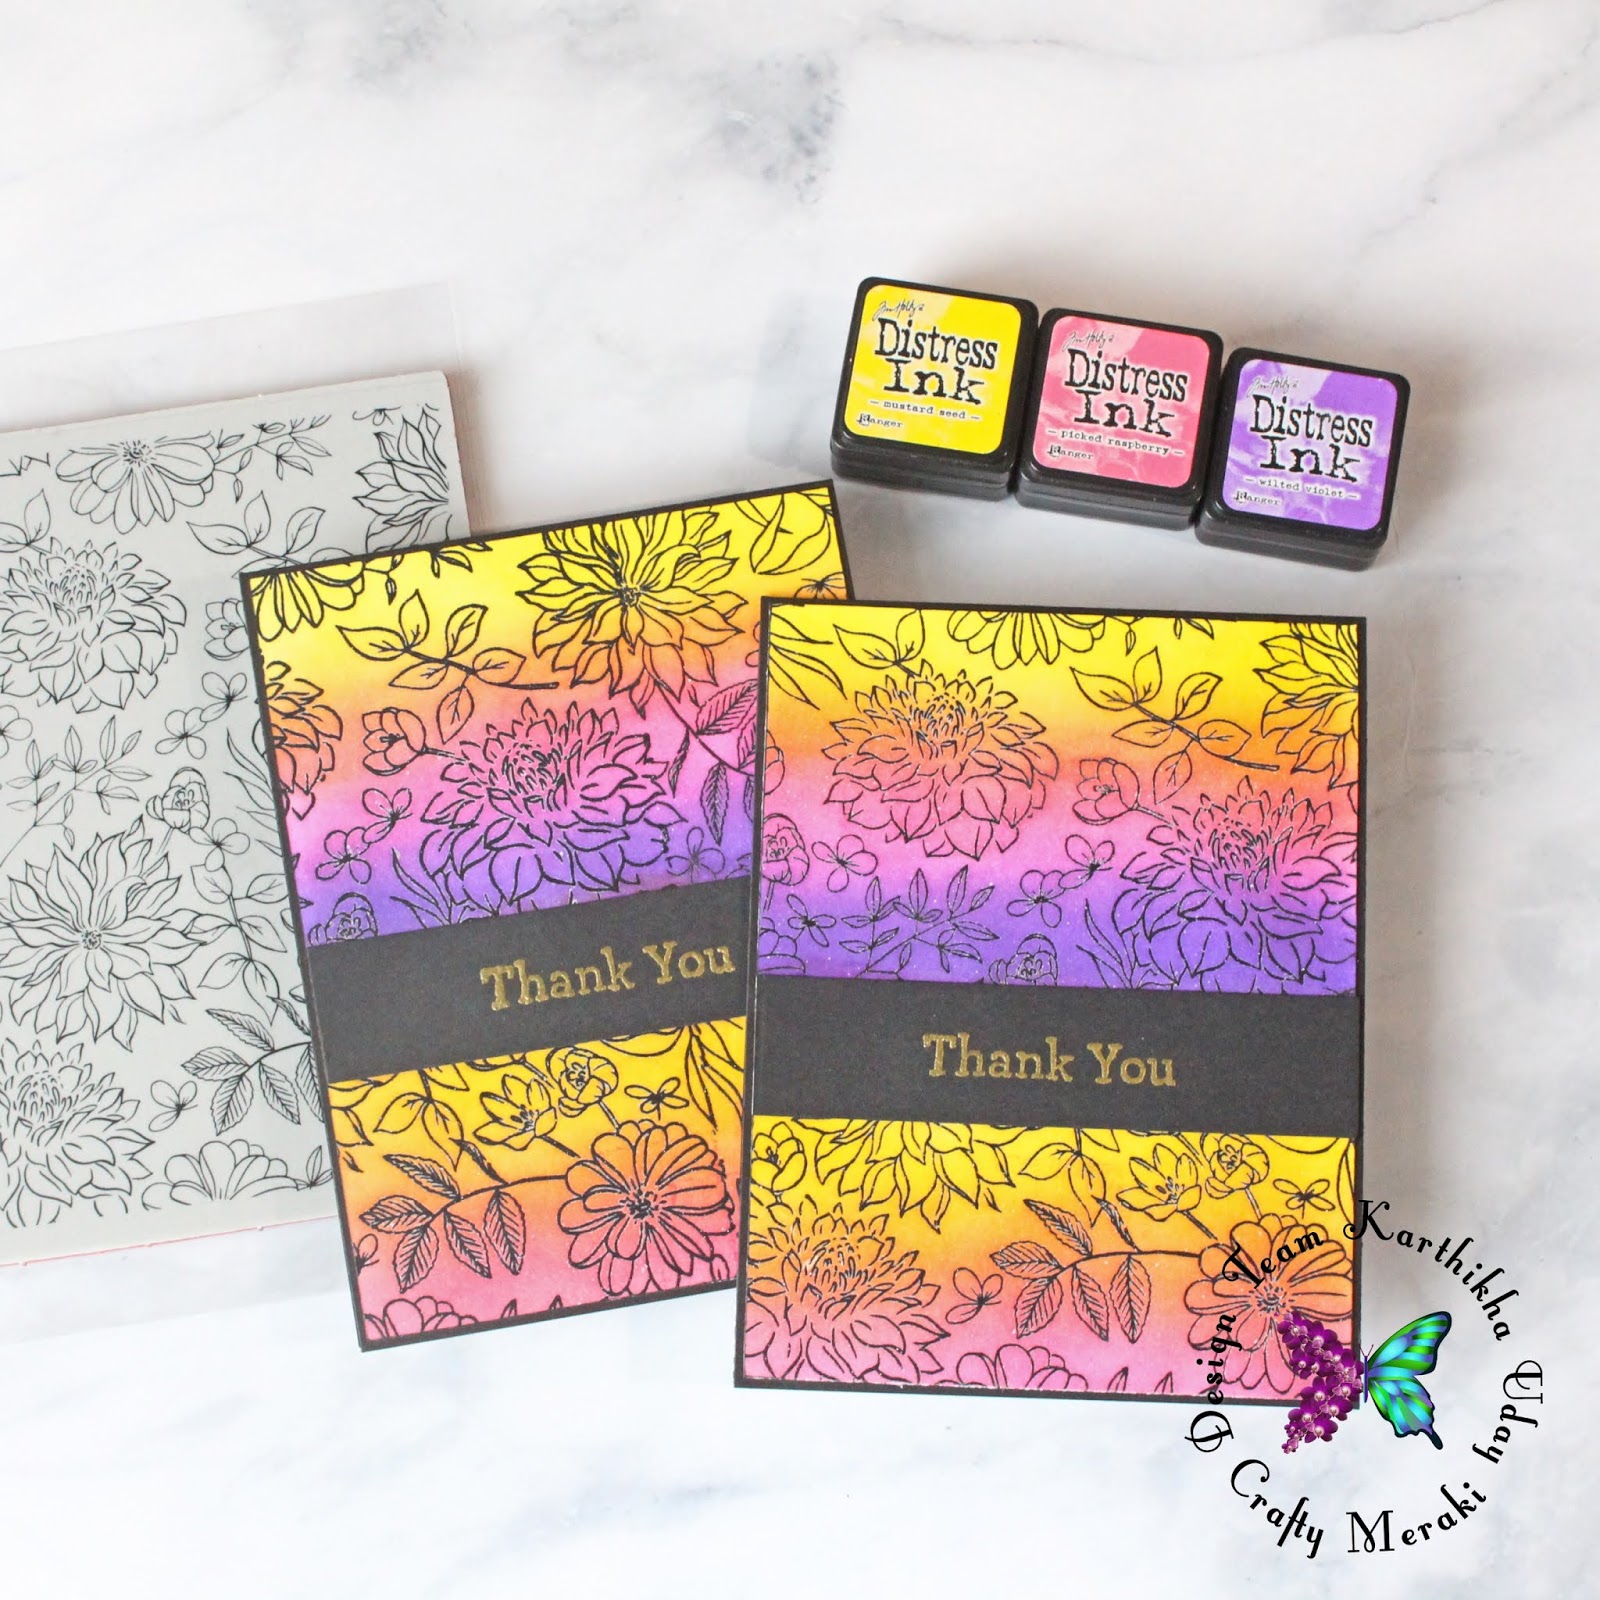
These 2 cards are again similar to the above ones, with black heat embossing over white cardstock. I've then used 3 distress inks - Mustard Seed, Picked Raspberry, and Wilted Violet for ink blending. They blend to give the above shades and colors. I trimmed them to the right size and matted over top folding black notecards. I used a Thank You sentiment from an old stampset, heat embossed in gold over black cardstock and used it over the ink blending panels, to complete the cards.
For the rest of the cards, they are 2-in-1 and quick to make! Create one panel, and make 2 cards out of them! Let's start with the below ones.
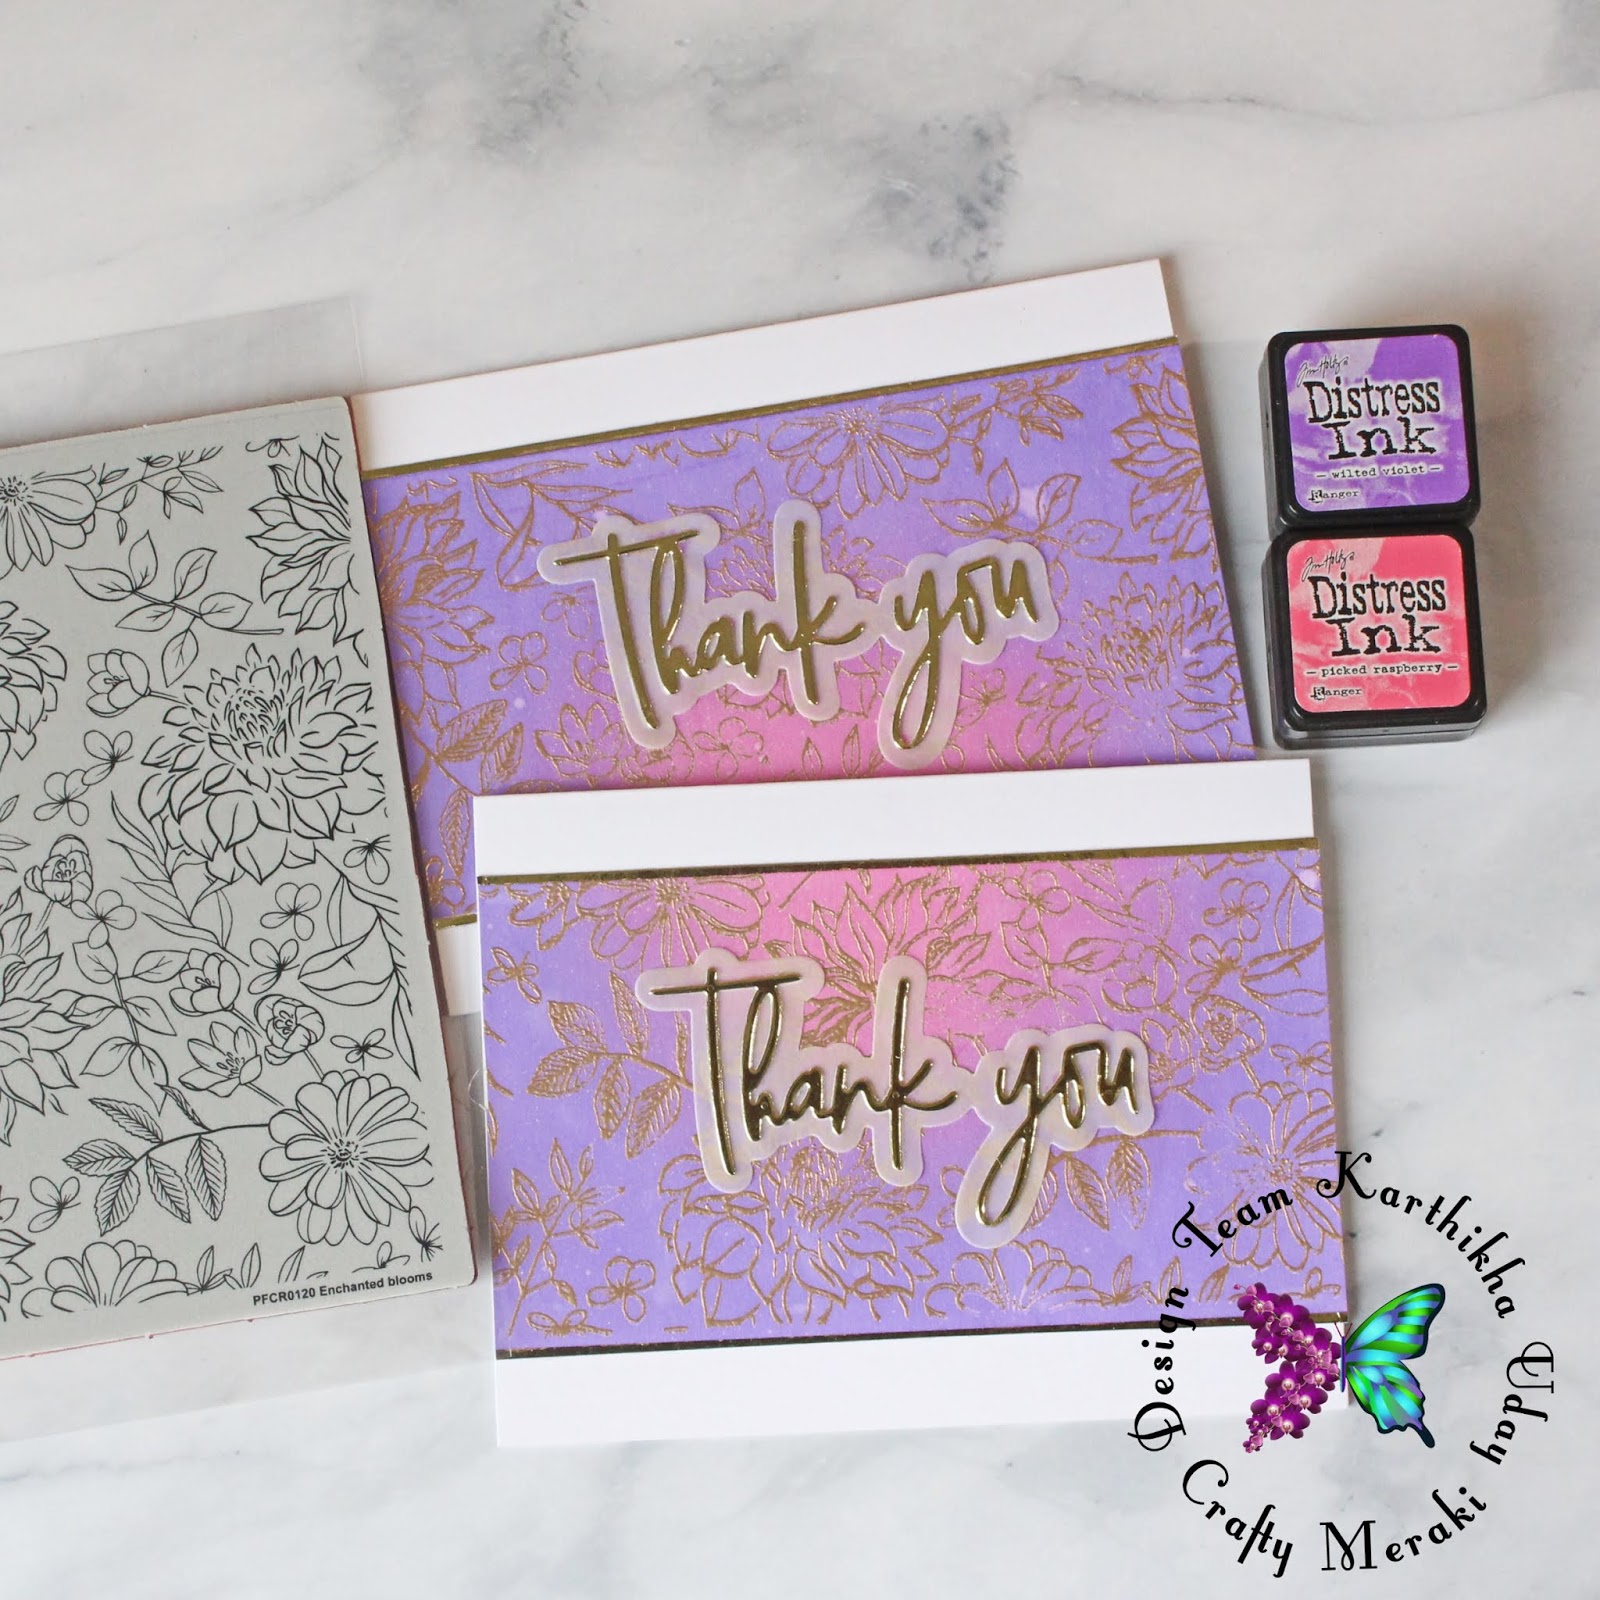
I started by stamping the floral image using Versamark ink and heat embossed the entire 6x6 panel in gold this time. I then blended over the image using Wilted Violet at the corners and Picked Raspberry at the center, and sprayed a fine mist of water. I've then trimmed the image to get 2 panels of 6x3 inches each. Mat them with strips of gold mirror cardstock on either side of the long side, attach to a base card and complete with a sentiment die-cut! It is so quick and easy!
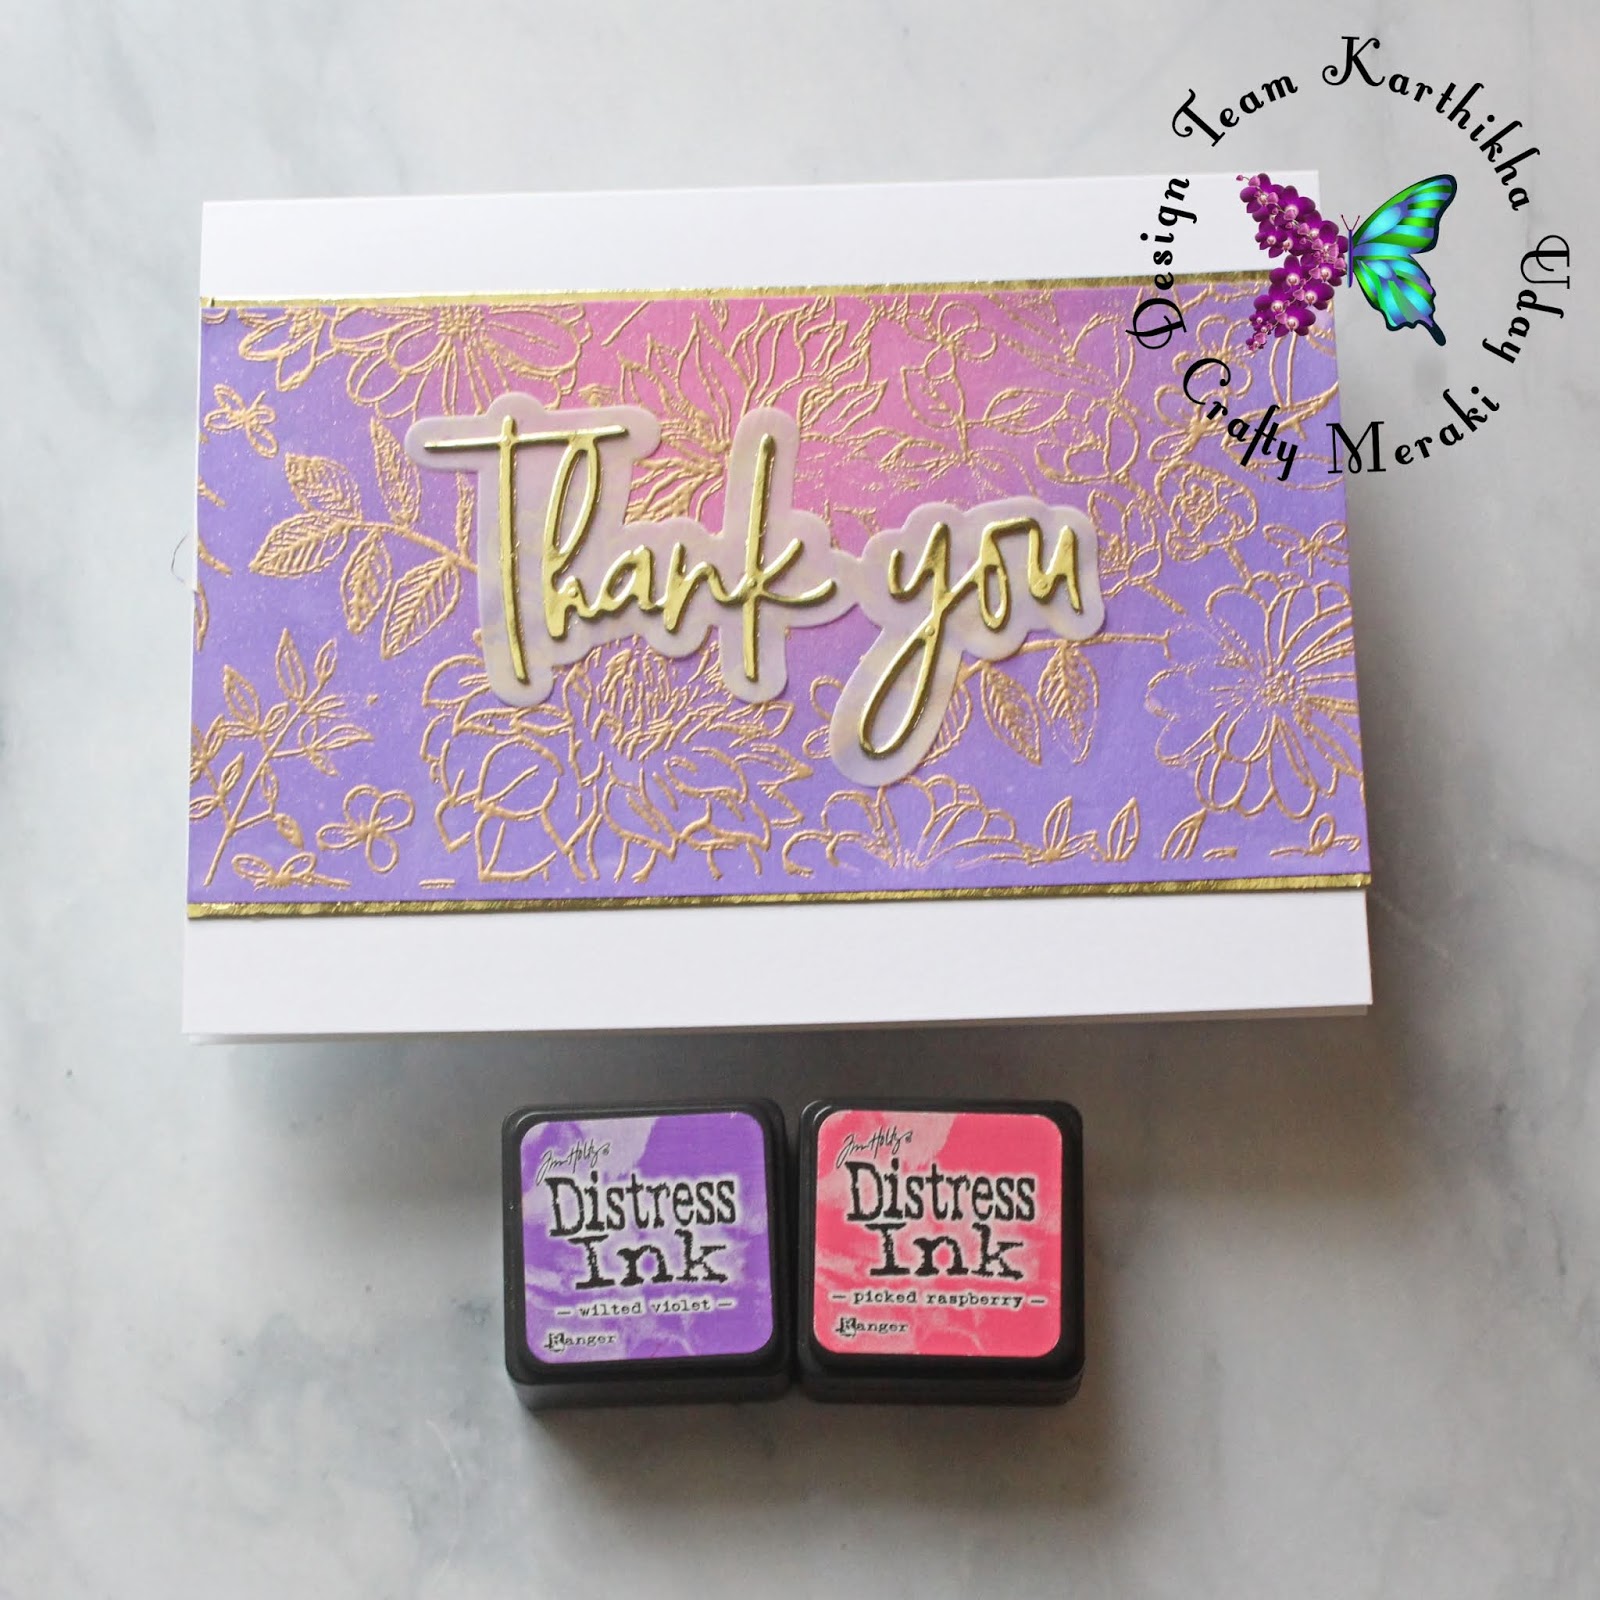
The sentiment die-cut is from the same Classic Words die set, and I've used vellum for the shadow here.
Tip: If you are afraid of the glue behind vellum showing up on the card, use another die-cut word behind the shadow, and apply glue to just that cardstock. This way, you have an extra dimension behind the vellum that lifts up the card design! And no glue shows on the card, as no glue is applied on the vellum! :)
Cards 7 & 8:
Here are the last set of cards for the day :)
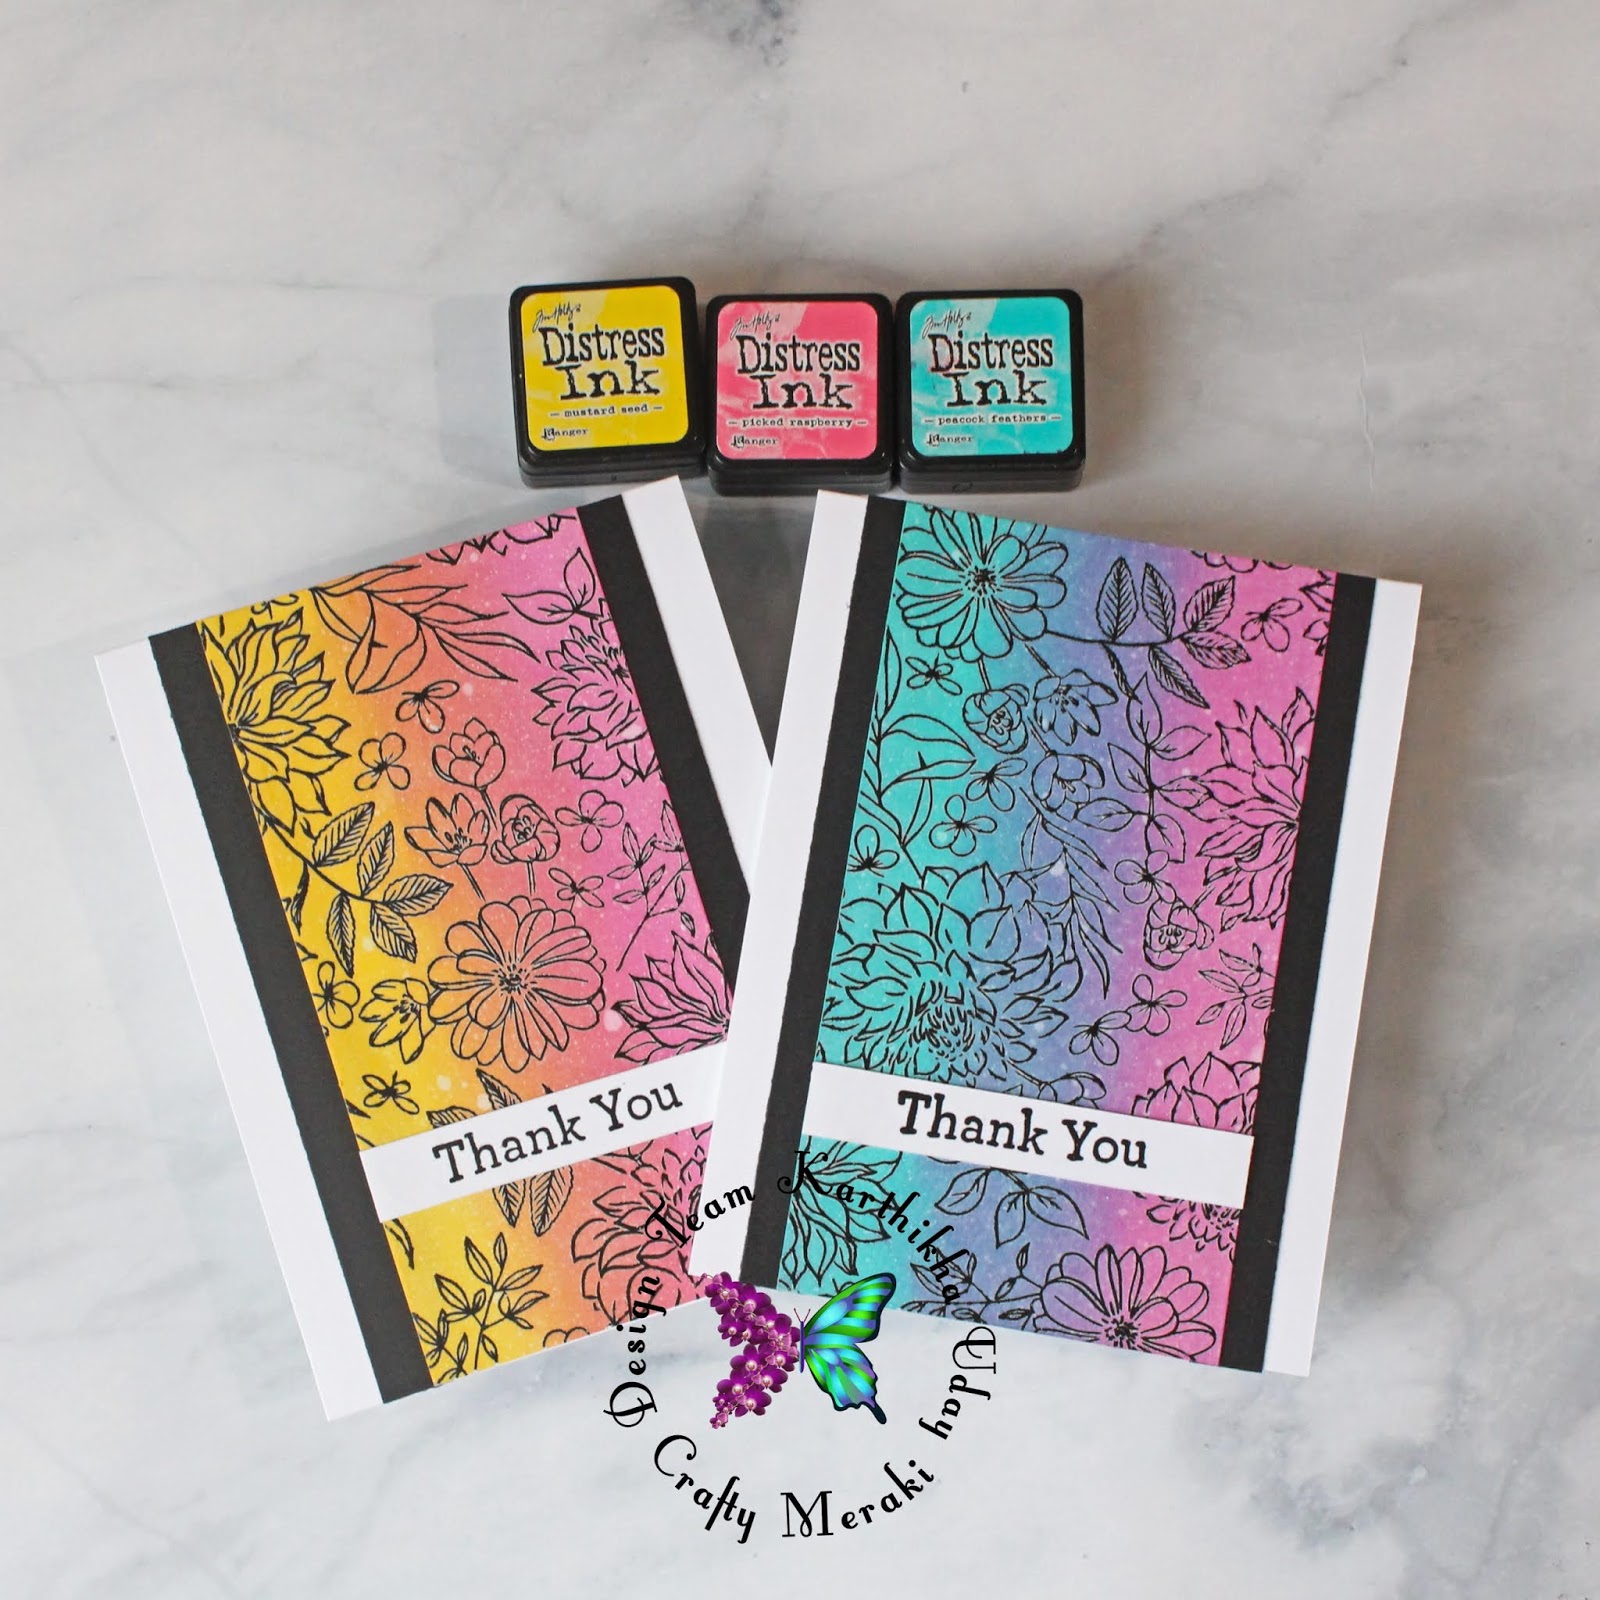
These panels are created again using black heat embossing over white cardstock first. This time, I trimmed the panels to 6x3 before blending so I could try different colors. On the first one, I've used Mustard Seed and Picked Raspberry, blending in the middle to get an orange shade.
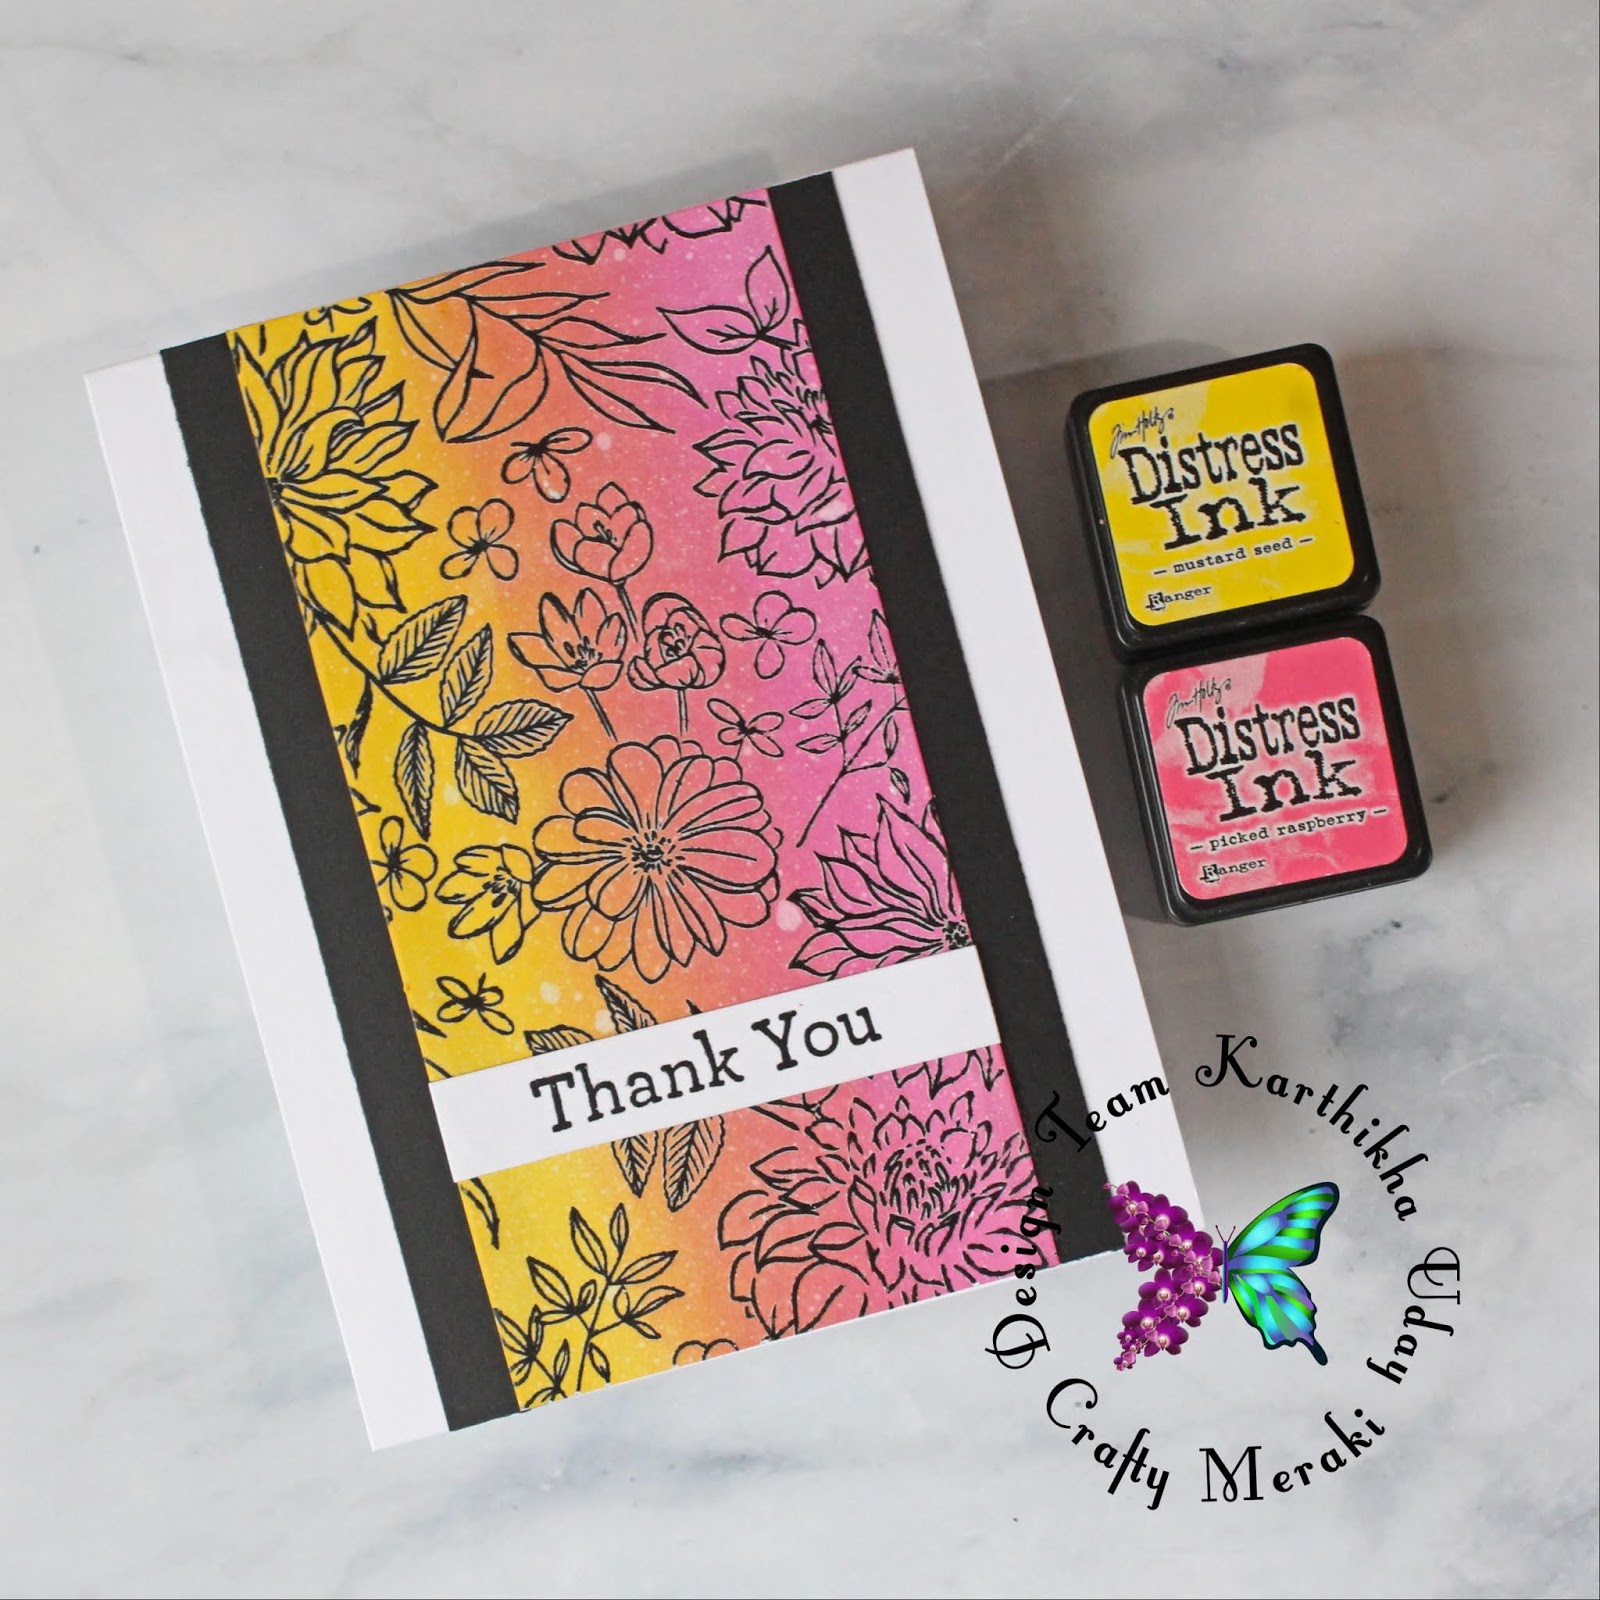
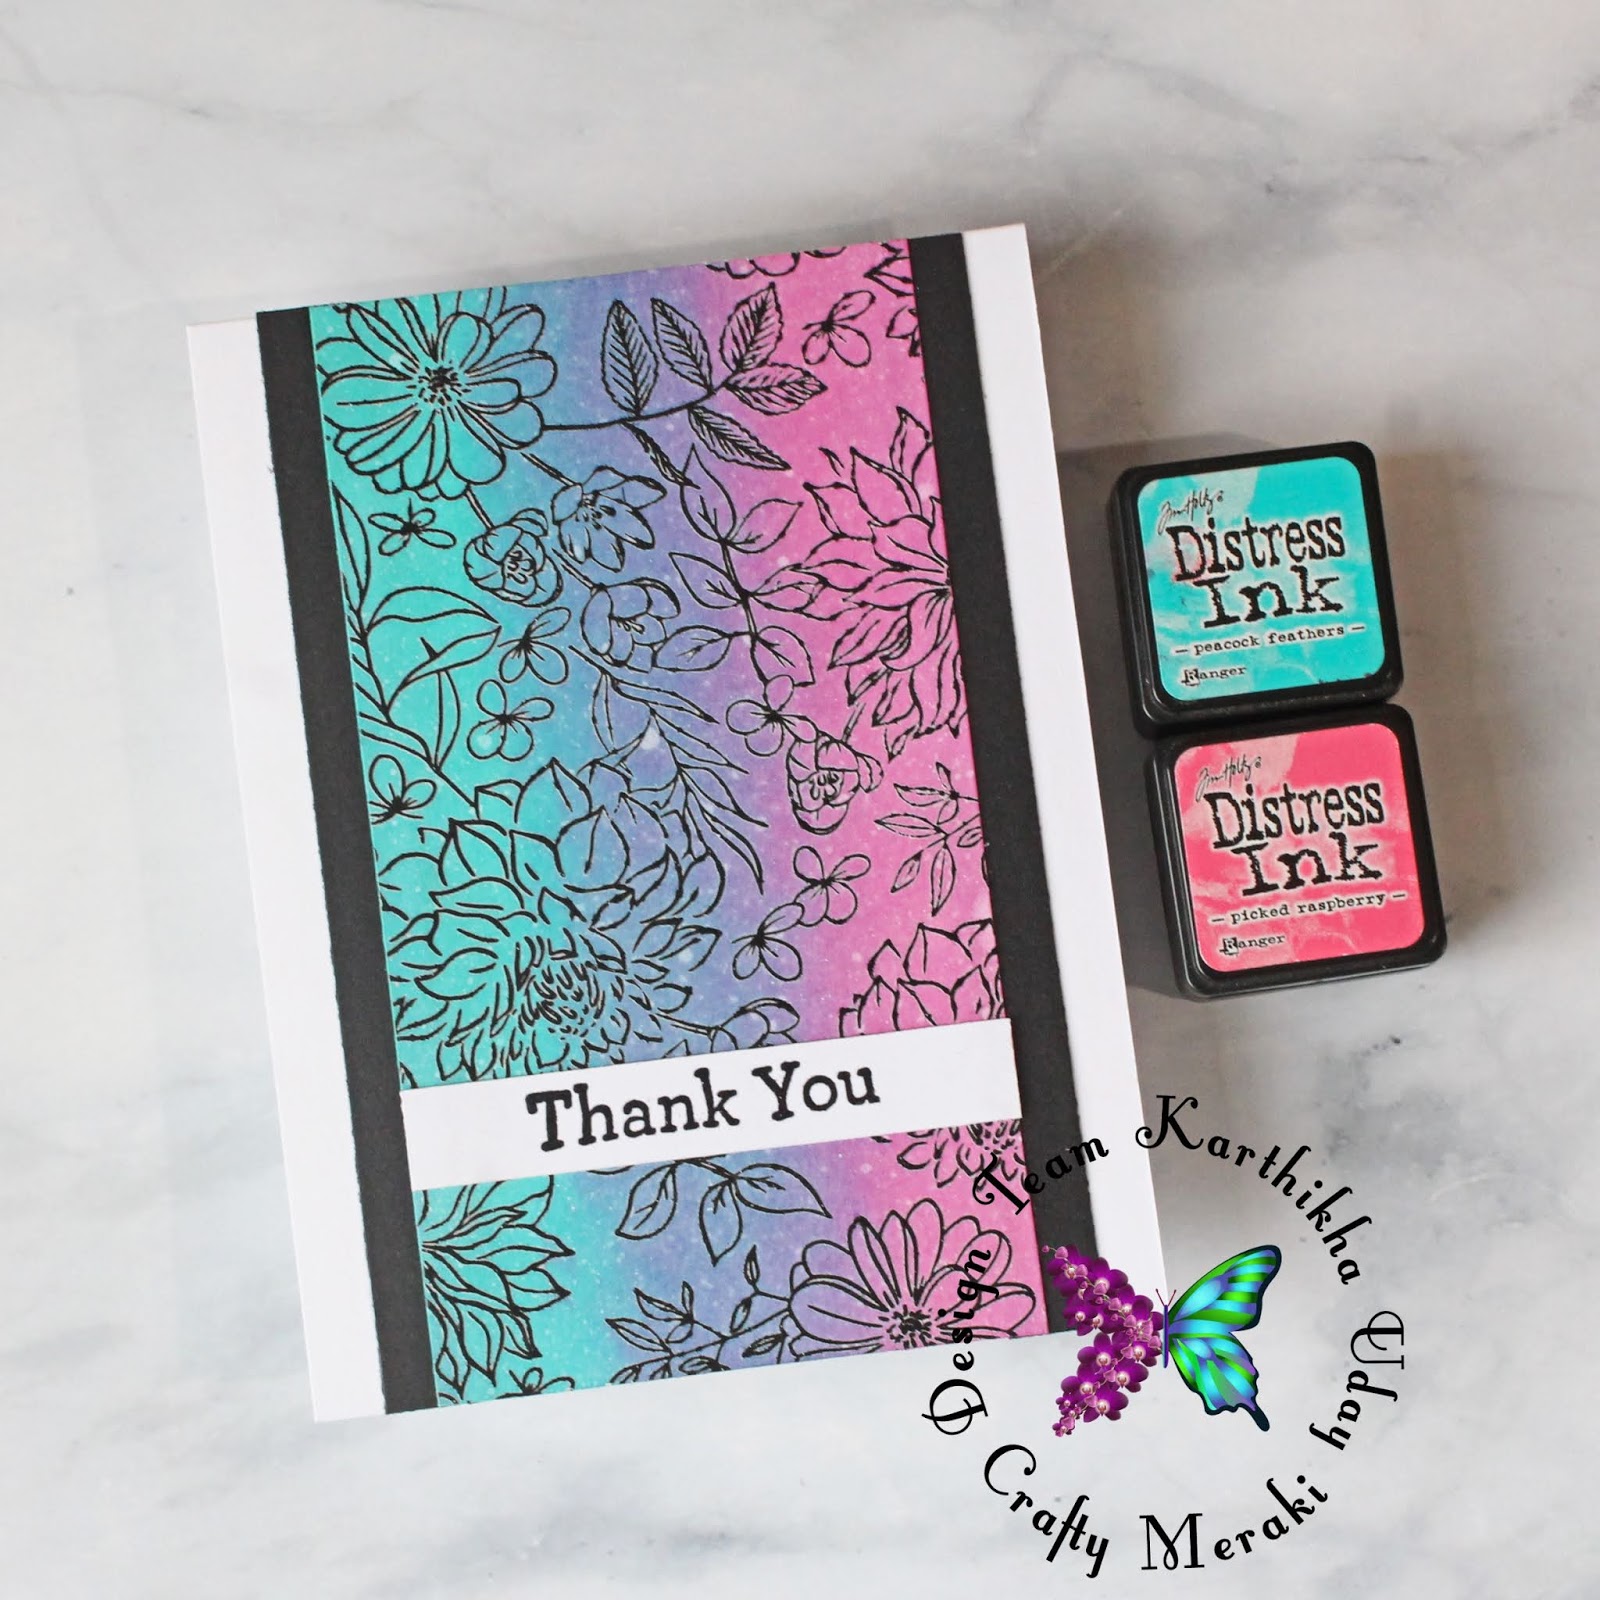
For the second panel, I've used Peacock Feathers and Picked Raspberry inks! Once the blending was done, I sprayed a fine mist of water, added strips of black cardstock to either side of the long panels and mounted them onto top-folding white notecards. I then stamped the sentiment on white cardstock using black ink and adhered over the panels.
Thank you for stopping by, and for reading till the end of this long post! Hope you like my cards! Do let me know your feedback! Have a nice day :)

Leave a comment
This site is protected by hCaptcha and the hCaptcha Privacy Policy and Terms of Service apply.