Hello everyone ! Lounon here !
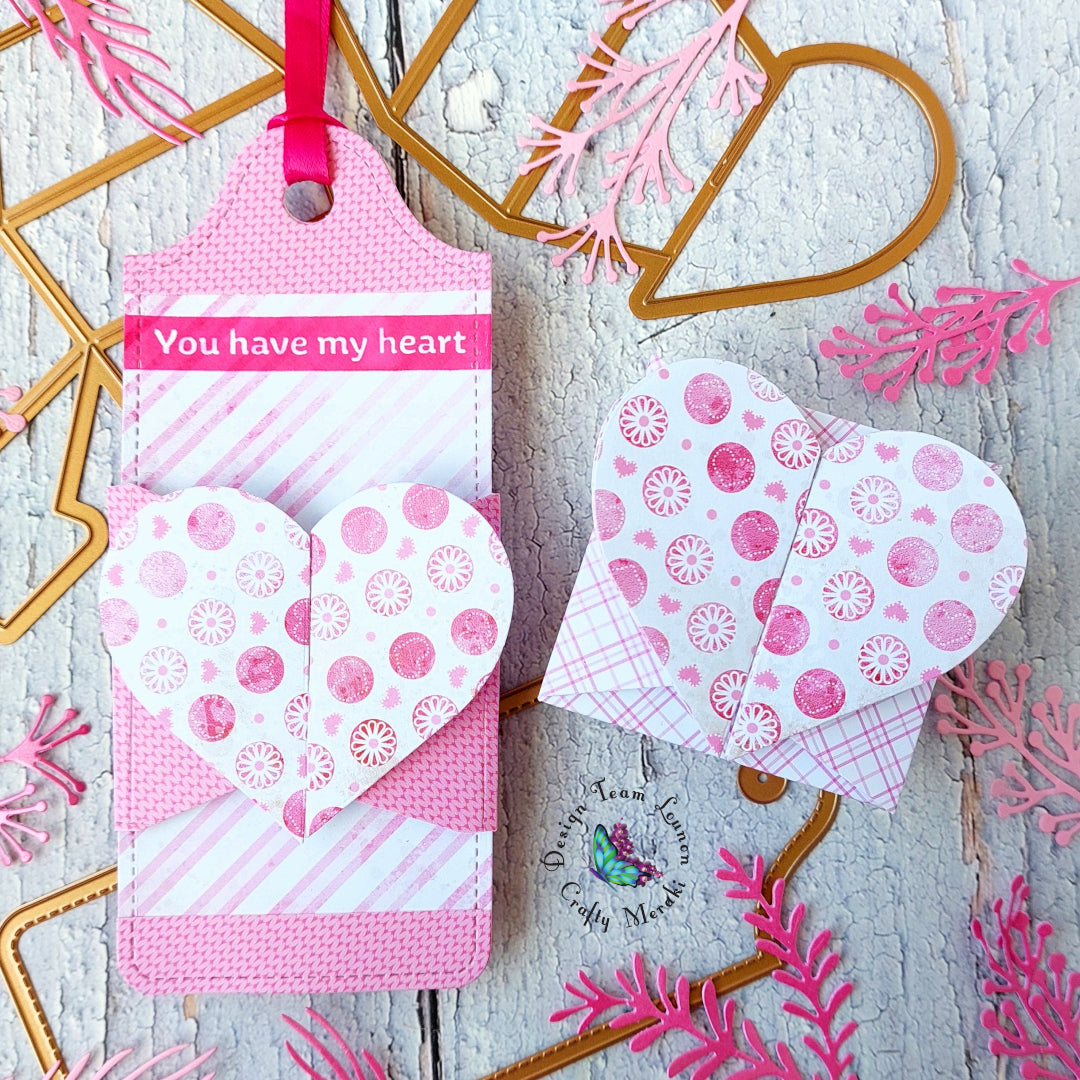
Today, I am sharing with you two coordinated projects I made with the new Crafty Meraki Gift of Love 3D Box die set and the Wishes Slimline Tag.

For the little box, it couldn't be simpler, the dies do all the work for you ! You just have to die cut the two pieces, follow the folds and add a little glue. You can check this adorable video from Ananya to help you.
I wanted the top part of my little box to have a different color so I cut the two parts of the heart onto a different patterned paper, cut them and glued them on top of my box.

When I saw these fun dies, I thought about tweaking things a little bit, so I decided to use parts of the mechanism with a tag.

First, I used the tag die from the Wishes Slimline Tag die set three times : once onto pink plain cardstock, and two onto patterned papers. I cut the top and bottom parts of one of them. I glued the parts on the patterned paper tag and I glued my two tags together.

I stamped my sentiment from the Crafty Meraki All you need is Love stamp set on my tag with pink ink.

After that, I cut the parts I circled on the image above onto patterned papers.

I glued them together.

After that, I folded a piece of pink cardstock and glued the parts I die cut earlier. My piece of cardstock was 2 3/4" wide (7cm) with two 0.5" (1.2 cm) strips.

The sleeve for the tag is ready !

Et voilà !
May the craft be with you !


Leave a comment
This site is protected by hCaptcha and the hCaptcha Privacy Policy and Terms of Service apply.