
Hi crafty friends! I'm back with two more cards using the gorgeous All The Sparkle stamp set. I wanted to show you two very different card ideas for this stamp set and also give you some tips and tricks for layering stamps! As always, there will be a video tutorial linked below as well.

For layering stamps I always go into mass production mode because it will save me a lot of time in the long run. If you have a stamping tool like the Misti this will help a ton! If you're stamping one image, the trick is to cut a bunch of square pieces of paper where you can fit your image on four times (one in each corner) So you only line up each layer once and just turn your piece of paper to stamp it over and over again. For these gems I've also stamped all the gems at once on long strips of cardstock, stamping them all in the same color way on one strip then changing the colors for the next strip. For more tips and tricks watch the video below!
Now for the first card I used all those gems and made a flat shaker card with them. I first created my shaker panel by die cutting some white cardstock with the Dance With Me Mini Slimline die and trimming it down so it would fit on an A2 sized card. I wrapped it in thin acetate, just securing it at the back with double sided adhesive. I adhere the long sides first then seal one of the short edges leaving one open so I can fill the shaker pouch with the gems, some sequins and glitter before sealing that shut as well.

I can then adhere this shaker panel to my top folding portrait cardbase with double sided adhesive and to finish this card I also added the Hugs Shadow Word die sentiment. I die cut it once from gold holographic cardstock, once from purple cardstock and three times from thick white cardstock. I used the inner most pieces from the white and purple cardstock and layered those together with liquid adhesive. I added some depth to this sentiment by ink blending Pinkfresh Studio Regal Kiss ink on the lower half of it. I adhered the sentiment with the shadow layer in gold on top of the shaker pouch using Ranger Glossy Accents because it sticks well to slick surfaces.

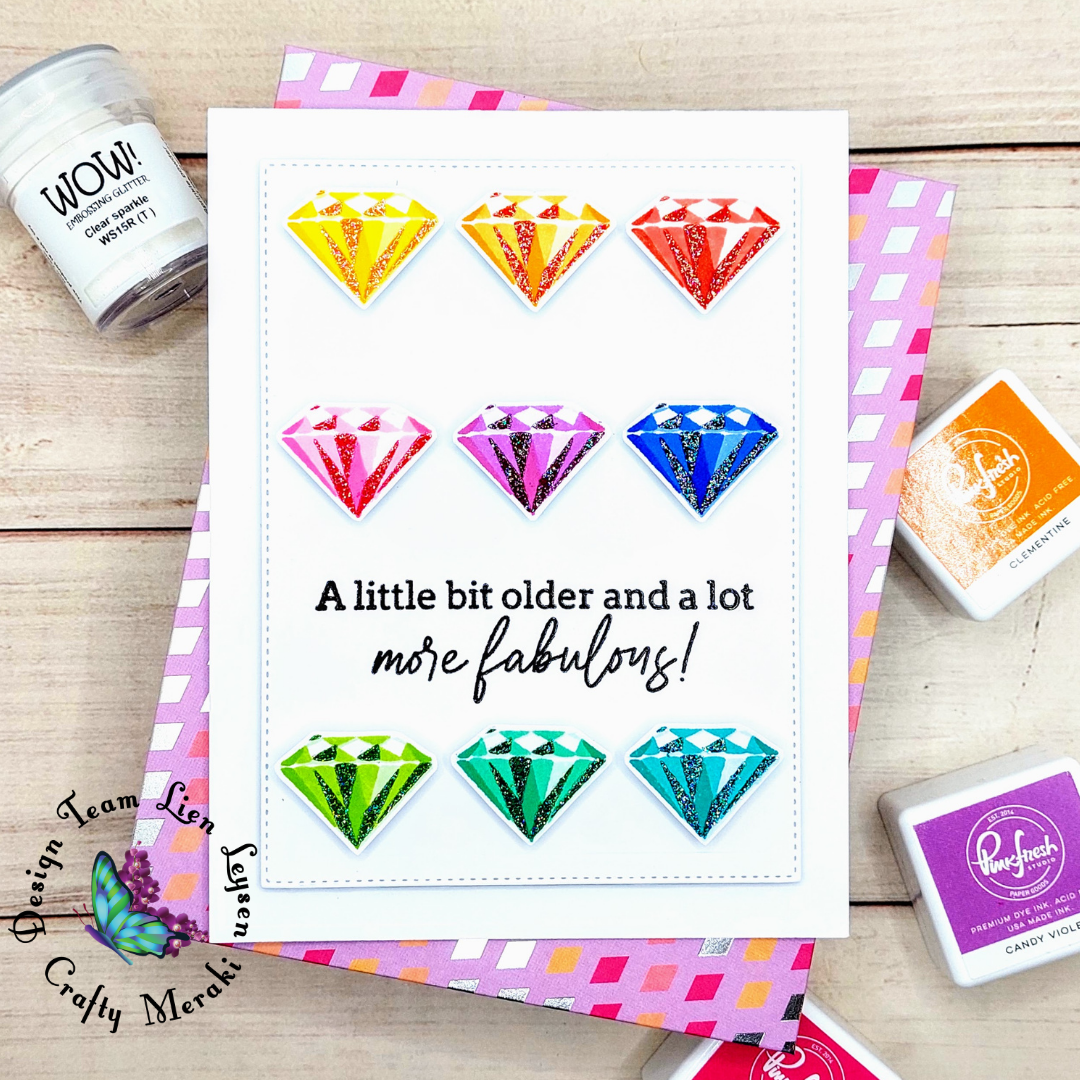
For my second card I only used the smallest gem in the set and I stamped that in 9 different colors using all Pinkfresh Studio inks. For the final layer of that gem stamp I went over the darkest shade again with Versamark ink and embossed it with WOW Clear Sparkle embossing powder. Adding embossing powder to your layering stamps is such a fun way to get a simple different look! I fussy cut them all out and arranged them on my grid mat. I can then pick them all up at once with some Press 'n Seal.

I stamped the sentiment from the Pinkfresh Studio Birthday Sentiments stamp set on there in Versafine Onyx Black ink and embossed it with WOW Clear Gloss Super Fine embossing powder to give it a glossy finish. I can then put foam squares behind all the gems (which are still held in place by the Press 'n Seal) and adhere them all togehter onto my white panel. This panel is propped up on a piece of cardboard to give it extra dimension as well.
That's it! For more details and some bonus matching envelopes, watch the video on the Crafty Meraki youtube channel!
Leave a comment
This site is protected by hCaptcha and the hCaptcha Privacy Policy and Terms of Service apply.