Hello everyone ! Lounon here !

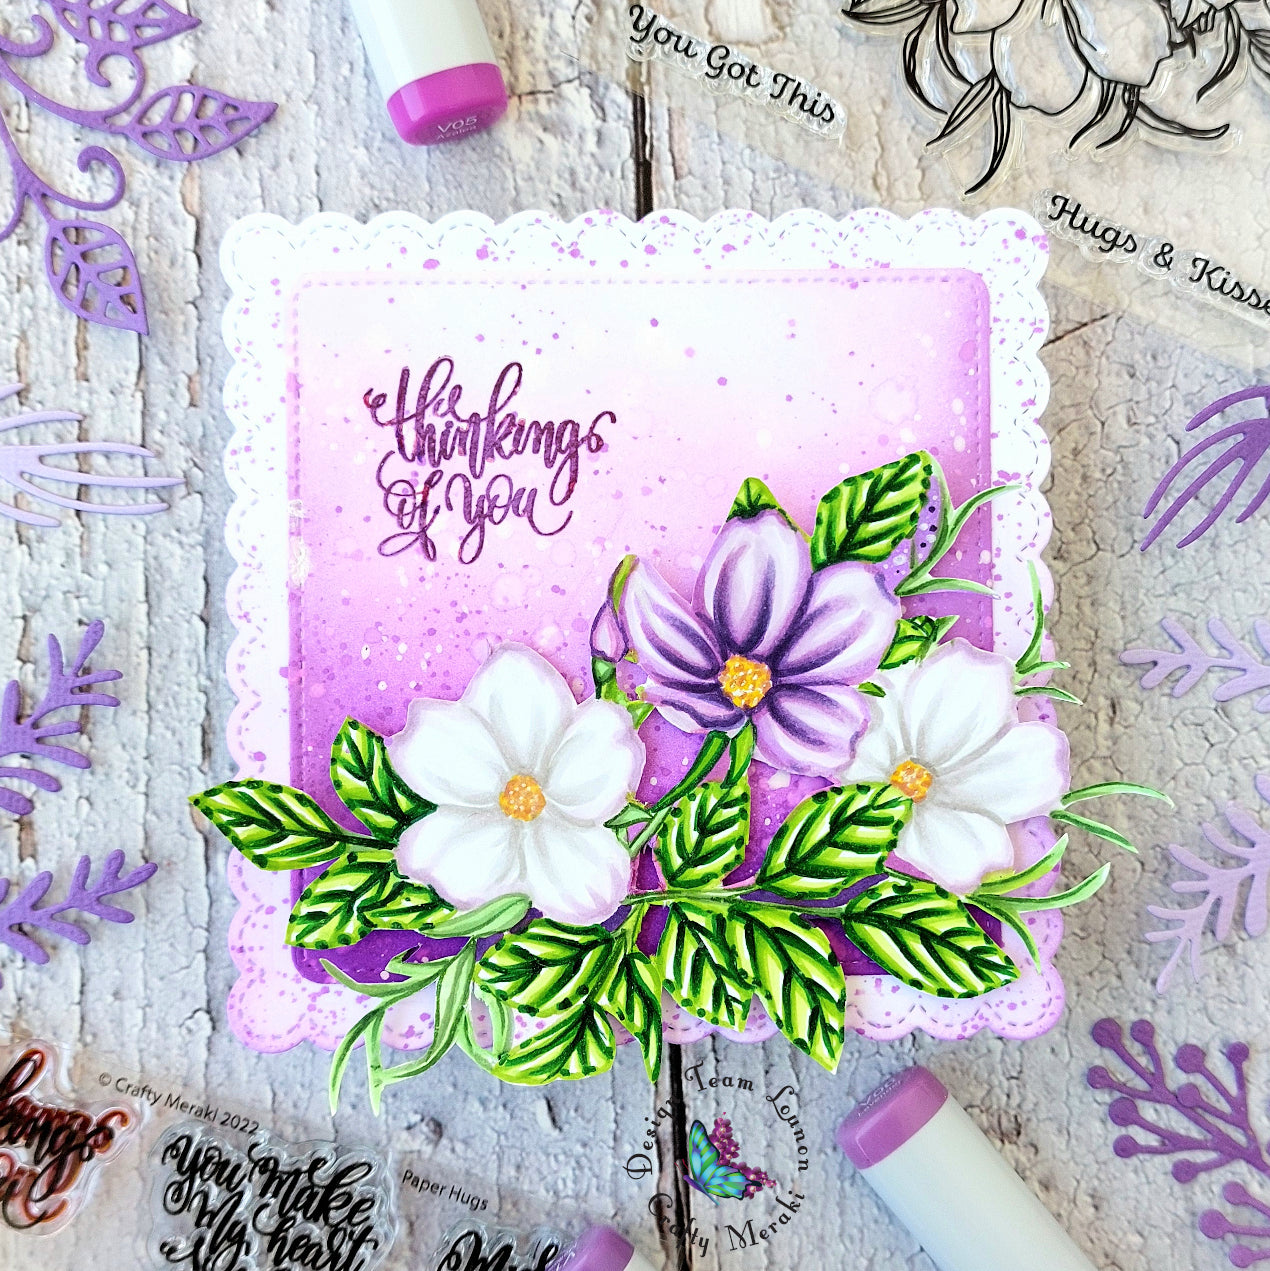
First, I stamped my image with a noline coloring inkpad.
If you don't have one, you can use a light grey or sand inkpad. Just make sure it's adapted to the medium you will use (in this case, markers).
If you don't have one either, you can use your regular black inkpad. Ink your stamp once and stamp the image you just inked, once or twice on draft paper (or marker friendly paper if you want to color it later with line) and after that, stamp it on your marker friendly paper. It won't be as crisp as if you had used a specific or grey inkpad but the second or third impression should be light enough to allow you to do some noline coloring.
Second tip for noline coloring : keep the package's acetate sheet with the image of the stamp near you. Sometimes, it can be hard to have a clear image of the picture when you're in the middle of your coloring : just place the acetate sheet above your coloring and it will help you visualize your image better.
I colored my image with my markers and fussy cut it. I used my Copics G28 G07 YG25 YG03 YG01 for the leaves and W3 W1 W0 V12 V01 V000 / V09 V17 V06 V05 V04 V01 V00 / E15 E13 Y15 Y11 for the flowers.

After that, I die cut two stitched squares onto white cardstock. On the bigger scalloped one I splattered some of my ink ( Pawsitively Saturated Ink Pad Amethyst ), I also slightly inked the bottom part with my Pawsitively Saturated Ink Pad Lilac to make a subtle gradient .

Then, I inked the smaller stitched square with my Simon Says Stamps Pawsitively Saturated Ink Pad Amethyst, Orchid and Lilac. I splattered some of the inks, water and white paint on it. I also stamped my sentiment from the Crafty Meraki Paper Hugs stamp set.

Finally, I matted and layered the squares and glued my flowers with foam pads on top of them.
Et voilà !
May the craft be with you !


Leave a comment
This site is protected by hCaptcha and the hCaptcha Privacy Policy and Terms of Service apply.