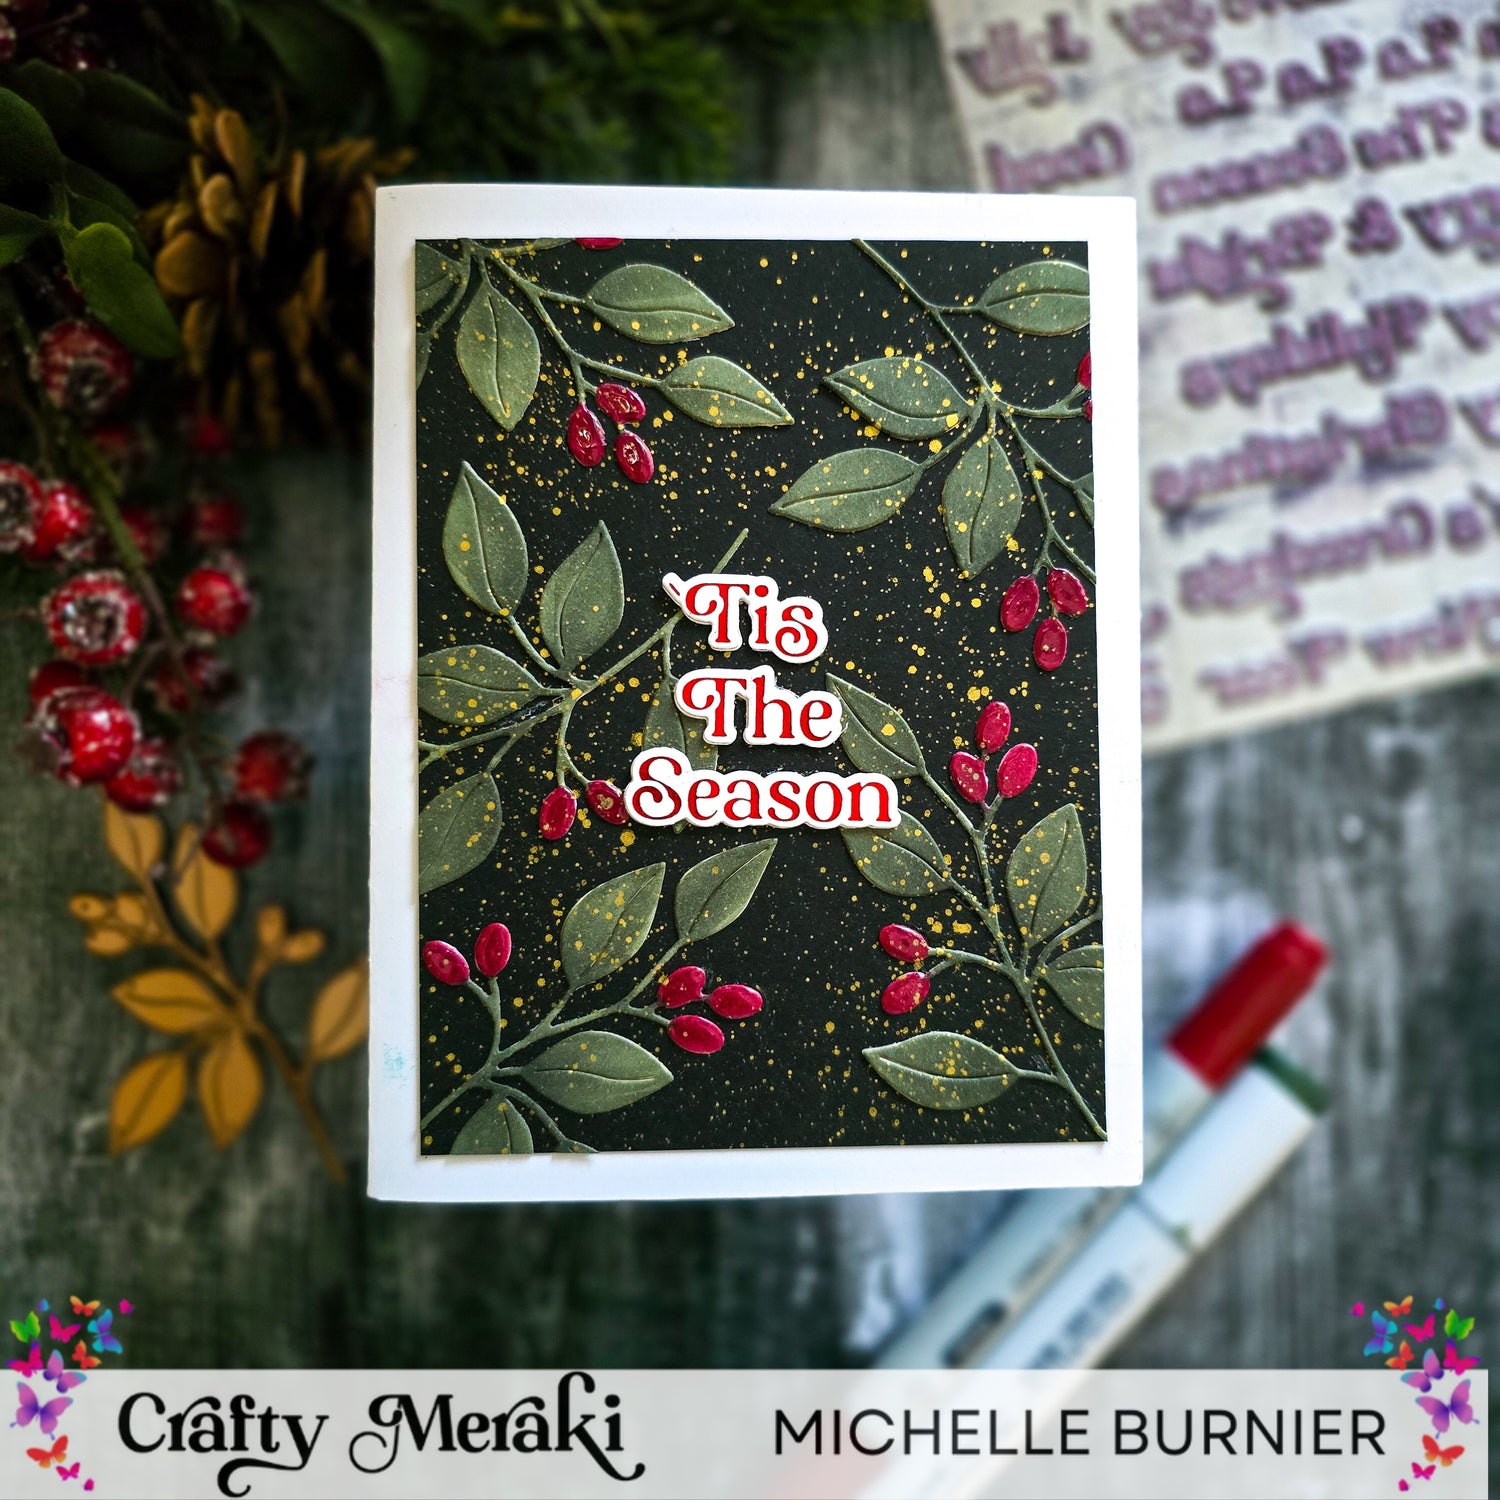
Hey friends.....it's Michelle back today sharing a new project featuring the Press-Tacular Plates, but this time instead of using it in the BetterPress to get that letterpress effect, we are going to do some hot foiling with it. All letterpress plates including the new Press-Tacular plates from Crafty Meraki, pull double duty. That means not only can they be used for their intended purpose to get that gorgeous letterpress effect, but they can also be used to hot foil with. So you get double your money's worth with them!

Heat up your hot foil machine. Cut a piece of white cardstock and red foil large enough to cover the Gilded Holiday Expressions Press-Tacular Plate. Once heated up up enough, place the plate on the machine and the foil shiny side (coloured side) facing the press plate and the dull silver side of it facing up. Place the white cardstock on the foil and close the cover. Run through your die cutting machine. Allow to cool for a few secinds before peeling back the foil from the cardstock. Cut out the foiled sentiments using the coordinating die.

Using white cardstock, cut out 5 of the smaller leaf from the Canopy Leaf Die. Using a red and a green Copic marker(or any marker), simply colour the diecut leaves. No fancy shading of them needed, just add colour to them. I used a scrap piece of white cardstock to colour them on, so as to avoid getting marker all over my work surface.

Cut a piece of black cardstock to 3.75x5". Arrange the diecut leaves on the black cardstock and place a piece of Press n' Seal on top, being careful not to disturb the arranegement you've made. Press down well to pick up the diecuts and turn the press n seal over so that the reverse side of the diecuts are facing you. Add some glue to the back of the leaves and press back down onto the black cardstock.

Cut the excess hanging off the edges of the black cardstock. Add some gold splatters (I may have gone a bit crazy with them lol). Once they are dry, stack 2 of your chosen sentiment together with glue for a bit of dimension and adhere to the middle of the cardstock. As an after thought, I decided to add some glossy accents to the red berries to help them stand out a bit more. Allow the glossy accents to fully dry and then attach to your white A2 cardbase or do that before you add the glossy accents.

I love the fact that the Press-Tacular plates are a 2-for-1......you get the intended letterpress look with them, but you can also hot foil with them. Don't you love getting multiple uses out of your crafty supplies?! It definitely makes the investment worth it.

This red foiled sentiment is truly the perfect sentiment and the perfect amount of shine that this card needed. Thank you so much for joining me today on the blog. I hope that I have helped to inspire you in some way and that you get some time to sit down and create. I wish you all the most wonderful and crafty day. Until next time, Michelle :)


Leave a comment
This site is protected by hCaptcha and the hCaptcha Privacy Policy and Terms of Service apply.