
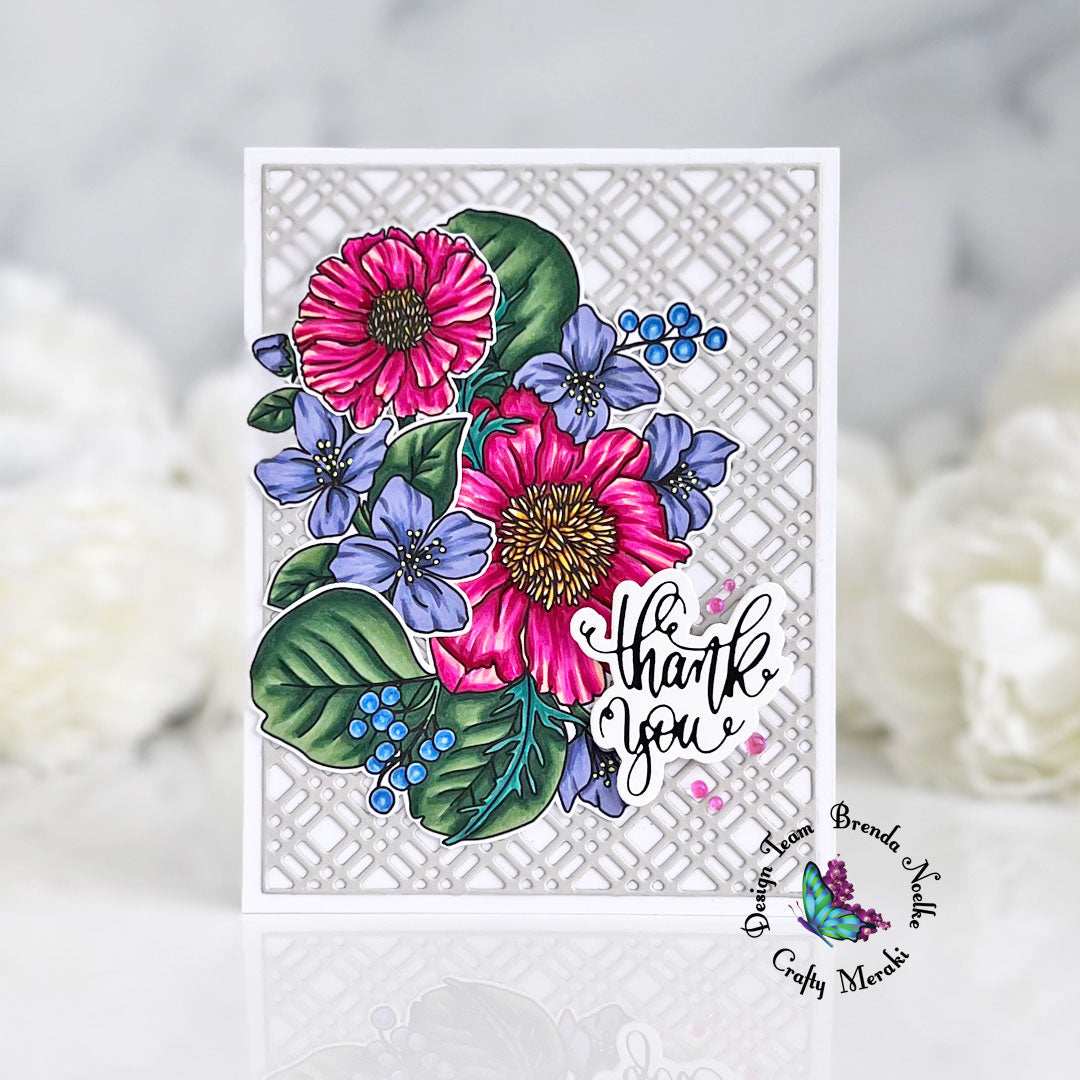
Hello, crafty friends!! Brenda here with a thank you card to share today!! I was in the mood to do some Copic coloring, so I pulled out the Amazing Blooms Stamp Set and got to work!!

I stamped the beautiful flowers from the Amazing Blooms Stamp Set onto white cardstock with InkOn3 Blackout Ink. I colored them with Copics, added dots to the stamen with a yellow gel pen, then fussy cut them out. There are Coordinating Dies available, but I don’t have them, so I just trimmed them out with my scissors.

I really love adding texture to my backgrounds!! I’m a huge fan of white die-cuts on a white background, but here I wanted it to stand out a bit more. I die-cut the Crafty Plaid A2 Background Die from light gray cardstock and adhered it to an A2 white card base. The flowers were arranged and adhered with liquid glue.

For the sentiment, I foiled the Handmade Love Hot Foil Plate onto Glimmer Specialty Cardstock with matte black foil, then cut it out the the Coordinating Die. It was popped up with foam adhesive. A sprinkling of Petunia Dew Drops draws your eye down to the sentiment.

That’s it for me!! Have a great day and thanks for stopping by!!
Leave a comment
This site is protected by hCaptcha and the hCaptcha Privacy Policy and Terms of Service apply.