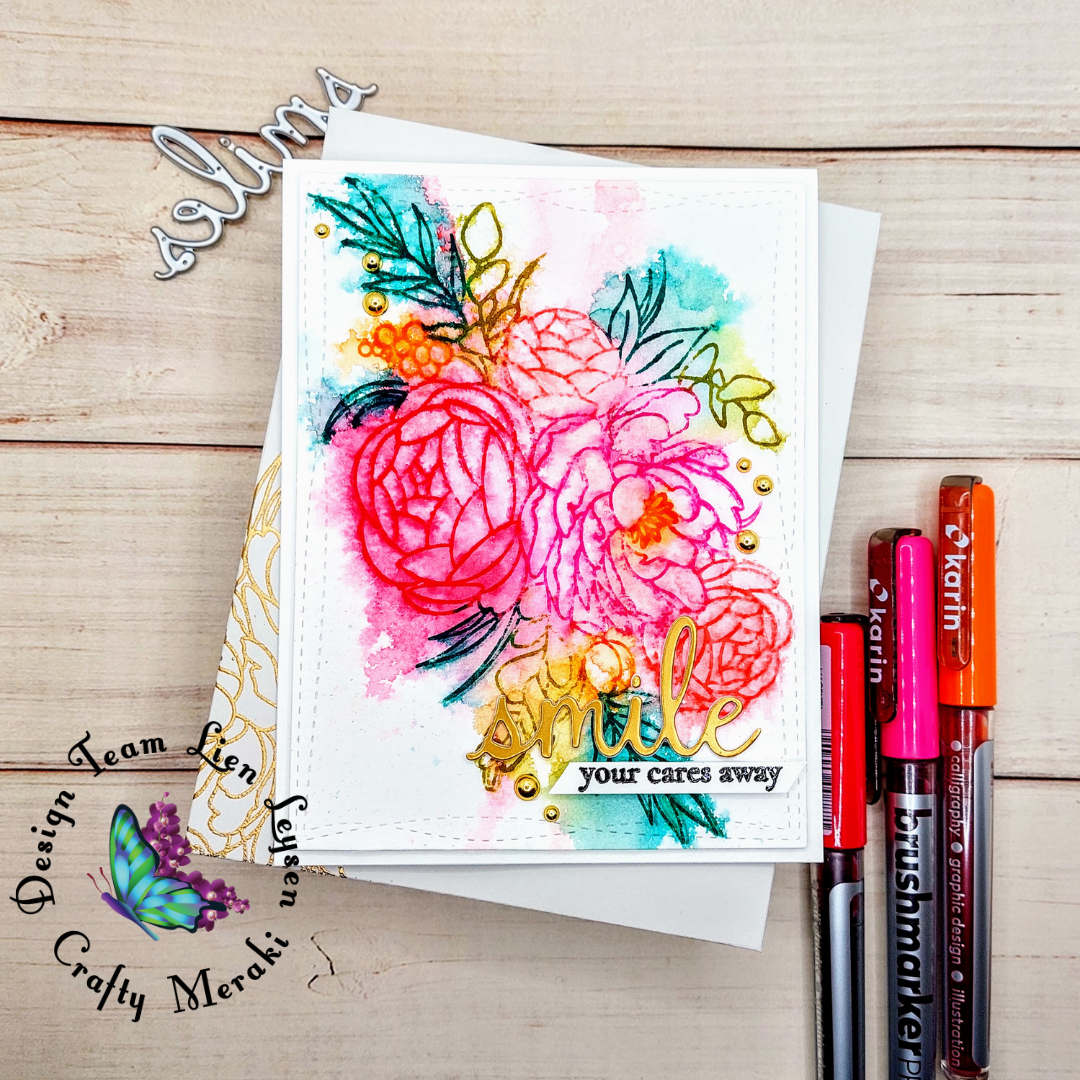
Hello crafty friends! Lien here with a new card and video and this one's a good one, guys. Who doesn't love a loose watercolor look for their floral cards? Then again, you just don't always have the time to paint, right? Watercolor stamping is the technique to solve that!
For this card I started with a piece of watercolor cardstock a bit larger than a card just so I had some wiggle room. I put that in my Misti together with the large floral stamp from the Reason To Smile stamp set by Crafty Meraki. Now you can use a couple of things here, you can use water reactive inks (Pinkfresh Studio dye inks or Distress (Oxide) inks...) or if you don't too much fuss, you can color over the stamp with watercolor markers, which is what I did.

I used the Karin Brushmarkers today to just put some color over my stamp and then stamped it like I normally would. Once it's on the paper I can spray the paper with water and watch as the colors start to run and bleed together to create a gorgeous watercolor effect. I repeat that process a couple of times until I'm happy with the look, drying the panel every time before I stamp again. The final stamping I do is to make the lines a little more crisp so I don't spray it with water again.

To turn this into a card I trimmed it down with a Wonky Stitched Rectangle by My Favorite Things and added a gold die cut sentiment from the Pinkfresh Studio Sending Phrase Builder die set. I finished it with a sentiment strip and some Gold Metallic Pearls also by Pinkfresh Studio. To see the entire process, and a quick matching envelope design, please watch the video below!


Leave a comment
This site is protected by hCaptcha and the hCaptcha Privacy Policy and Terms of Service apply.