Hello everyone! This is Lien.
Today's my first post as a Design Team member for Crafty Meraki and I am excited to be here!
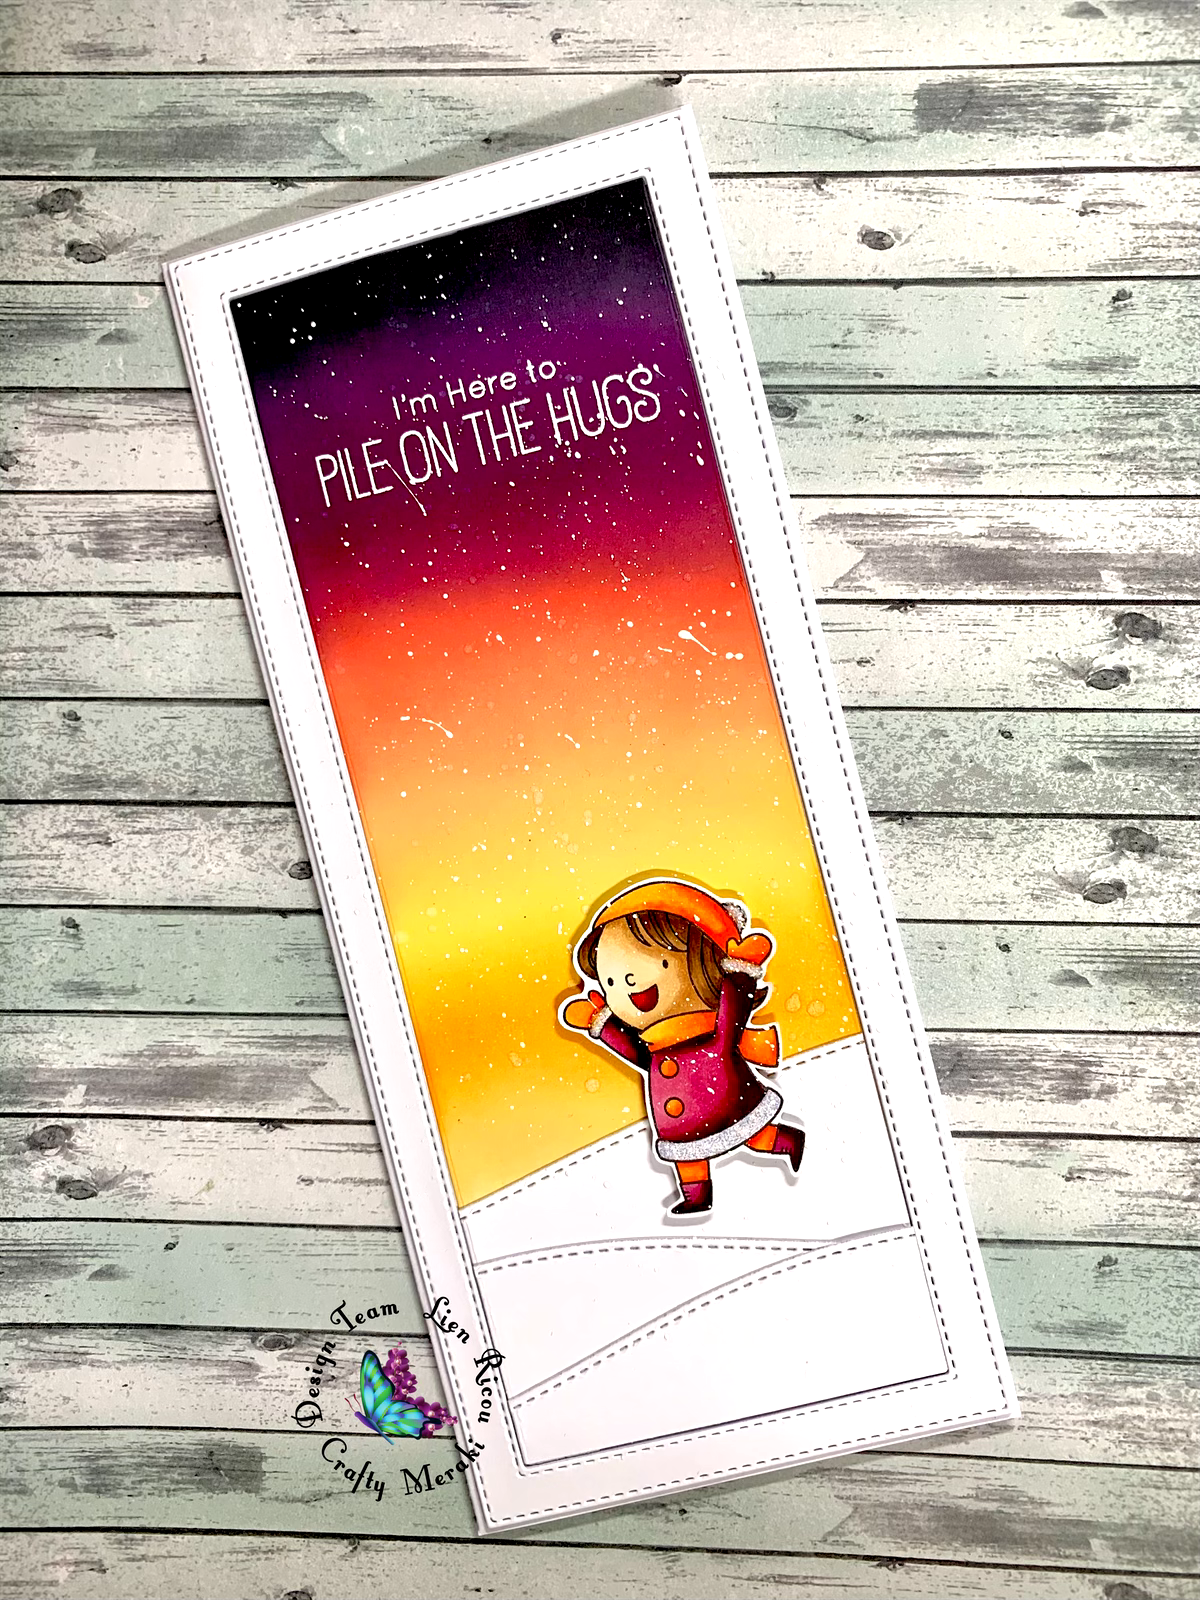
For my first card Tutorial, I have a really powerful background to share with you, which is framed in one of the Frame-Worthy Slimline Die by Crafty Meraki.
You can watch the video below or click HERE to watch at the Crafty Meraki Youtube channel. A supply list can be found at the bottom of this blog post.
I started by stamping out my little girl (from MFT - Pile on the Hugs) onto Perfect Colouring Paper using Gina K. Designs Amalgam Ink. Next, I took my Copic Markers to color her in. When she was colored, I took some scissors to fussy cut her out.
For the background, I used the Frame-Worthy Slimline Die by Crafty Meraki. I cut out the largest Frame twice from Perfect Colouring Paper. Next, I took the inside piece to do some ink blending. From top to bottom the colors are: Black Soot, Dusty Concord, Seedless Preserves, Abandoned Coral, Dried Marigold, Squeezed Lemonade, Spiced Marmalade and again Dried Marigold.
Once the inkblending was done, I added some Liquid Pixie Dust on top of this panel. For the bottom of the pannel, I took the second inside piece and cut out some snowy hills using the Slimline Snow Drifts by MFT.
For the sentiment, I used White (Super Fine Detail) embossing powder by Ranger. Next, I assembled my card using a combination of liquid glue and thin foam squares. I added some snowflakes by splattering white gouache all over the panel. To finish this card, I added some Diamond Stickles. I hope you like the end result!
Don't forget to Subscribe to our YouTube Channel for more tutorials!
I'll be back Next Friday with another tutorial -see you soon!
Lien


Leave a comment
This site is protected by hCaptcha and the hCaptcha Privacy Policy and Terms of Service apply.