Hello Crafty friends!
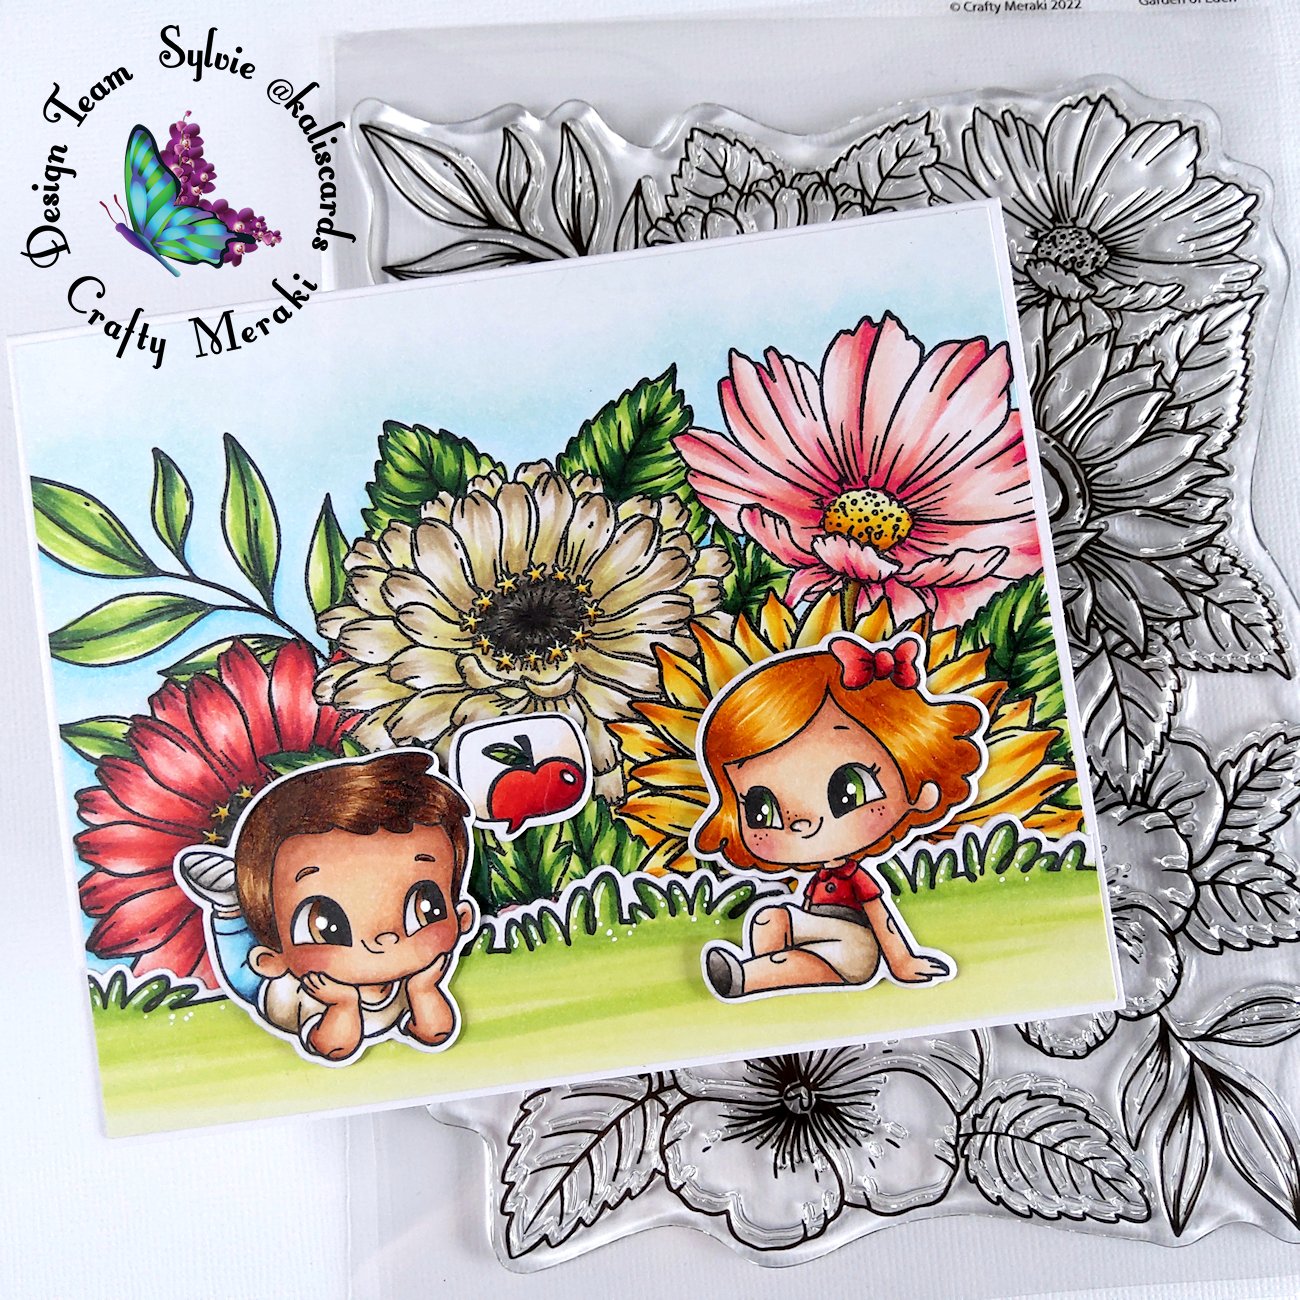
The beautiful stamp in the background is from the latest Crafy Meraki release and is called Garden of Eden! What a beautiful name for a beautiful stamp. This is a very large stamp and I only used half of it. And the name was just an invitation to add an Adam and Eve in the front. These characters are from the Valentine set. Then because one of the new stamp sets, Work of heart, has an apple, it had to be on this card, embedded in the speech bubble of the Love story stamp set.
This is the kind of scenes I love to create... when it all fits together like it was meant to!

To create this card, I started by stamping the background on white cardstock and colored the image with Copic markers.
I then stamped the Valentine characters and colored them with Copic markers too. I die cut the images with the coordinating dies.

I then stamped the speech bubble from the Love story stamp set on masking paper and cut the middle part with the heart (cuting out the frame of the speech bubble) in order to mask the heart. I adhered the masking paper on cardstock and positioned the speech bubble stamp just over it, heart over heart. I then stamped the image and removed the masking paper. This gives me an empty speech bubble. To insert the apple inside, and because the image is slightly too big to fit, I added masking tape on the bottom and right side of the speech bubble before stamping the apple from the Work of heart stamp set. I removed the masking tape, colored the image with Copic markers and die cut the speech bubble with the Love story coordinating dies.
I used another stamp set, Pixie perfect for the grass. The stamp is actually shorter, so I stamped it 3 times on a continuous line. It doesn't matter if you can't connect the repeated image perfectly, since these will be hidden behind the characters. I also colored the grass with Copic markers and die cut it 3 times with the coordinating dies. I then trimmed the left and right side of the grass to the size of my background.

To assemble the card, I glued the background flowers on my card base. I then glued the grass at the bottom. Finally, I adhered the characters and speech bubble with 3D foam.
Thank you for stopping by. I hope this card will inspire you and give you ideas to mix stamps sets and create unique scenes.
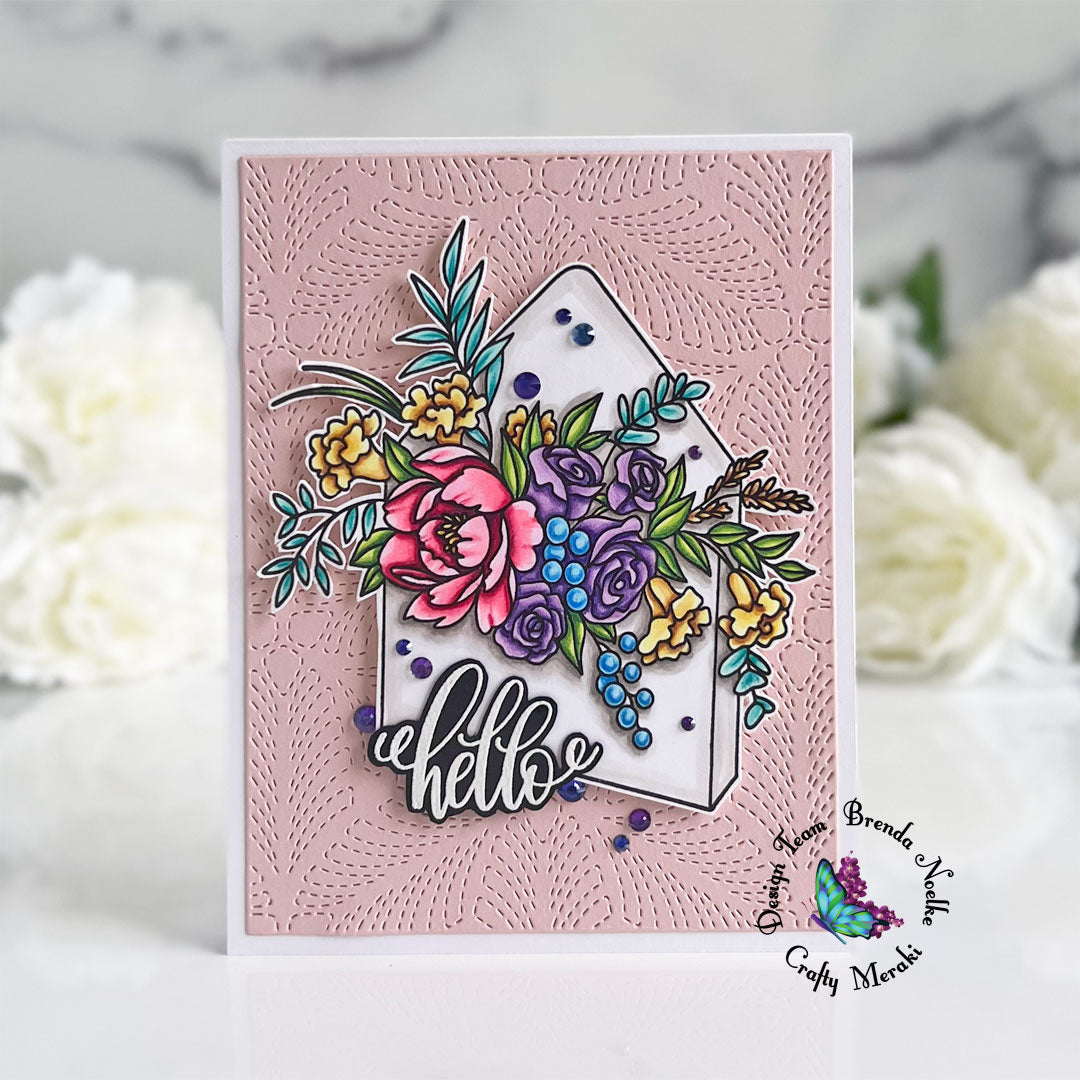
And before you go, in case you wonder what the Garden of Eden full image looks like, here is a sneak peek of another card I made and you'll find on my Instagram feed later today


Leave a comment
This site is protected by hCaptcha and the hCaptcha Privacy Policy and Terms of Service apply.