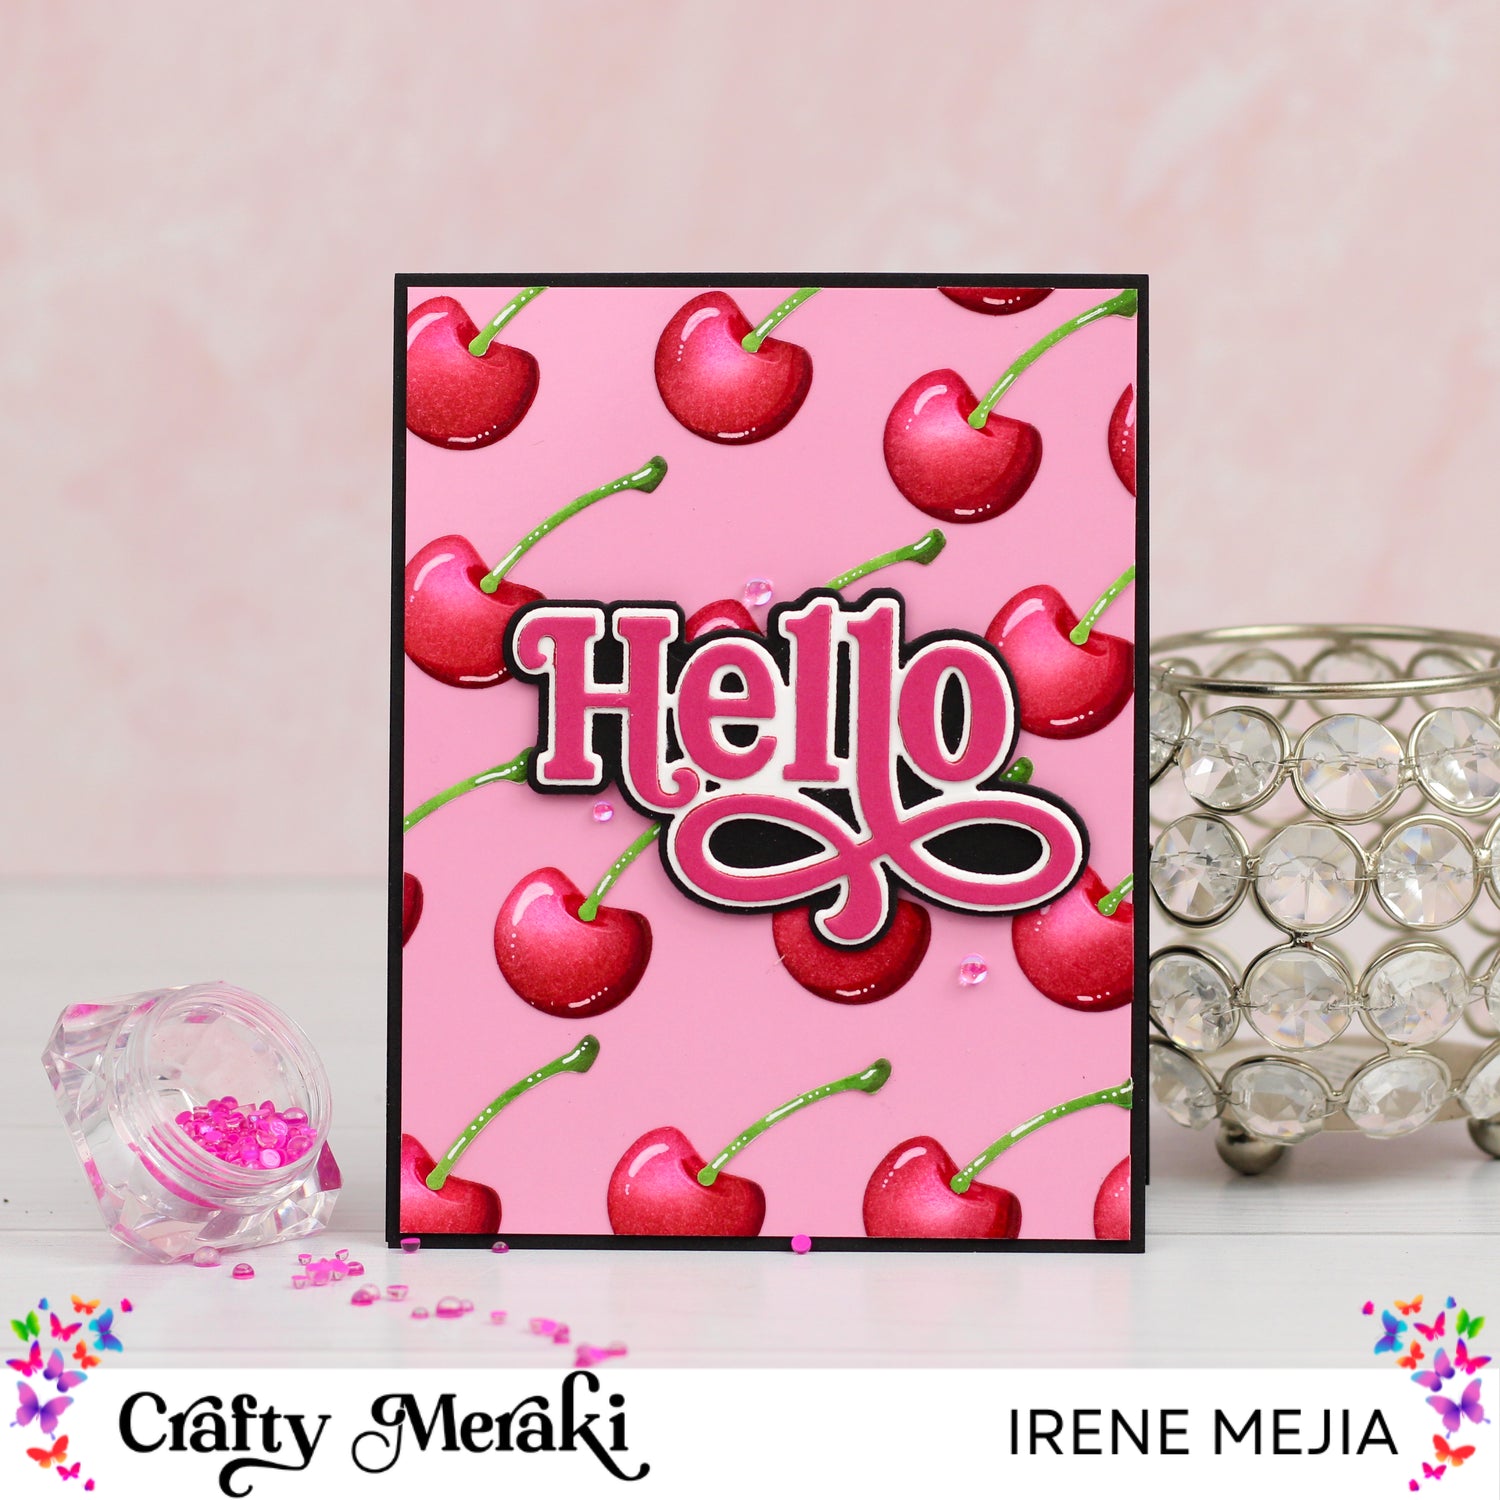
Happy Friday, Friends! Irene here with a fun and bright cherry-themed card.
I began by die-cutting fourteen cherries from the Crafty Meraki Sweet Celebrations Para-Dies. I then began inking each cherry and stem with Catherine Pooler ink. I used Party Dress for the top left, Rockin Red for the middle to bottom right, and Cranberry Fizz at the lower right and edges of each cherry. I used Copic markers (YG17 for the entire stem and YG99 for the top) to color the stems. I added shading using Copic Markers R46 and R89 at the right edge. I then glued the stems to each cherry. Next, I added highlights with a white gel pen.

For the background, I used ScrapbookCom A2-sized Glossy Pastel Pink cardstock. To add the die-cut cherries, I aligned a diagonal row and glued them with liquid glue. I added the rest of the die-cuts by spacing them evenly and some over the edges. I cut the excess off the sides and the panel by 1/8 inch on the side and bottom. I used the trimmed cherry pieces to fill any gaps on the edges.

Next, I created the sentiment with the Meraki Moments-Hello die-set. I used black cardstock for the bottom layer, white for the middle layer, and hot pink cardstock for the top later. I assembled it with liquid glue and added it to the card with foam tape. I added the panel to a black A2-sized card. I cut white cardstock to 3.75 x 5 inches and glued it to the inside of the card. I had one cherry left from the die-cuts and glued it to the bottom right.
Finally, I added three Petunia Dew Drops to accent the sentiment. All done! I hope this tutorial inspires you. Have a fabulous weekend!


Leave a comment
This site is protected by hCaptcha and the hCaptcha Privacy Policy and Terms of Service apply.