Hello, crafty friends!
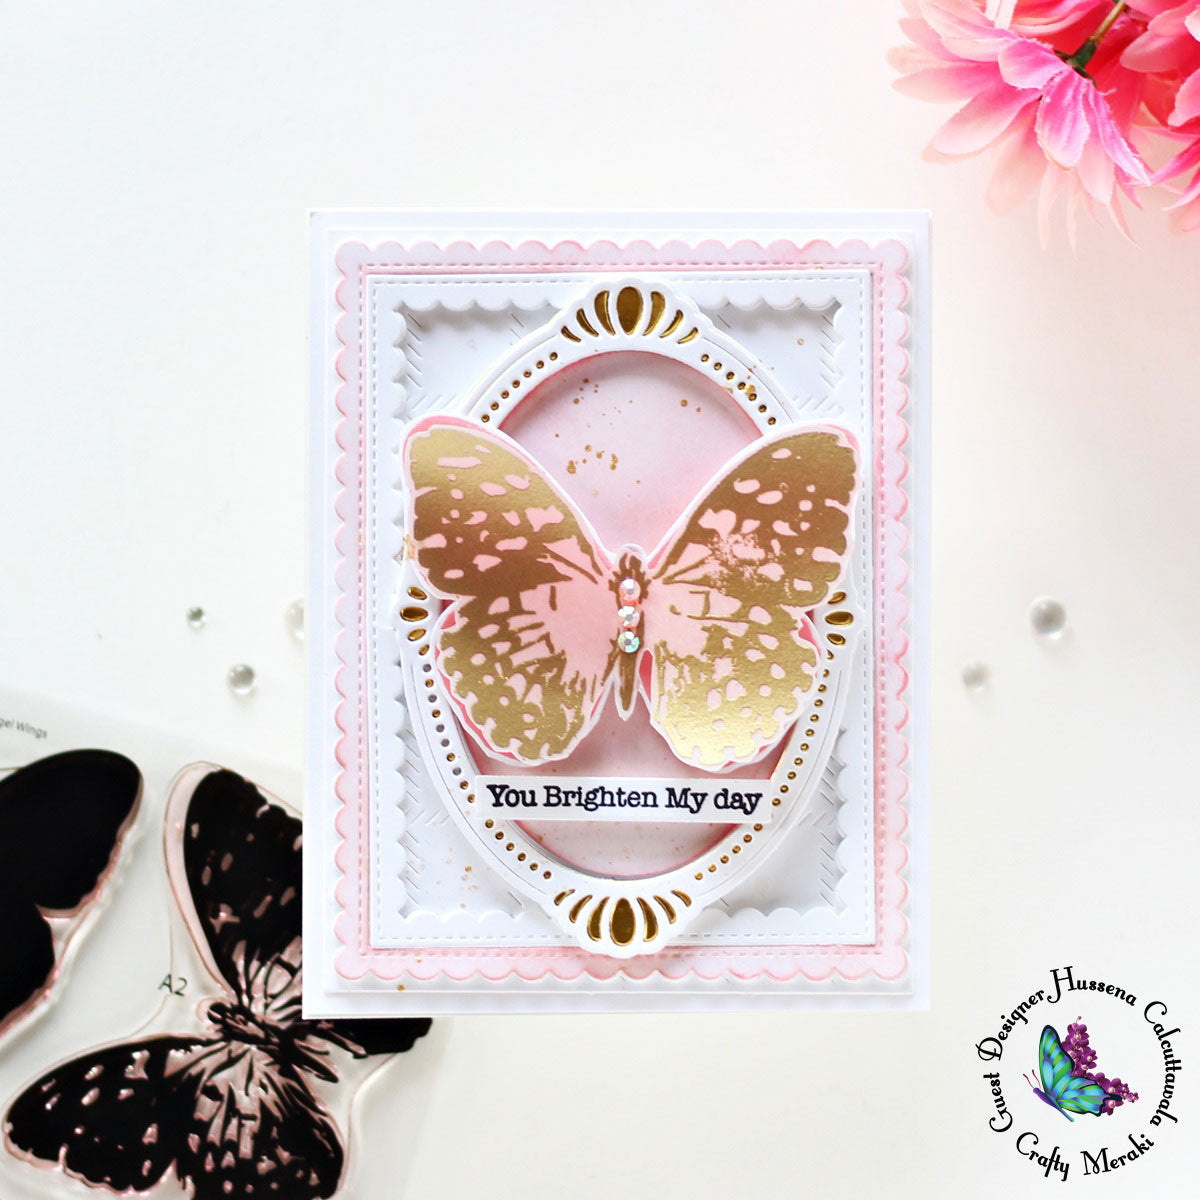
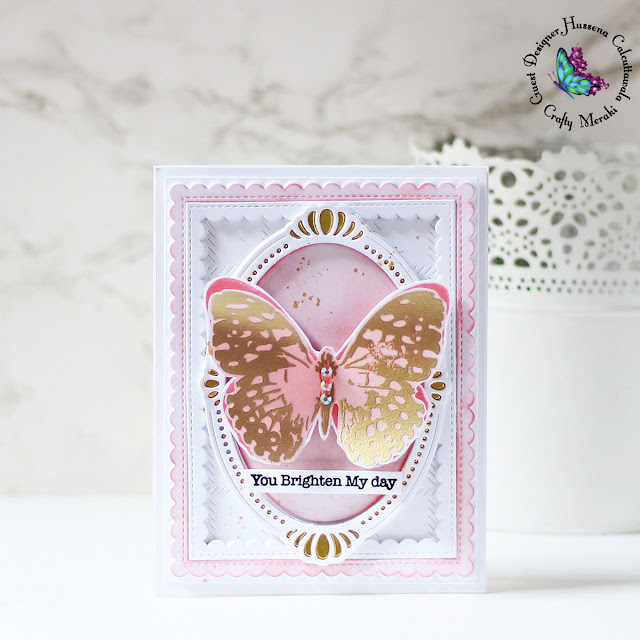
I am so happy to be back here today to share a spring-inspired card using supplies from Crafty Meraki. If you're missing a friend or loved one and looking for a special way to let them know you’re thinking of them, this card would be just the perfect thing to send to them!
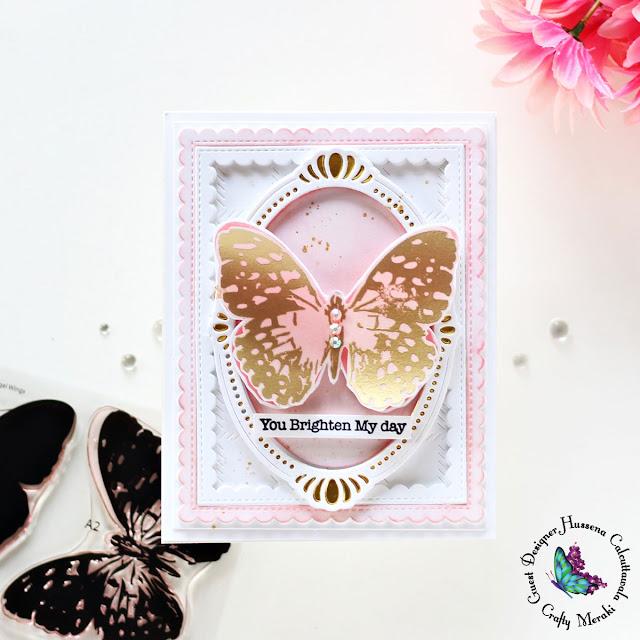
My card for today features the Angel Wings Layering Stamp Set. The whimsical butterflies in this set can be used as is, or combined with floral images. The set consists of a solid butterfly outline and three layering stamps to create a beautifully colored butterfly image. All four layers can be used together or you can just color the outline.
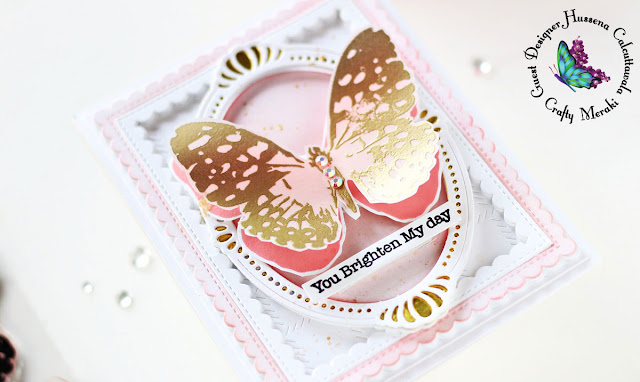
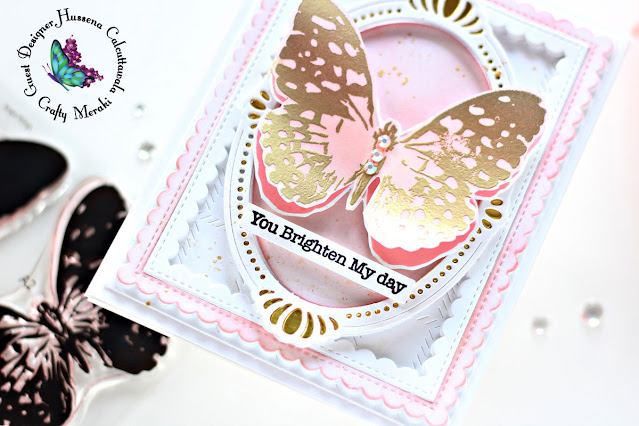
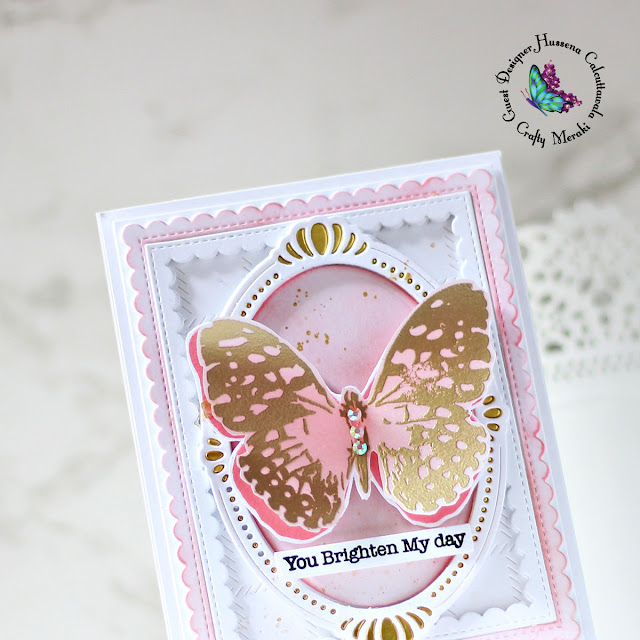
To create my card, I first stamped the detailed butterfly outline from the Angel Wings Layering Stamp Set Stamp Set using Versamark Embossing ink onto Vellum and used the Journey Gold Embossing Powder to heat-emboss the images with the help of a Heat Tool. Next, I stamped the solid butterfly image from the set using Passion Fruit ink onto Snowdrift Cardstock and then trimmed out both the pieces with a pair of scissors, leaving a small white border. (If you don't want to cut the images by hand, you can use the coordinating dies available for the set too!)
Next, I die cut Snowdrift, Mirror Gold Cardstock, and White Foam Sheets using the Fancy Oval Frame Die to use as an accent piece on my card. I adhered the layers together with liquid glue, allowing the gold layer to peek out from behind the white layer a bit. I then ink blended Passion Fruit ink to the top three-quarters of the negative die-cut piece with a blending brush for more depth. Once that was done, I used the Heidi Swapp Color Shine Spray in Lame Gold to add gold splatters to the panel for an artsy look.
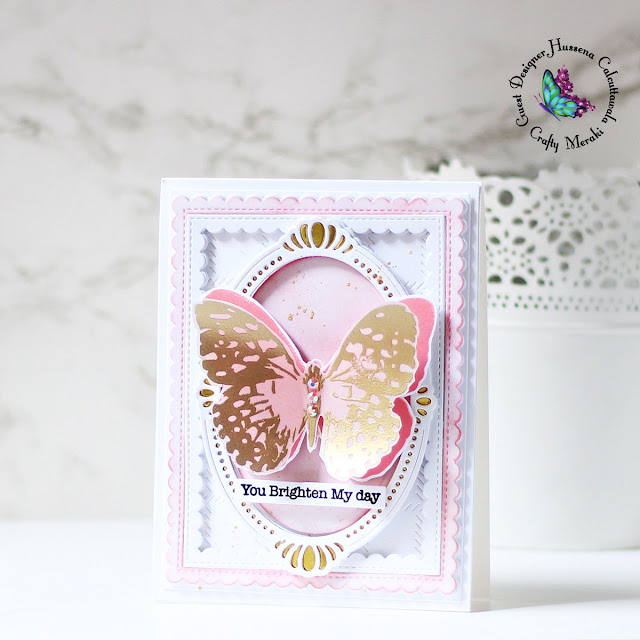
Next, I die cut Snowdrift Cardstock using the Diagonal Stitched Plaid Die and mounted the panel to a top-folding white card base made from Snowdrift Cardstock with tape runner. Once that was done, I die cut Snowdrift Cardstock and White Foam Sheets using the Outer Rectangle Die from the Stitched Scallops Rectangle Die Set. Next, I coloured the outer scallop edge using Passion Fruit ink with a sponge dauber for interest. I adhered the frames down on my panel using liquid glue and then started assembling the rest of the pieces together.
Next, I adhered the oval frame down on my panel with liquid glue. I wanted the butterfly to have a 3D look, so I adhered the solid image down first and then adhered the heat-embossed image on top, bending the butterfly wings upwards for dimension and interest. I also adhered some Glacier Jewels to the body of the butterfly for a bit of glitz and glam. This is such a fun and easy way to create eye-catching embellishments for all your projects! Finally, to complete, I stamped a sentiment from the Blooming Birthday Stamp Set on a strip of Snowdrift Cardstock using Versafine Onyx Black ink and adhered it down on my panel using foam squares for dimension.
I hardly ever create projects sans flowers on them, but I am quite pleased with how this card has turned out. What do you think? I'd love to hear!

Leave a comment
This site is protected by hCaptcha and the hCaptcha Privacy Policy and Terms of Service apply.