
Hello crafty friends!
I have a confession to make today. It is about the Garden of Eden stamp set. I absolutely loved that huge stamp but I have been so scared to play with it… wondering how to approach it without getting overwhelmed. Well, the good news is finally I was able to play with it and surprisingly once I got started it dint take me long to finish this card!
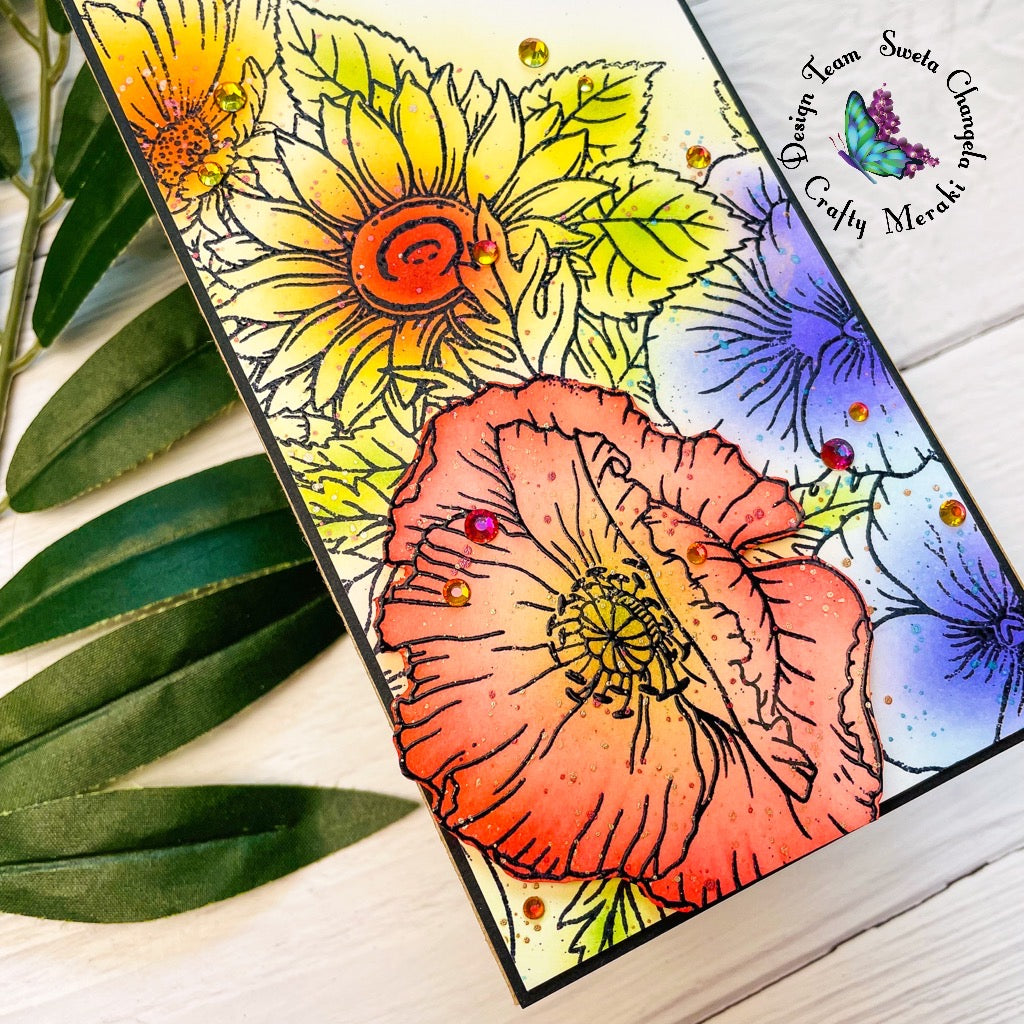
To start I took a slim line panel and prepped it with anti-static powder. Using Versamark ink and Raven black embossing powder I heat set it at a slight angle. Next I repeated the above steps but this time I used a smaller piece of card stock just enough to stamp one of the main flowers from that design. Once done I fussy cut the floral image from that smaller card stock and left it to the side.

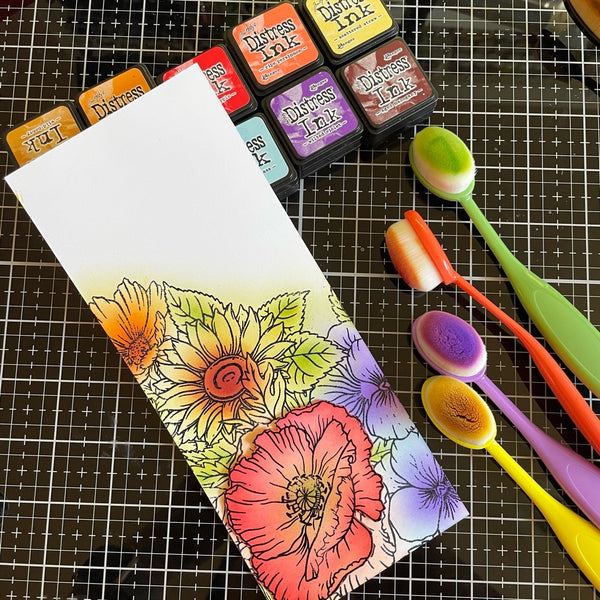
Working on the slimline panel I knew I wanted to do some quick coloring so I took out a bunch of distress inks and blending brushes in various sizes. The idea was to ink blend sections of the floral images. For eg. I used scattered straw to color the sunflower; starting in the center of the flower and radiating outwards adding darker shades and finally some aged mahogany for the center. Use smaller blending brushes when adding color to leaves, flower centers etc.
I only added a base color for the main orange-red flower on the slim line panel since I was going to cover it up with the cut up image of the same flower for a 3-D effect. Moving on, I finished shading the cut-out too. Once all of the ink blending was done I added some metallic splatter using the Altenew Watercolor Palette over the image while being careful to keep the top part of the panel free for the sentiment.
Once splatter was dry I added some foam tape behind the cut-out floral and adhered it right over the image on the slim line panel for a selective layering effect and stamped the sentiment with Versafine Onyx black ink.
In the final step I added those gorgeous Meraki Sparkles in Red Illusion to finish the card, after adding a black panel and adhering it to a slimline card base.

I hope you’ll give this easy technique a try, especially when you feel daunted by a gorgeous floral stamp like I did!
Happy Friday!

Leave a comment
This site is protected by hCaptcha and the hCaptcha Privacy Policy and Terms of Service apply.