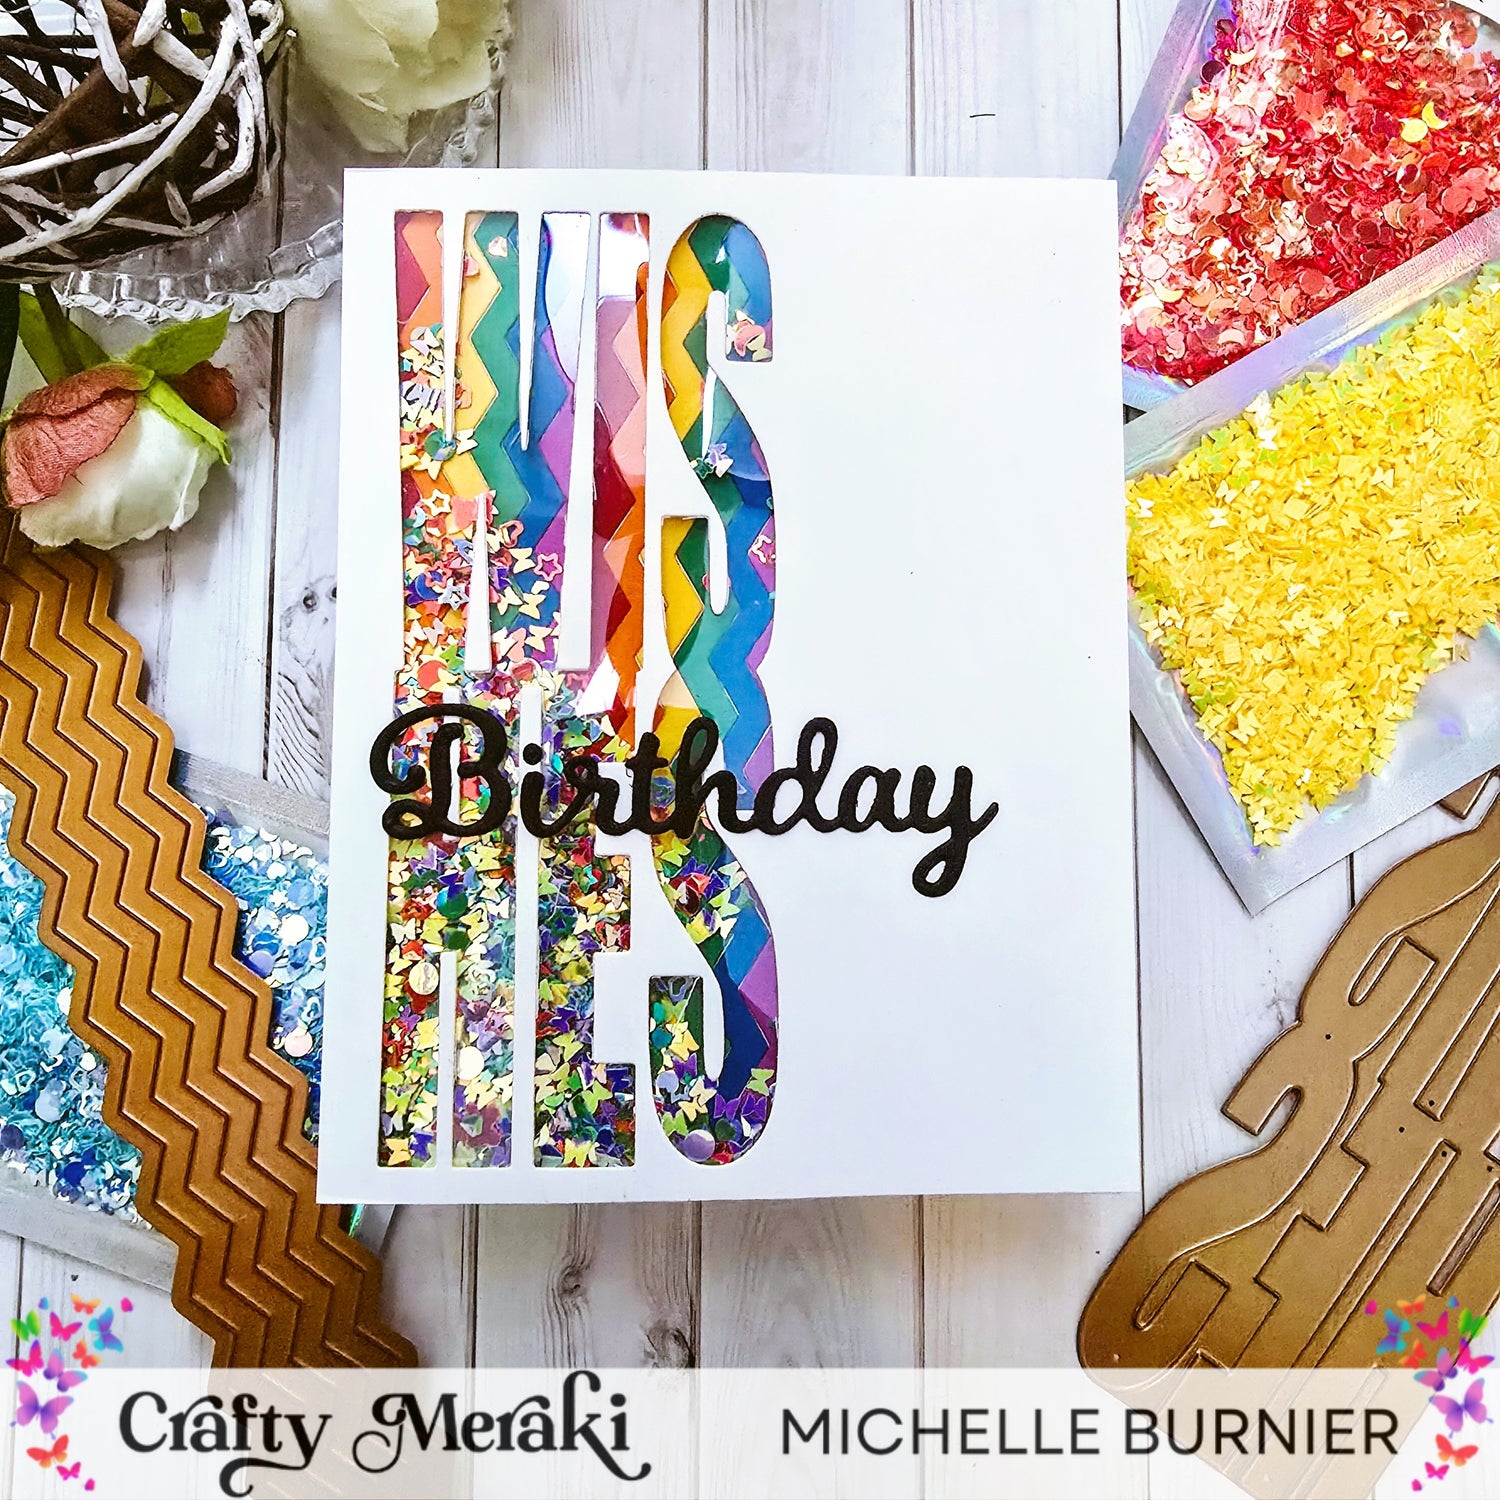
Hex Crafty Meraki friends....it's Michelle with you sharing a clean and simple diecut shaker card. This week the focus is on diecutting techniques, so I thought I'd make a more simple shaker card with a fun and colourful diecut background, that fills the shaker. Let's get started, shall we!

Cut a piece of white cardstock to A2 size (4.25x5.5). Take the Crafty Meraki Birthday Slimline Tag Die on the left side of the cardstock, being sure to leave enough of a border on the left side to add foam tape for the shaker. Also make sure to hold onto the little parts in the middle of the W and H.

Chose a rainbow colour palette with cardstock and cut the middle sized die once from each colour using the CM Strip Suite ZigZag Zoom Die Set. Keep all the colours in their respective piles and in rainbow colour (to make it quick and easy to keep the colour pattern going).

Using liquid glue adhere each strip in rainbow order on white cardstock, butting them up as close to the next as you can possibly get them. Using the diecut panel from the first step and measure every now and then to make sure how far you need to continue this pattern, to cover the diecut words in their entirety. Trim off any excess overhang from the top and bottom of the cardstock.

Add a piece of acetate big enough to cover the diecut word and adhere using double sided tape to the back of the diecut panel. Using glue, stick down the small thin parts in the middle of the letters (that are sticking up) to the actetate. Place the diecut letters from step 1 back in temporarily so you can adhere these thin parts straight and excatly how they should be. This is also the perfect time to add back the small parts in the middle of the W and H. Add a very small amount of glue to the back of it and with the letters still in place temporarily, add some pressure using tweezers or a pokey tool. Once they are adhered down, peel back the letters and allow ro dry.

Fill the back of the actetate covered diecut panel with 1 layer of foam tape. You can double up the layers of tape if you want a deeper shaker and to allow more room for lots of shaker bits, but for mine 1 layer of tape was sufficient enough. You may need to cut some pieces of tape thinner to fit in some of the thinner parts of the border.

Add the shaker bits and sequins to the rainbow diecut strips and place in the middle of where the acetate window will be. I used Flutter Fancy Lavender, Flutter Fancy Buttercream, Twinkle Treats Green, Twinkle Treats Azure and Twinkle Treats Neon Pink. You want to make sure you place them on this part of the shaker and not on the back of the acetate window, as some of the shaker bits can and will stick to the foam tape once the backing is removed.

Remve all the backing from the foam tape and adhere to the background piece, making sure to not get any of the bits stuck to your foam tape. Add a smaller birthday diecut in black from the same tag die set and adhere it the front of the shaker window. I doubled up the sentiment, to give it a little bit of dimension.

And that's it! I had lots of fun making this easy and colourful shaker card! Using these strip die sets makes it quick to make a great background too!
Thank you so much for stopping by the blog today. i hope that I have helped to inspire you in some way and I wish you all the most wonderful and creative day! Until next time, Michelle :)


Leave a comment
This site is protected by hCaptcha and the hCaptcha Privacy Policy and Terms of Service apply.